Love this? Save it for later!
Share the inspiration with your friends
My neighbor, Mrs. Kowalski, watched me wrestling with a lumpy batch of pizza dough on my kitchen counter through the window one frosty December afternoon. She didn’t say anything at first. Then, about ten minutes later, there was a gentle knock at my door, and she handed me a Pyrex dish wrapped in a tea towel. Inside was this glorious, golden thing that looked like a Christmas tree but smelled like the best garlic bread you’ve ever had. “For your party,” she said, and waved off my questions. “It’s just bread. But it looks like a tree, so people smile.”
I mean, honestly, let me tell you—that bread changed my whole holiday hosting game. It wasn’t just the taste, which was incredible. It was the way people’s faces lit up when I put it on the table. They didn’t just eat it; they pulled it apart, laughing and grabbing for the same gooey pieces. I’ve tweaked her original method over the years, making it a little faster and a little more foolproof for busy weeknights when you’re also trying to wrap presents and pretend you have your life together. Maybe you’ve been there, staring at a grocery list that’s a mile long and wondering how you’re going to pull off a festive appetizer that doesn’t look like a sad plate of store-bought crackers.
This easy pull-apart Christmas tree garlic cheese bread is the answer. It’s the recipe that stays with you because it’s not about showing off—it’s about making people feel welcome. It’s the kind of thing you make when you want to say, “I’m glad you’re here,” without having to say a single word.
Why You’ll Love This Recipe
I’ve tested this recipe about six times over the last three holiday seasons, and I can tell you without hesitation—this is the version you want. It’s built for real life, not for a food magazine photoshoot. Here’s why this one wins every single time.
- Quick & Easy: Comes together in under 30 minutes using store-bought pizza dough. No rising, no kneading, no fuss. Perfect for that moment when you realize your guests will be there in 45 minutes.
- Simple Ingredients: You probably already have garlic, butter, mozzarella, and parsley in your kitchen right now. The only “special” thing is the pizza dough, which lives in the refrigerated section of any grocery store.
- Perfect for Holiday Parties: This is a showstopper for Christmas Eve, cookie exchanges, or any gathering where you want people to actually talk to each other. The pull-apart format forces interaction—it’s genius.
- Crowd-Pleaser: I’ve watched kids and adults alike go back for third and fourth pieces. The combination of buttery garlic and melted cheese is basically a universal language.
- Unbelievably Delicious: The texture is what gets me every time. The outside pieces get slightly crispy and golden, while the inside pieces stay soft and pillowy. Each little bread ball soaks up the garlic butter and cheese like a tiny sponge.
What makes this recipe different from every other garlic bread out there is the assembly method. Instead of wrestling with a single giant loaf, you’re creating individual pull-apart pieces that look like a Christmas tree. It’s not just another version of garlic bread—it’s my best version, tested on actual tired, hungry people who had no problem telling me when something was “just okay.” This one got silence. That’s how you know it’s good.
This recipe is comfort food reimagined for the holiday chaos—faster, easier, but with the same soul-soothing satisfaction of warm bread and melted cheese. Perfect for impressing guests without stress, or turning a simple weeknight dinner into something memorable. Because honestly, doesn’t December deserve a little magic?
What Ingredients You Will Need
This recipe uses simple, everyday ingredients to deliver big flavor without the fuss. Most of these are pantry staples, which is exactly what you want when you’re staring down a busy December calendar.
- For the bread:
- 1 lb (16 oz) store-bought pizza dough, at room temperature (I prefer Pillsbury or Trader Joe’s for consistent results)
- 2 cups (200g) shredded low-moisture mozzarella cheese (the bagged kind works great here—no need to shred your own)
- 1/2 cup (50g) grated Parmesan cheese (the green can is fine, but fresh grated adds a nuttier flavor)
- For the garlic butter:
- 1/2 cup (1 stick / 113g) unsalted butter, melted
- 4-5 cloves garlic, minced (or 1 tablespoon jarred minced garlic in a pinch)
- 1 tablespoon fresh parsley, chopped (or 1 teaspoon dried parsley)
- 1/2 teaspoon salt
- 1/4 teaspoon black pepper
- 1/4 teaspoon red pepper flakes (optional, adds a tiny kick)
- For the garnish:
- 1 tablespoon fresh parsley, chopped (for that green “tree” look)
- 1 star-shaped piece of bell pepper or a small star cookie cutter from cheddar cheese (for the tree topper)
Ingredient selection tips: Look for pizza dough that feels soft and pliable, not stiff. If it’s cold from the fridge, let it sit on the counter for 20 minutes before you start—it’s way easier to work with at room temperature. For the cheese, I’ve tried fresh mozzarella balls, and honestly, they release too much water and make the bread soggy. Stick with the low-moisture shredded kind for the best texture.
Substitution guidance: Use dairy-free butter and vegan mozzarella shreds for a dairy-free version. You can swap the parsley with basil or chives if that’s what you have. For a gluten-free option, use gluten-free pizza dough—just check the package instructions because some brands bake faster.
Equipment Needed
You don’t need a fancy kitchen to make this bread. Here’s what you’ll actually use:
- Baking sheet or pizza pan: A standard half-sheet pan works perfectly. Line it with parchment paper for easy cleanup—trust me on this one.
- Small mixing bowl: For combining the garlic butter ingredients.
- Pastry brush or spoon: For brushing the butter mixture onto the dough balls.
- Sharp knife or pizza cutter: For cutting the dough into pieces.
- Measuring spoons and cups: Because eyeballing garlic butter never ends well.
Budget-friendly tip: If you don’t have a pastry brush, just use the back of a spoon to drizzle the butter—it works the same way. And parchment paper is non-negotiable here; it saves you from scrubbing a baking sheet covered in baked-on cheese.
Preparation Method
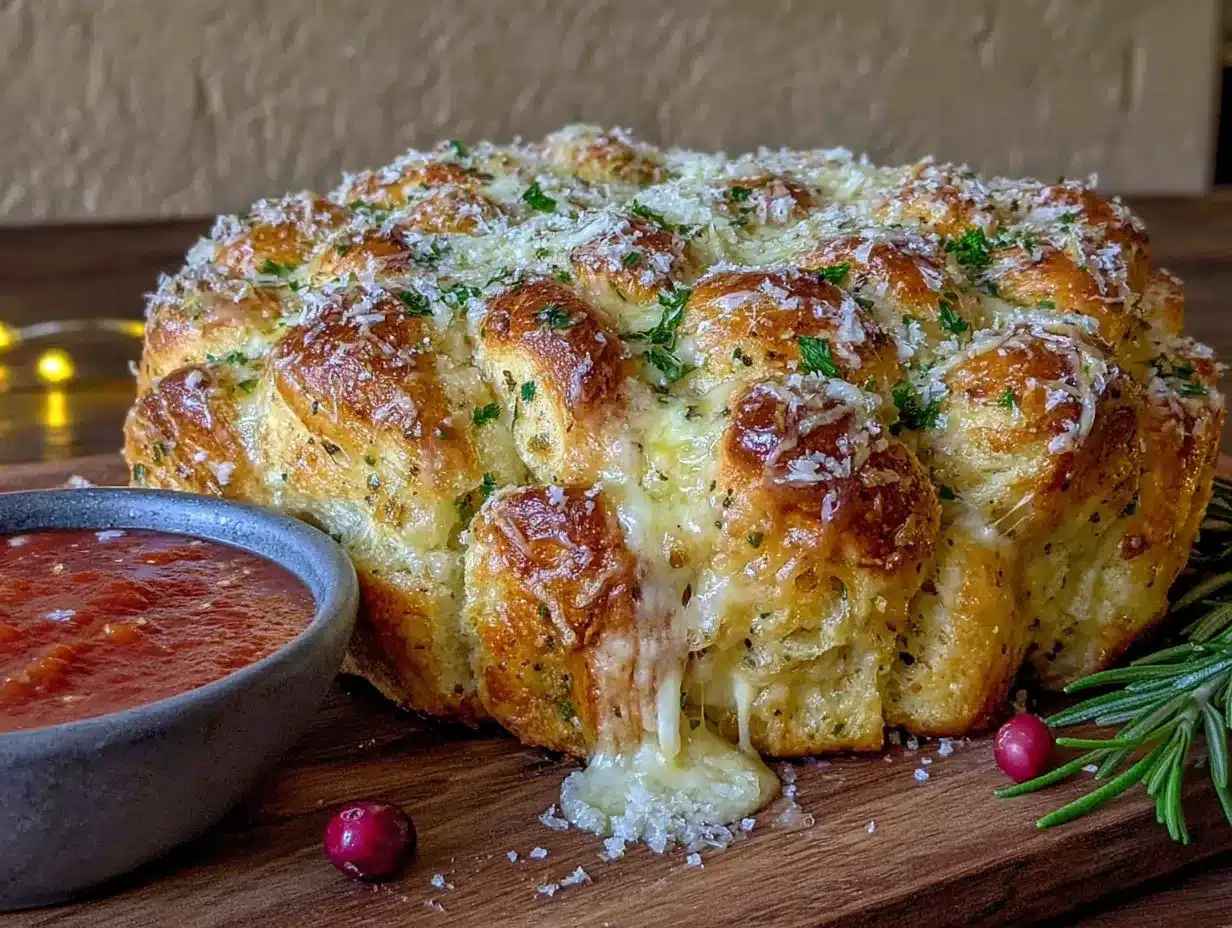
Alright, let’s get to the good part. Here’s how to make this Christmas tree garlic cheese bread step by step.
- Preheat your oven to 375°F (190°C). Line a baking sheet with parchment paper. Set it aside while you prep the dough.
- Cut the dough into 24-30 small pieces. Take your pizza dough and cut it into roughly 1-inch pieces using a sharp knife or pizza cutter. Don’t stress about making them perfect—irregular shapes actually look more natural when they bake. You want each piece to be about the size of a walnut.
- Roll each piece into a ball. Using the palms of your hands, roll each piece of dough into a smooth ball. This takes about 2 minutes total. If the dough sticks to your hands, dust them with a little flour.
- Make the garlic butter. In a small bowl, combine the melted butter, minced garlic, parsley, salt, pepper, and red pepper flakes if using. Stir until everything is well combined. The smell at this point is absolutely intoxicating.
- Assemble the tree shape on the baking sheet. Arrange the dough balls on the prepared baking sheet in the shape of a Christmas tree. Start with one ball at the top for the “star” point, then below it place two balls side by side. Below that, place three balls, then four, then five, and finally six balls at the bottom for the base. Leave a small gap (about 1/2 inch) between each ball—they’ll expand as they bake. For the trunk, place two balls centered below the bottom row.
- Brush each ball with garlic butter. Using your pastry brush, generously brush each dough ball with the garlic butter mixture. Don’t be shy—this is where all the flavor lives. Make sure you get the sides of the balls too, not just the tops.
- Sprinkle with mozzarella and Parmesan. Evenly sprinkle the shredded mozzarella and grated Parmesan over all the dough balls. Try to get some cheese into the gaps between the balls—it’ll melt and create those irresistible cheesy strings when you pull the bread apart.
- Bake for 18-22 minutes. Place the baking sheet in the preheated oven and bake until the bread is golden brown and the cheese is bubbly and slightly browned in spots. The exact time depends on your oven and the size of your dough balls. At 18 minutes, check it—if the cheese is melted and the bread looks golden, it’s done. If not, give it another 2-4 minutes.
- Add the final touches. Remove the bread from the oven and let it cool on the baking sheet for 2 minutes. Sprinkle with the remaining fresh parsley for color, and place your star-shaped pepper or cheese topper at the top of the tree.
- Serve immediately. This bread is best enjoyed warm, when the cheese is still stretchy and the garlic butter is soaking into every crevice. Place the baking sheet right on the table and let everyone pull apart their own piece.
Sensory cues: When the bread is done, you’ll see the edges of the dough balls turning a deep golden brown, and the cheese will be bubbling with small brown spots. The kitchen will smell like a garlic bread dream—warm, buttery, and slightly toasty. If you tap a dough ball gently, it should feel firm but spring back slightly.
Preparation note: If the dough is sticking to your hands while rolling, lightly oil your palms with a drop of olive oil. This works better than flour and doesn’t dry out the dough.
Cooking Tips & Techniques
I’ve made this recipe enough times to learn a few things the hard way. Here’s what I wish someone had told me before my first attempt.
Don’t overwork the dough. When you’re rolling the dough into balls, handle it gently. Over-kneading or pressing too hard will make the bread dense and tough. You want light, quick movements—just enough to form a ball shape. I learned this after my first batch came out like little hockey pucks. Not ideal.
Space the balls properly. Leave about half an inch between each dough ball. They’ll expand as they bake, and if they’re too close together, the centers won’t cook through. If they’re too far apart, you lose the tree shape. I once spaced them too far apart and ended up with what looked like a constellation instead of a Christmas tree.
Brush butter twice for extra flavor. Here’s a pro tip: brush half the garlic butter on the dough balls before baking, then brush the remaining half on as soon as they come out of the oven. The first brushing bakes into the bread, and the second one soaks into the surface. It’s a game-changer for flavor intensity.
Watch the cheese. If the cheese starts browning too quickly before the bread is done, tent the baking sheet loosely with aluminum foil for the last 5 minutes of baking. This prevents the cheese from burning while the bread finishes cooking.
Use room temperature dough. Cold dough is stiff and hard to shape. Let it sit on the counter for 20-30 minutes before you start. Trust me, it makes a huge difference in how easy the rolling process feels.
Variations & Adaptations
This recipe is incredibly flexible. Here are some variations I’ve tried and loved.
- Herb & Cheese variation: Add 1 teaspoon dried Italian seasoning or rosemary to the garlic butter, and swap half the mozzarella for provolone or fontina. The herb flavor pairs beautifully with the garlic.
- Spicy version: Add 1/2 teaspoon crushed red pepper flakes to the garlic butter and use pepper jack cheese instead of mozzarella. This one disappeared fast at my New Year’s Eve party.
- Bacon & Cheddar variation: Sprinkle 1/2 cup cooked, crumbled bacon over the cheese before baking, and use sharp cheddar instead of mozzarella. This is for when you want maximum indulgence.
- Dairy-free adaptation: Use vegan butter and dairy-free mozzarella shreds. I tested this with Miyoko’s mozzarella and it worked beautifully—just watch the baking time as dairy-free cheese can brown faster.
- Gluten-free adaptation: Use your favorite gluten-free pizza dough. Some brands require a slightly longer baking time, so keep an eye on it and add 2-3 minutes if needed.
Personal variation I love: I once added a thin layer of pesto under the cheese on each dough ball. The basil flavor with the garlic butter was incredible. If you try this, use about 1/4 cup of pesto total—just a tiny smear on each ball before adding the cheese.
Serving & Storage Suggestions
This bread is best served warm, straight from the oven. Place the baking sheet on a trivet in the center of the table and let everyone dig in. The pull-apart format makes it perfect for sharing—no plates needed, just napkins.
What to serve with it: This bread pairs beautifully with marinara sauce for dipping, or a creamy ranch dip. For a full meal, serve it alongside a big winter salad or a bowl of tomato soup. It’s also fantastic as a side dish for pasta or roasted chicken.
Storage instructions: If you have leftovers (unlikely, but possible), store them in an airtight container in the refrigerator for up to 3 days. The bread will soften slightly, but the flavor will still be great.
Reheating methods: To reheat, place the bread pieces on a baking sheet and warm them in a 350°F (175°C) oven for 5-7 minutes. The microwave works in a pinch, but the oven will restore some of the crispy edges. I don’t recommend freezing this bread—the texture changes too much after thawing.
Flavor development note: Honestly, this bread is at its absolute best within 30 minutes of coming out of the oven. The cheese is stretchy, the garlic butter is fragrant, and the bread has that perfect contrast of crispy outside and soft inside. It’s worth planning your timing so you can serve it fresh.
Nutritional Information & Benefits
Let’s be real—this is not health food. But here’s the nutritional breakdown for one serving (about 2-3 dough balls, assuming 12 servings per batch):
- Calories: Approximately 280-320 calories per serving
- Fat: 16-18g (mostly from butter and cheese)
- Carbohydrates: 24-28g
- Protein: 10-12g
- Fiber: 1-2g
- Sodium: 450-550mg
Health highlights: Garlic is known for its immune-supporting properties (handy during cold and flu season). Mozzarella provides calcium and protein. And honestly, there’s a mental health benefit to sharing food that makes people smile—that counts for something, right?
Dietary considerations: This recipe contains gluten and dairy. For gluten-free or dairy-free options, see the variations section above. It’s also vegetarian-friendly as written.
Conclusion
This easy pull-apart Christmas tree garlic cheese bread is the kind of recipe that makes you look like a holiday hero without actually having to work that hard. It’s warm, cheesy, garlicky, and shaped like a Christmas tree—what more could you want from a December appetizer?
I love this recipe because it brings people together. There’s something about pulling apart warm bread and dipping it in sauce that makes everyone relax and start talking. It’s not fancy or complicated, but it’s the dish people remember long after the party’s over.
I’d love to hear how yours turns out! Leave a comment below and let me know if you tried any variations—I’m always looking for new ideas. And if you share a photo on Pinterest or Instagram, tag me so I can see your beautiful Christmas tree bread. Happy holidays, and happy baking!
Frequently Asked Questions
Can I make this ahead of time and bake it later?
Yes! Assemble the tree shape on the baking sheet, cover it tightly with plastic wrap, and refrigerate for up to 4 hours before baking. Add 2-3 minutes to the baking time if starting from cold. I wouldn’t recommend going longer than 4 hours, as the dough can get too soft.
Can I use homemade pizza dough instead of store-bought?
Absolutely. If you have a favorite pizza dough recipe, use it. Just make sure it’s at room temperature and easy to work with before you start rolling the balls. Homemade dough might need an extra minute or two of baking time.
How do I get the tree shape to stay intact while baking?
The key is keeping the dough balls close enough that they touch slightly as they expand, but not so close that they merge into one giant blob. Leave about 1/2 inch between each ball. The cheese also helps hold everything together as it melts.
Can I use pre-minced garlic from a jar?
Yes, in a pinch. Use about 1 tablespoon of jarred minced garlic. The flavor won’t be quite as sharp as fresh garlic, but it’ll still be delicious. Just don’t use garlic powder—it doesn’t distribute as evenly through the butter.
What’s the best way to reheat leftovers without drying them out?
The oven is your best friend here. Preheat to 350°F (175°C), place the bread pieces on a baking sheet, and warm for 5-7 minutes. If they look dry, brush them with a little melted butter before reheating. Avoid the microwave unless you’re in a huge rush—it makes the bread chewy.
Pin This Recipe!
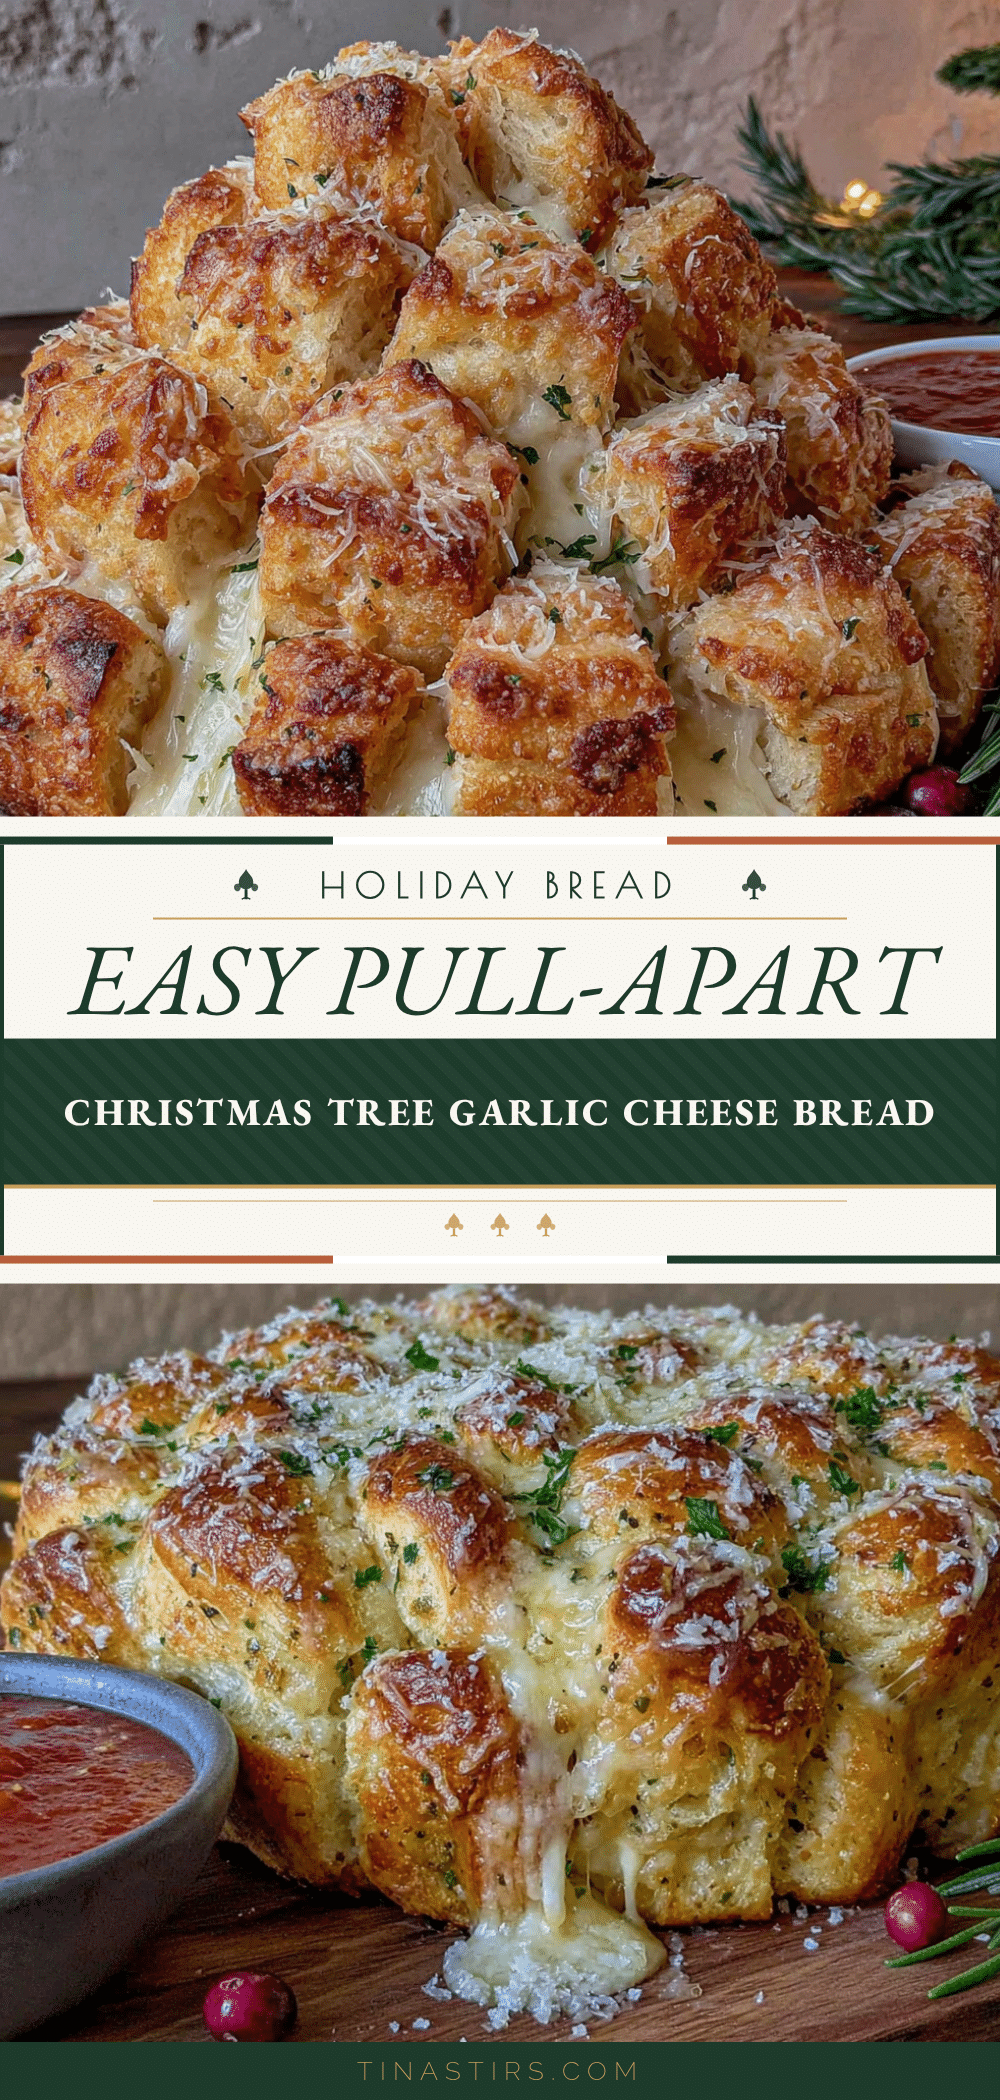
Easy Christmas Tree Garlic Cheese Bread Recipe
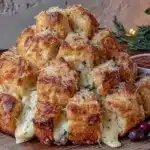
This easy pull-apart Christmas tree garlic cheese bread is a festive, crowd-pleasing appetizer made with store-bought pizza dough, garlic butter, and melted cheese. It comes together in under 30 minutes and is perfect for holiday parties.
- Prep Time: 10 minutes
- Cook Time: 20 minutes
- Total Time: 30 minutes
- Yield: 12 servings 1x
- Category: Appetizer
- Cuisine: American
Ingredients
- 1 lb (16 oz) store-bought pizza dough, at room temperature
- 2 cups (200g) shredded low-moisture mozzarella cheese
- 1/2 cup (50g) grated Parmesan cheese
- 1/2 cup (1 stick / 113g) unsalted butter, melted
- 4–5 cloves garlic, minced (or 1 tablespoon jarred minced garlic)
- 1 tablespoon fresh parsley, chopped (plus more for garnish)
- 1/2 teaspoon salt
- 1/4 teaspoon black pepper
- 1/4 teaspoon red pepper flakes (optional)
- 1 star-shaped piece of bell pepper or a small star cookie cutter from cheddar cheese (for garnish)
Instructions
- Preheat your oven to 375°F (190°C). Line a baking sheet with parchment paper.
- Cut the pizza dough into 24-30 small pieces, about 1-inch each.
- Roll each piece into a smooth ball using the palms of your hands.
- In a small bowl, combine melted butter, minced garlic, parsley, salt, pepper, and red pepper flakes (if using). Stir well.
- Arrange the dough balls on the prepared baking sheet in the shape of a Christmas tree: start with one ball at the top, then rows of 2, 3, 4, 5, and 6 balls below. Place two balls centered below the bottom row for the trunk. Leave about 1/2 inch between each ball.
- Brush each dough ball generously with the garlic butter mixture, including the sides.
- Evenly sprinkle the shredded mozzarella and grated Parmesan over all the dough balls, getting some cheese into the gaps.
- Bake for 18-22 minutes, until the bread is golden brown and the cheese is bubbly and slightly browned.
- Remove from the oven and let cool on the baking sheet for 2 minutes. Sprinkle with remaining fresh parsley and place the star-shaped topper at the top.
- Serve immediately, placing the baking sheet on the table for everyone to pull apart.
Notes
For best results, use room temperature dough. If cheese browns too quickly, tent with foil for the last 5 minutes. Brush half the garlic butter before baking and the remaining half after baking for extra flavor. Leftovers can be stored in an airtight container in the refrigerator for up to 3 days; reheat in a 350°F oven for 5-7 minutes.
Nutrition
- Serving Size: 2-3 dough balls
- Calories: 300
- Sugar: 2
- Sodium: 500
- Fat: 17
- Saturated Fat: 10
- Carbohydrates: 26
- Fiber: 1.5
- Protein: 11
Keywords: Christmas tree garlic bread, pull-apart bread, holiday appetizer, garlic cheese bread, easy Christmas recipe