Love this? Save it for later!
Share the inspiration with your friends
I was elbow-deep in a sink full of Sunday dishes last month when the smell hit me. Not from the soap—but from somewhere deep in my memory. That specific, slightly charred, breakfast-y smell of a tortilla warming on a dry skillet. And just like that, I was twenty-three again, standing in my tiny apartment kitchen at 6:15 AM, bleary-eyed and desperate, trying to fold a burrito that was about to explode.
Back then, I worked a job that started at 7 AM sharp, and I had this grand plan to eat a real breakfast every morning. It lasted about three days. The burrito always won—or rather, it always lost, leaving a trail of scrambled egg and cheese across my desk by 7:15. Honestly, I gave up on the whole idea for years. I mean, who has the patience to make breakfast from scratch when you can barely find matching socks in the morning?
But then my sister had twins, and I watched her survive the first six months on protein bars and coffee. I thought, there has to be a better way. So I went back to the burrito drawing board. This time, I was determined to crack the code: a freezer breakfast burrito that actually reheats well, doesn’t get soggy, and tastes like you just made it. After about five failed batches—one that was basically a hockey puck, another that was a soggy mess—I finally nailed it. And let me tell you, it changed my mornings completely.
Maybe you’ve been there, too—staring at your fridge at 6 AM, hoping something edible will magically appear. These freezer breakfast burritos are that magic. They’re the reason I actually eat breakfast now, sitting down, with a hot cup of coffee. No crumbs on my keyboard. No egg on my shirt. Just a warm, satisfying start to the day.
Why You’ll Love This Recipe
I’ve tested this recipe more times than I care to count, and I can confidently say it’s the best version I’ve ever made. Here’s why these easy freezer breakfast burritos deserve a permanent spot in your meal prep rotation:
- Quick & Easy: You can assemble a dozen burritos in about 30 minutes. That’s less time than it takes to decide what to order for delivery.
- Simple Ingredients: Eggs, cheese, tortillas, and your favorite fillings—no fancy grocery trips required. You probably already have most of this in your kitchen.
- Perfect for Busy Mornings: Grab one from the freezer, microwave it for 90 seconds, and you’re out the door. It’s literally that simple.
- Crowd-Pleaser: I’ve served these to picky toddlers, hungry teenagers, and breakfast-skeptic adults. They disappear every single time.
- Unbelievably Delicious: The secret is in the technique—cooling the filling completely before assembling prevents that dreaded soggy tortilla. The texture is spot-on, even after a month in the freezer.
What makes this recipe different from all the others? It’s the little things I learned through trial and error. I blend a bit of cottage cheese into the eggs for extra creaminess (trust me on this one). I use a specific wrapping method that keeps the burrito tight and prevents freezer burn. And I’ve perfected the reheating process so the tortilla stays soft, not chewy or rubbery.
This isn’t just another freezer burrito recipe—it’s the one. The kind that makes you wonder why you ever bothered with drive-thru breakfast sandwiches. It’s comfort food you can plan ahead for, which honestly feels like a superpower on chaotic mornings.
What Ingredients You Will Need
This recipe uses simple, wholesome ingredients that come together to create something truly satisfying. Most of these are pantry staples, but I’ve included a few tips to make sure you get the best results every time.
For the Egg and Filling Base
- 12 large eggs – The foundation of any good breakfast burrito. Use fresh, high-quality eggs for the best flavor and color.
- 1/3 cup milk or half-and-half – Adds moisture and fluffiness to the scrambled eggs. Whole milk works best, but any kind will do.
- 1/2 cup cottage cheese – This is my secret ingredient! Blend it smooth before adding to the eggs. It adds incredible creaminess without making the eggs watery. I recommend Good Culture or Daisy brand for best texture.
- 1/2 teaspoon salt – Kosher salt preferred, but table salt works too.
- 1/4 teaspoon black pepper – Freshly ground is always better.
- 2 tablespoons butter or olive oil – For cooking the eggs. Butter adds richness, but olive oil works if you’re dairy-free.
For the Fillings
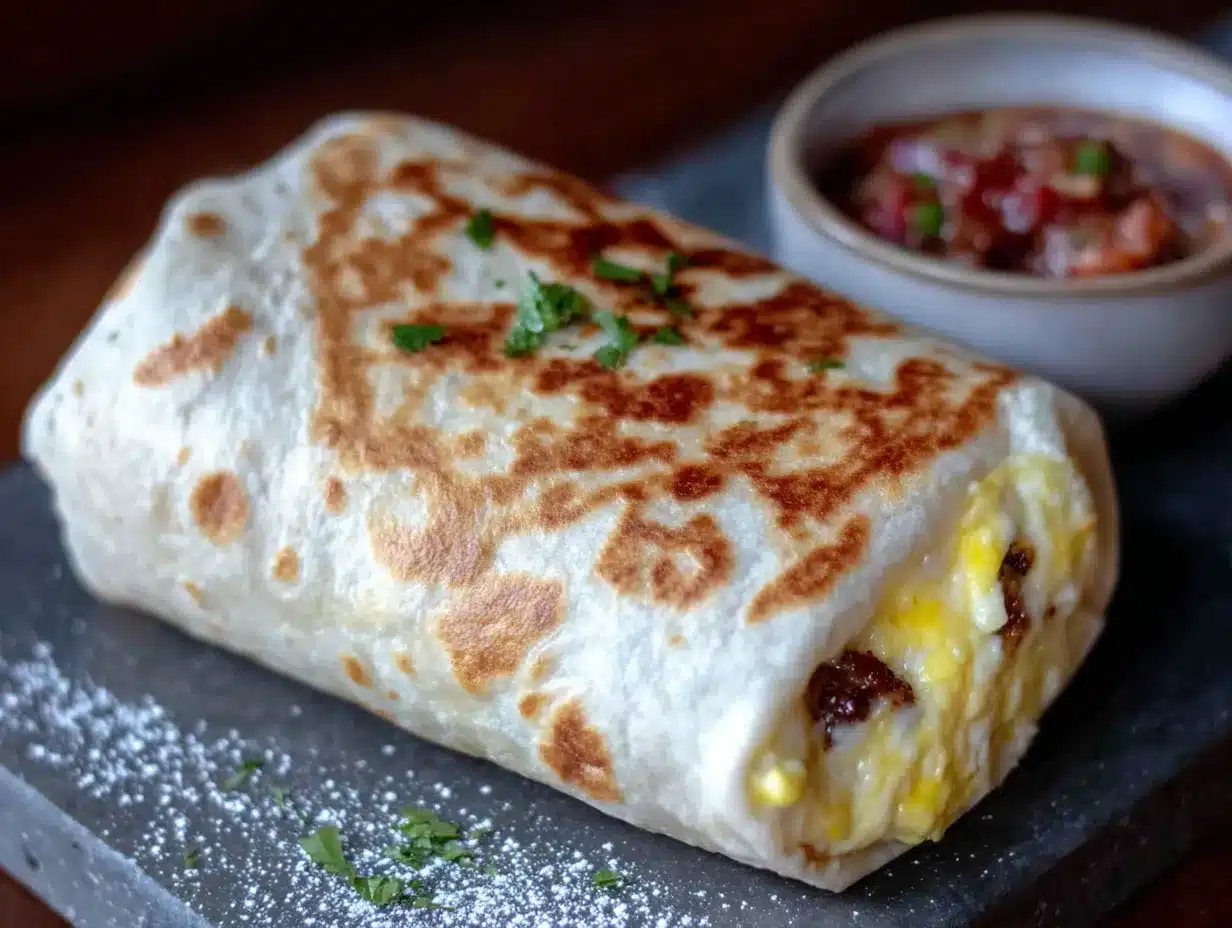
- 1 pound breakfast sausage, bacon, or chorizo – Choose your protein! I prefer uncooked breakfast sausage for its seasoning, but crispy bacon is also amazing. For a vegetarian version, use plant-based crumbles.
- 2 cups shredded cheddar or Monterey Jack cheese – Pre-shredded works in a pinch, but freshly shredded melts better and has less anti-caking agent. I recommend Tillamook or Cabot for consistent melting.
- 1 can (15 oz) black beans, drained and rinsed – Adds fiber and makes the burritos more filling. You can skip these if you prefer a simpler burrito.
- 1 cup frozen hash browns or diced potatoes – For that hearty, stick-to-your-ribs texture. No need to thaw them first.
- 1/2 cup diced onion and 1/2 cup diced bell pepper – Adds flavor and a little crunch. Red or green bell pepper both work well.
- Optional add-ins: Sautéed mushrooms, chopped spinach, diced jalapeños, or fresh cilantro.
For the Tortillas and Assembly
- 12 large (10-inch) flour tortillas – This is crucial! Don’t use smaller tortillas—they won’t hold all the filling. Look for burrito-sized tortillas. I prefer Mission or Guerrero brand for their flexibility.
- Parchment paper or aluminum foil – For wrapping and freezing. Parchment paper is easier to write on, but foil provides better protection against freezer burn.
Equipment Needed
You don’t need a professional kitchen to make these burritos, but a few key tools will make the process much smoother.
- Large non-stick skillet or frying pan – For cooking the eggs and the fillings. A 12-inch skillet is ideal for cooking everything in batches.
- Mixing bowls – One large bowl for the eggs, and a few smaller ones for the fillings.
- Whisk or fork – For beating the eggs until smooth.
- Spatula – A silicone spatula works best for gentle scrambling.
- Cutting board and knife – For dicing onions, peppers, and any other fresh ingredients.
- Baking sheet or large platter – To lay out the assembled burritos before wrapping. This helps them cool evenly.
- Freezer-safe zip-top bags or airtight containers – For storing the finished burritos. Gallon-sized bags work perfectly.
- Parchment paper or aluminum foil – For individual wrapping.
If you don’t have a non-stick skillet, a well-seasoned cast iron pan works beautifully—just be sure to use enough butter or oil. And honestly, I’ve made these with a cheap pan from a dorm room kitchen, and they still turned out great. Don’t overthink the equipment.
Preparation Method
Making these freezer breakfast burritos is a straightforward process, but following these steps carefully will ensure the best results. I’ve included time estimates and sensory cues so you know exactly what to look for at each stage.
Step 1: Cook the Protein (10 minutes)
Heat your large skillet over medium heat. Add your chosen protein—whether it’s breakfast sausage, bacon, or chorizo. If using sausage, break it into small crumbles with your spatula as it cooks. Cook until browned and cooked through, about 6-8 minutes. The sausage should be sizzling and smell deeply savory. Use a slotted spoon to transfer it to a plate lined with paper towels to drain excess grease. Don’t skip this step—too much grease will make your burritos soggy later.
Step 2: Cook the Vegetables (5 minutes)
In the same skillet, leaving about 1 tablespoon of the rendered fat (or add a little oil if needed), sauté the diced onion and bell pepper over medium heat. Cook until softened and the onion turns translucent, about 3-4 minutes. You should see the edges of the pepper just starting to brown. Add the frozen hash browns and cook for another 2 minutes, stirring occasionally. Season with a pinch of salt and pepper. Transfer to a bowl and set aside.
Step 3: Prepare the Eggs (8 minutes)
In a large mixing bowl, crack all 12 eggs. Add the milk, blended cottage cheese, salt, and pepper. Whisk vigorously until the mixture is completely smooth and slightly frothy—this takes about 30 seconds of steady whisking. The cottage cheese should be fully incorporated; if you see lumps, keep whisking.
Reduce the heat on your skillet to medium-low. Add the butter and let it melt, tilting the pan to coat the bottom. Pour in the egg mixture. Let it sit undisturbed for about 30 seconds, then begin gently pushing the cooked eggs from the edges toward the center with your spatula. Continue this motion, letting the uncooked eggs flow to the edges. The eggs should look soft, creamy, and slightly underdone when you remove them from the heat—they’ll continue cooking from residual heat. This should take about 4-5 minutes total. Transfer the eggs to a large bowl and let them cool completely.
Step 4: Cool Everything Completely (15-20 minutes)
This is the most important step, and I cannot stress it enough. Do not assemble the burritos while the filling is still warm. Spread the cooked eggs, protein, and vegetables out on separate plates or baking sheets to speed up cooling. Let them sit at room temperature for at least 15 minutes. The filling should be cool to the touch. If you skip this, the steam from the warm filling will make your tortillas soggy, and you’ll end up with sad, wet burritos after freezing.
Step 5: Assemble the Burritos (15 minutes)
Lay one tortilla flat on your work surface. If your tortillas are stiff, warm them in the microwave for 15 seconds to make them more pliable. Spoon about 1/2 cup of the egg mixture into the center of the tortilla, leaving a 2-inch border on all sides. Top with about 2 tablespoons of the protein, 2 tablespoons of the vegetable mixture, 1 tablespoon of black beans (if using), and a generous sprinkle of shredded cheese—about 2 tablespoons.
Now, the folding technique: Fold the sides of the tortilla inward over the filling. Then, fold the bottom edge up and over the filling, tucking it tightly. Roll the burrito away from you, keeping the sides tucked in, until you have a tight cylinder. The seam should be on the bottom. Place it seam-side down on your baking sheet. Repeat with the remaining tortillas and filling.
Step 6: Wrap and Freeze (10 minutes)
Let the assembled burritos sit on the baking sheet for 10 minutes to cool further. Then, wrap each burrito tightly in a piece of parchment paper or aluminum foil. I like to use parchment paper because I can write the date and flavor on it with a marker. Place the wrapped burritos in a single layer in a freezer-safe zip-top bag. Squeeze out as much air as possible before sealing. Label the bag with the date and contents. Freeze for up to 3 months.
Cooking Tips & Techniques
I’ve made more freezer burritos than I can count, and I’ve learned a few things the hard way. Here are my best tips to help you avoid my mistakes.
Don’t overcook the eggs. This is the number one mistake people make. Eggs continue cooking after you remove them from the heat, so pull them off the stove when they’re still slightly soft and glossy. Overcooked eggs turn rubbery after reheating, and nobody wants that.
Cool the filling completely. I mentioned this above, but it bears repeating. Warm filling creates steam, which creates moisture, which creates soggy burritos. I once ruined an entire batch because I was in a hurry. Let them cool. Your future self will thank you.
Use the right tortilla size. Please don’t use taco-sized tortillas for this recipe. You need the 10-inch burrito size. If you can only find 8-inch tortillas, reduce the filling amount to about 1/3 cup per burrito, or you’ll have a mess on your hands.
Blot your ingredients. If you’re using cooked bacon, pat it dry with a paper towel before adding it to the burrito. Same goes for any sautéed vegetables. Excess moisture is the enemy of a good freezer burrito.
Freeze them individually first. If you have the space, place the wrapped burritos on a baking sheet in a single layer and freeze for 1-2 hours before transferring them to a bag. This prevents them from sticking together and makes it easy to grab just one.
Label everything. I know it seems obvious, but I’ve found unlabeled bags of frozen things in my freezer more than once. Write the date and the filling on the bag so you know what you’re grabbing.
Variations & Adaptations
One of the best things about this recipe is how customizable it is. Here are some of my favorite variations.
Vegetarian Breakfast Burritos
Skip the meat and double up on the black beans and vegetables. Add a handful of fresh spinach to the skillet when cooking the peppers and onions—it wilts down beautifully. You can also add crumbled tofu or tempeh for extra protein. I’ve made this version for my vegetarian friends, and they always ask for the recipe.
Spicy Southwestern Burritos
Add 1/2 teaspoon of cumin and 1/4 teaspoon of smoked paprika to the egg mixture. Use pepper jack cheese instead of cheddar, and add a diced jalapeño (seeds removed if you want less heat) to the vegetable mix. Top each burrito with a spoonful of salsa before rolling. This version has a nice kick without being overwhelming.
Low-Carb or Keto-Friendly Burritos
Use low-carb tortillas—there are several good options available now. Replace the hash browns with extra sautéed vegetables like zucchini or mushrooms. Use full-fat cheese and add a slice of cooked bacon for extra fat and flavor. These reheat just as well as the original.
Breakfast Bowl Alternative
If you’re not in the mood for a tortilla, you can serve the filling over a bed of rice or quinoa. It’s not a burrito at that point, but it’s still a delicious, make-ahead breakfast. I’ve done this when I ran out of tortillas, and it works great.
Serving & Storage Suggestions
These burritos are designed for convenience, but a little attention to detail makes all the difference when it’s time to eat.
How to Reheat
For best results, unwrap the burrito from the parchment paper (if using) and wrap it in a slightly damp paper towel. Microwave on high for 1 minute 30 seconds to 2 minutes, flipping halfway through. The damp paper towel creates steam, which keeps the tortilla soft. If you’re reheating from thawed, reduce the time to about 1 minute. For a crispier tortilla, you can finish it in a dry skillet for 30 seconds per side after microwaving.
Serving Suggestions
Serve these burritos with a side of fresh salsa, sour cream, or avocado slices. A squeeze of lime juice right before eating brightens up all the flavors. They’re perfect for breakfast, but honestly, I’ve eaten them for lunch and dinner too. No judgment here.
Storage Instructions
Store the wrapped burritos in a freezer-safe bag for up to 3 months. For best quality, try to eat them within 2 months. To thaw, transfer a burrito from the freezer to the refrigerator the night before. Alternatively, you can microwave them directly from frozen—just add an extra 30 seconds to the reheating time.
I don’t recommend refrigerating these burritos for more than 2-3 days. The texture of the eggs changes, and the tortilla can get gummy. Freezing is really the way to go.
Nutritional Information & Benefits
Each burrito (made with sausage, cheddar cheese, and hash browns) contains approximately:
- Calories: 380-420
- Protein: 22-25g
- Carbohydrates: 28-32g
- Fat: 18-22g
- Fiber: 4-6g
These burritos are a fantastic source of protein, which helps keep you full and satisfied throughout the morning. The eggs provide high-quality protein and essential vitamins like B12 and D. The black beans add fiber and plant-based protein, while the vegetables contribute antioxidants and micronutrients.
If you’re watching your sodium intake, you can use low-sodium cheese and reduce the salt in the eggs. For a lighter option, use turkey sausage and reduced-fat cheese. I personally love that I can control exactly what goes into each burrito—no mystery ingredients or preservatives.
Conclusion
These easy make-ahead freezer breakfast burritos have genuinely changed my mornings. No more rushing, no more skipping breakfast, no more sad granola bars eaten over the sink. Just a warm, satisfying meal that I know is good for me and tastes amazing.
I love that this recipe is forgiving enough for beginners but adaptable enough for experienced cooks. You can make it your own—swap in your favorite ingredients, adjust the spice level, or experiment with different cheeses. That’s the beauty of a good base recipe.
I’d love to hear how yours turn out! Did you try a fun variation? Did your kids actually eat them? (Mine did, and it felt like a small victory.) Drop a comment below and share your experience. And if you found this helpful, please share it with a friend who could use a little more ease in their mornings. Happy cooking, friends!
Frequently Asked Questions
Can I use egg whites instead of whole eggs?
Yes, you can substitute 3 cups of liquid egg whites for the 12 whole eggs. The texture will be slightly different—less rich—but they’ll still work well. Just be careful not to overcook the egg whites, as they can become rubbery quickly.
Can I add potatoes without cooking them first?
I don’t recommend it. Raw potatoes won’t cook properly inside the burrito, and they’ll release moisture as they freeze and thaw. Always cook your potatoes fully before assembling the burritos. Frozen hash browns are a great shortcut because they’re already par-cooked.
How long do these burritos last in the freezer?
Properly wrapped and stored, these burritos will maintain their best quality for up to 3 months. After that, they’re still safe to eat, but the texture of the tortilla and eggs may degrade. I like to make a batch and eat them within 6-8 weeks for the best experience.
Can I use corn tortillas instead of flour?
Corn tortillas are smaller and more prone to cracking when rolled. If you want to use them, you’ll need to warm them thoroughly and use less filling. I recommend sticking with flour tortillas for the best results, but corn can work in a pinch if you’re careful.
Can I reheat these in the oven or air fryer?
Absolutely! For a crispier exterior, preheat your oven to 350°F (175°C). Unwrap the burrito and place it on a baking sheet. Bake for 15-20 minutes, flipping halfway through. In an air fryer, cook at 350°F for 8-10 minutes. These methods take longer than the microwave but give you a crunchier tortilla.
Pin This Recipe!
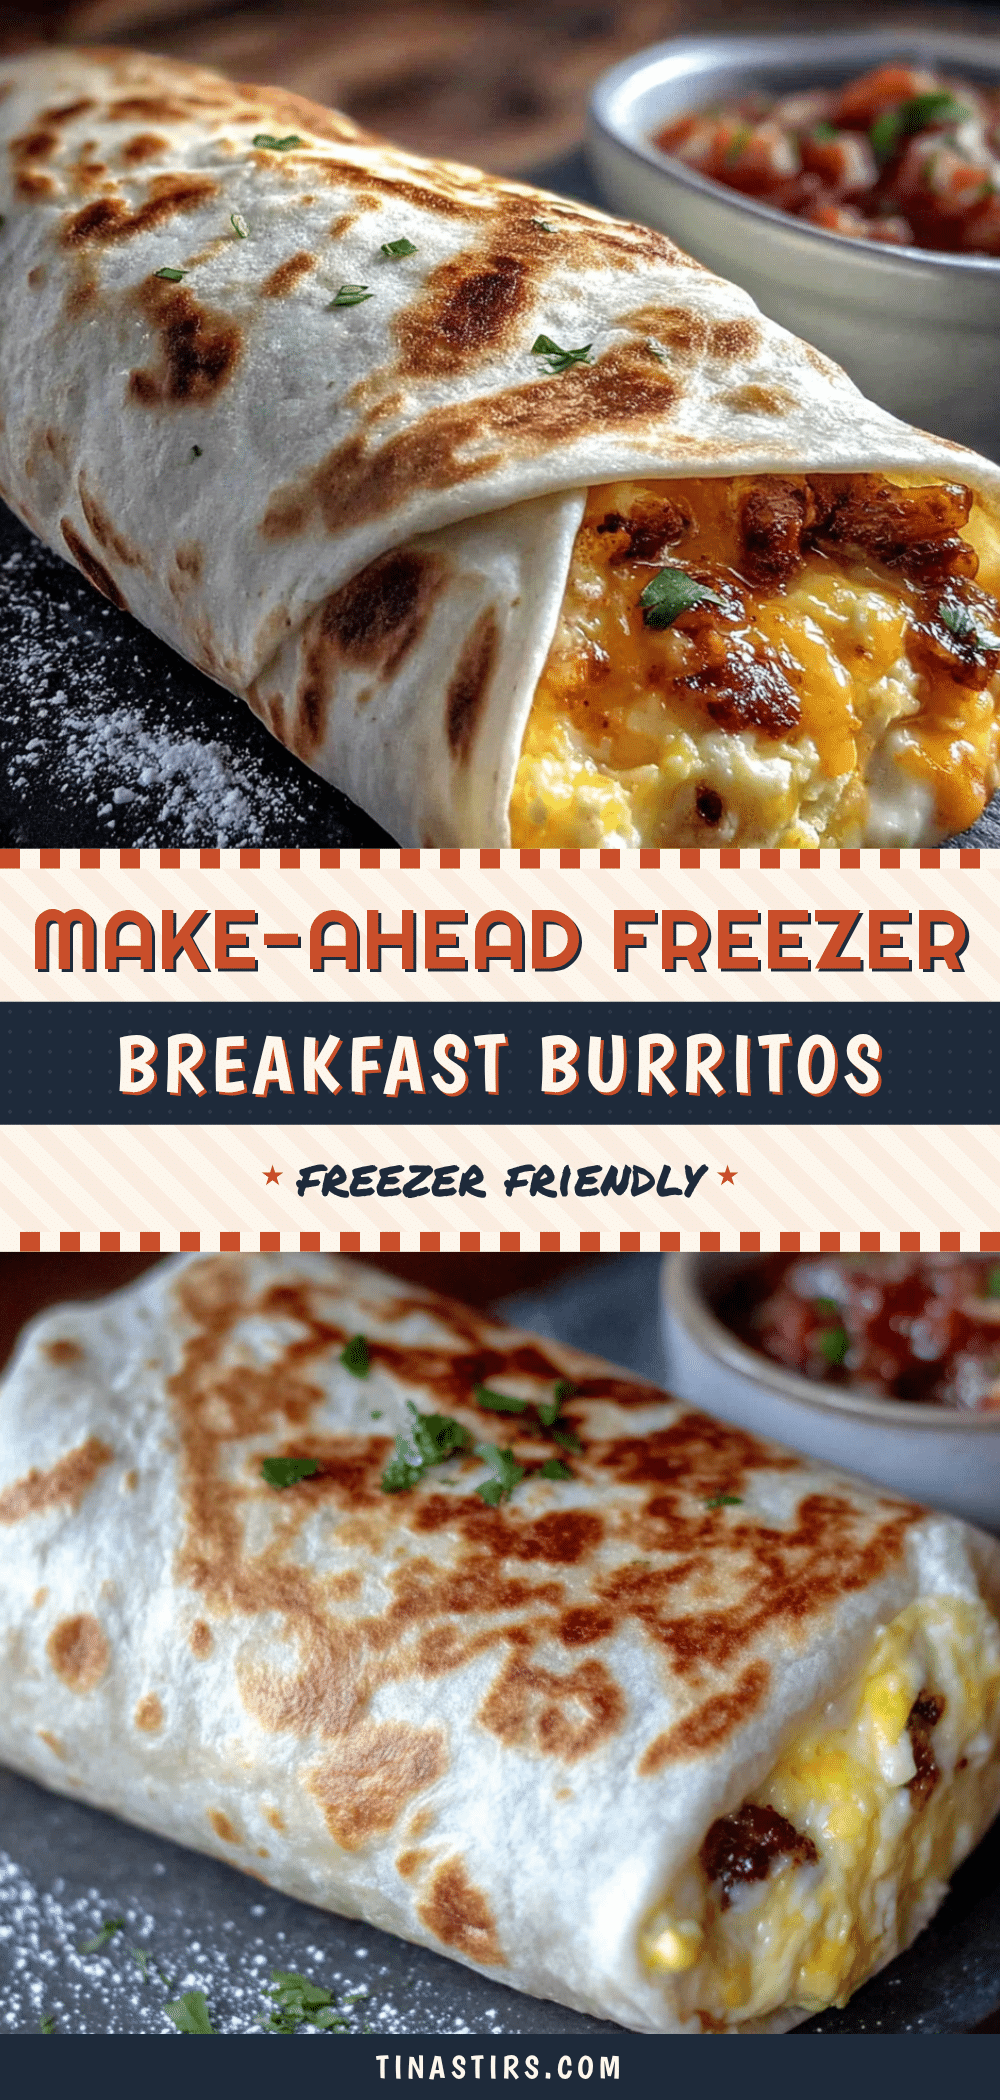
Easy Freezer Breakfast Burritos: The Best Make-Ahead Meal

These freezer breakfast burritos are the ultimate make-ahead meal for busy mornings. Packed with fluffy scrambled eggs, savory sausage, cheese, and veggies, they reheat perfectly and taste like you just made them.
- Prep Time: 30 minutes
- Cook Time: 20 minutes
- Total Time: 50 minutes
- Yield: 12 servings 1x
- Category: Breakfast
- Cuisine: American
Ingredients
- 12 large eggs
- 1/3 cup milk or half-and-half
- 1/2 cup cottage cheese, blended smooth
- 1/2 teaspoon salt
- 1/4 teaspoon black pepper
- 2 tablespoons butter or olive oil
- 1 pound breakfast sausage, bacon, or chorizo
- 2 cups shredded cheddar or Monterey Jack cheese
- 1 can (15 oz) black beans, drained and rinsed
- 1 cup frozen hash browns or diced potatoes
- 1/2 cup diced onion
- 1/2 cup diced bell pepper
- Optional: sautéed mushrooms, chopped spinach, diced jalapeños, fresh cilantro
- 12 large (10-inch) flour tortillas
- Parchment paper or aluminum foil for wrapping
Instructions
- Cook the protein: Heat a large skillet over medium heat. Cook your chosen protein (sausage, bacon, or chorizo) until browned and cooked through, about 6-8 minutes. Transfer to a plate lined with paper towels to drain excess grease.
- Cook the vegetables: In the same skillet, leave about 1 tablespoon of rendered fat (or add oil). Sauté diced onion and bell pepper over medium heat until softened and translucent, about 3-4 minutes. Add frozen hash browns and cook for another 2 minutes. Season with salt and pepper. Transfer to a bowl.
- Prepare the eggs: In a large bowl, whisk together eggs, milk, blended cottage cheese, salt, and pepper until smooth and slightly frothy. Reduce skillet heat to medium-low, add butter, and let it melt. Pour in egg mixture. Let sit undisturbed for 30 seconds, then gently push cooked eggs from edges toward center. Cook until soft and slightly underdone, about 4-5 minutes. Transfer to a bowl and let cool completely.
- Cool everything completely: Spread cooked eggs, protein, and vegetables on separate plates or baking sheets. Let cool at room temperature for at least 15 minutes until cool to the touch.
- Assemble the burritos: Lay a tortilla flat. Spoon about 1/2 cup egg mixture into the center, leaving a 2-inch border. Top with 2 tablespoons protein, 2 tablespoons vegetable mixture, 1 tablespoon black beans (if using), and 2 tablespoons cheese. Fold sides inward, then fold bottom edge up and over filling, tucking tightly. Roll into a tight cylinder, seam-side down. Repeat with remaining tortillas and filling.
- Wrap and freeze: Let assembled burritos sit on a baking sheet for 10 minutes to cool further. Wrap each tightly in parchment paper or aluminum foil. Place wrapped burritos in a single layer in a freezer-safe zip-top bag, squeeze out air, and seal. Label with date and contents. Freeze for up to 3 months.
Notes
Don’t overcook the eggs; they should be soft and slightly underdone as they’ll continue cooking from residual heat. Cool the filling completely before assembling to prevent soggy tortillas. Use 10-inch tortillas for best results. Blot cooked bacon or vegetables dry to remove excess moisture. For best reheating, wrap in a damp paper towel and microwave for 1.5-2 minutes, flipping halfway. For a crispier tortilla, finish in a dry skillet after microwaving.
Nutrition
- Serving Size: 1 burrito
- Calories: 400
- Sugar: 3
- Sodium: 700
- Fat: 20
- Saturated Fat: 8
- Carbohydrates: 30
- Fiber: 5
- Protein: 23
Keywords: freezer breakfast burritos, make-ahead breakfast, meal prep, breakfast burrito, easy breakfast, freezer meal


