Love this? Save it for later!
Share the inspiration with your friends
The first time I made this elderberry syrup, it was 11pm on a Tuesday and my toddler had just woken up with a cough that sounded like a tiny, angry seal. I’d bought dried elderberries weeks before, fully intending to be that prepared mom with a stocked medicine cabinet. Instead, they’d been sitting in my pantry, judging me every time I grabbed the pasta. I had no immune-boosting backup plan, the stores were closed, and honestly? I was running on fumes and desperation.
So I grabbed that bag of elderberries, some cinnamon sticks I’d been hoarding for a baking project I never started, and a handful of whole cloves that smelled like my grandmother’s kitchen. I figured if I was going to be up all night anyway, I might as well try something. I mean, what was the worst that could happen? A sticky mess and a weird-smelling kitchen? Been there.
I boiled, I simmered, I strained through a cheesecloth that I’d actually washed and reused from a yogurt experiment (resourceful, right?). And when that deep purple syrup finally cooled and I drizzled a spoonful into my son’s tea, he actually asked for more. That never happens. The next morning, his cough was looser, his color was better, and I felt like I’d just discovered some kind of kitchen wizardry. This homemade elderberry syrup with cinnamon and cloves became my cold-and-flu-season secret weapon that night. It’s not fancy, it’s not complicated, but it works. And maybe you’ve been there—desperate for something natural that actually tastes good enough for a kid to take willingly.
Why You’ll Love This Recipe
Look, I’ve tried a lot of elderberry syrups over the years. The store-bought ones are expensive, often loaded with sugar, and sometimes have that weird medicinal aftertaste that makes you scrunch up your face. Not this one. This homemade elderberry syrup with cinnamon and cloves is the real deal, and here’s why it’s earned a permanent spot in my fridge every fall.
- Quick & Easy: From start to finish, you’re looking at about 45 minutes. Most of that is hands-off simmering time. You can make a batch while you’re cleaning up after dinner.
- Simple Ingredients: Dried elderberries, cinnamon sticks, whole cloves, raw honey, and water. That’s it. No weird additives or things you can’t pronounce.
- Perfect for Cold & Flu Season: This isn’t just a tasty syrup—it’s a go-to remedy when the whole house starts sniffling. It’s become my first line of defense.
- Crowd-Pleaser: The warm spice from the cinnamon and cloves balances the tartness of the elderberries beautifully. Even my picky eater takes it without a fight. I call that a win.
- Unbelievably Delicious: I know “immune syrup” doesn’t usually sound appetizing, but this one tastes like a warm, spiced berry tea. You’ll actually look forward to taking your daily dose.
What makes this recipe different from the rest? It’s the balance. I’ve tested dozens of ratios, and this one hits the sweet spot between potent and palatable. The cinnamon and cloves aren’t just for flavor—they bring their own immune-supporting properties to the party. It’s comfort in a jar, made with ingredients that have been used for centuries. Honestly, it’s the kind of recipe that makes you feel like you’re actually taking care of your family, not just handing them another pill.
What Ingredients You Will Need
This recipe relies on a short list of powerful, pantry-friendly ingredients. Each one plays a specific role, from the immune-boosting star power of the elderberries to the warming, aromatic depth of the spices. Here’s what you’ll need to gather.
- Dried Elderberries: 1 cup. These are the heart of the recipe. I buy mine from Mountain Rose Herbs or a trusted local bulk herb shop. Look for deep purple-black berries that are plump and aromatic. Avoid any that look shriveled or dusty.
- Cinnamon Sticks: 2-3 whole sticks (about 3 inches each). Use Ceylon cinnamon if you can find it—it’s milder and sweeter than the more common Cassia variety. But honestly, Cassia works fine and is easier to find at the grocery store.
- Whole Cloves: 1 tablespoon. Don’t use ground cloves here—they’ll make the syrup cloudy and hard to strain. Whole cloves release their flavor slowly and are much easier to fish out later.
- Raw Honey: 1 cup. This is added after the syrup has cooled to preserve its beneficial enzymes. Use a high-quality local raw honey if possible. It adds natural sweetness and its own immune-supporting properties. For a vegan option, you can substitute with maple syrup, though the flavor will be slightly different.
- Filtered Water: 4 cups. Tap water with chlorine can affect the taste. Filtered or spring water gives you a cleaner, purer syrup.
- Optional: Fresh Ginger: A 2-inch piece, sliced. I add this about half the time, especially if I feel a cold coming on. It adds a nice zing and extra anti-inflammatory benefits. Just strain it out with the berries.
Ingredient Selection Tips: When buying dried elderberries, make sure they are Sambucus nigra (European elderberry) or Sambucus canadensis (American elderberry). These are the safe, edible varieties. Never use fresh or uncooked elderberries—they can be toxic. Drying and cooking neutralizes the compounds that cause issues.
Equipment Needed
You don’t need a fancy apothecary setup for this. Most of these tools are probably already in your kitchen. Here’s what works for me.
- Medium to Large Saucepan: A 3-quart pot is ideal. Stainless steel or enameled cast iron works best. Avoid aluminum, which can react with the acidic berries.
- Fine-Mesh Strainer or Cheesecloth: I prefer a double layer of cheesecloth for the clearest syrup. A fine-mesh strainer works in a pinch, but you might get some sediment.
- Glass Jar or Bottle: A 16-ounce or 24-ounce glass jar with a tight-fitting lid works perfectly. I use a swing-top bottle because it looks nice in the fridge.
- Wooden Spoon or Silicone Spatula: For stirring. Nothing fancy needed.
- Measuring Cups and Spoons: For accuracy. Eyeballing it with elderberry syrup can lead to a batch that’s too weak or too concentrated.
- Funnel: Optional but helpful for pouring the hot syrup into the jar without spilling it everywhere. I learned this the hard way.
Budget-Friendly Options: If you don’t have cheesecloth, a clean, thin kitchen towel or even a coffee filter in a strainer can work. Just be patient—it will take longer to strain.
Preparation Method
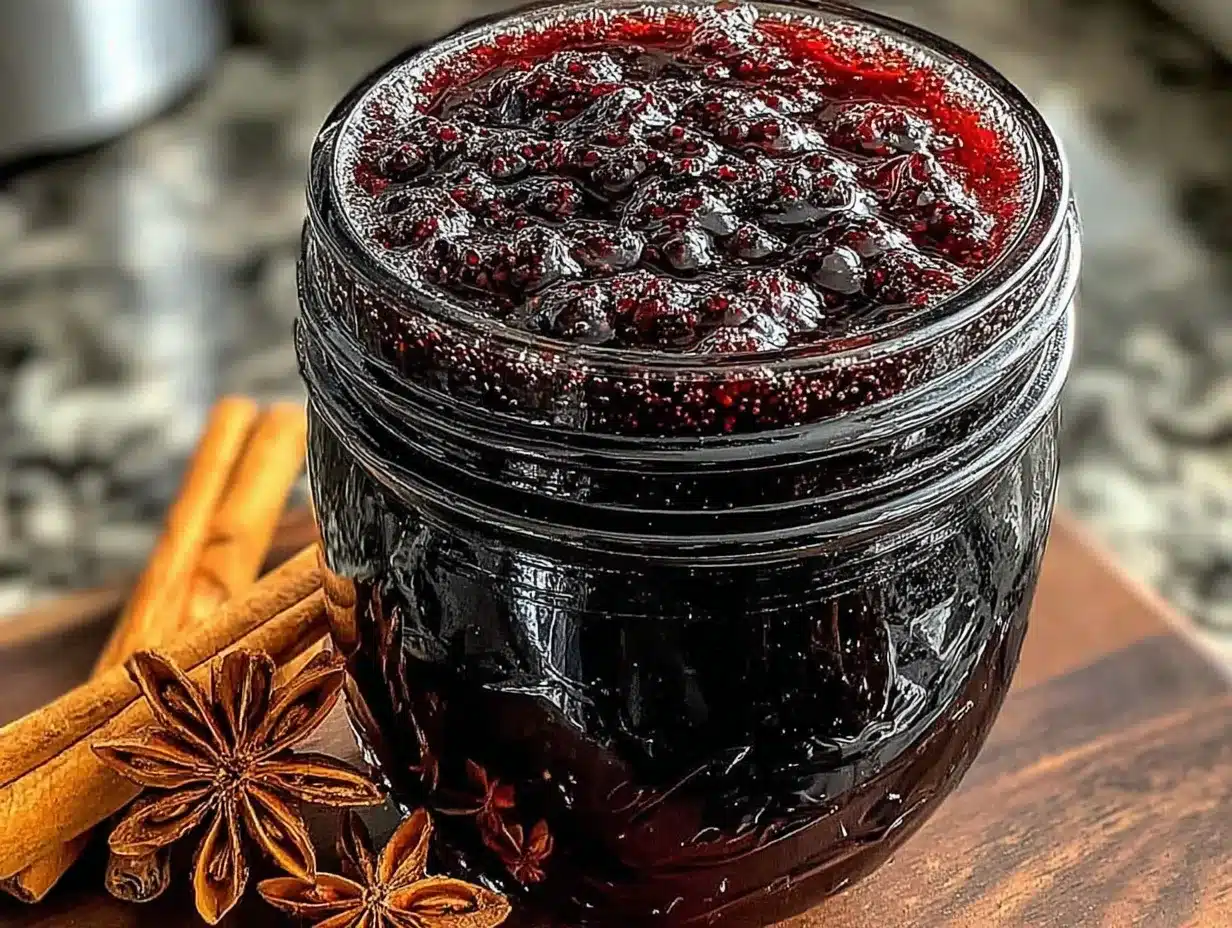
Making this syrup is almost meditative. There’s something satisfying about watching the water turn that deep, jewel-like purple. Let me walk you through it step by step.
- Combine the base ingredients: In your medium saucepan, add the 1 cup of dried elderberries, 4 cups of filtered water, 2-3 cinnamon sticks, and 1 tablespoon of whole cloves. If you’re using the optional ginger, toss those slices in now too. Give everything a quick stir with your wooden spoon.
- Bring to a boil, then simmer: Turn the heat to high and bring the mixture to a rolling boil. Once it’s boiling, reduce the heat to low and let it simmer gently. You want a soft simmer—little bubbles breaking the surface, not a violent boil. Set a timer for 30 minutes.
- Watch the color change: Around the 15-minute mark, you’ll notice the water turning a gorgeous deep purple. The kitchen will start smelling like a fall candle—warm, spicy, and comforting. Keep an eye on the liquid level. If it looks like it’s reducing too quickly, add a splash more water.
- Mash the berries (optional but recommended): After 25 minutes, take your spoon and gently mash the berries against the side of the pot. This releases more of their goodness. Don’t go crazy—you’re not making jam, just coaxing out the flavor.
- Strain the mixture: After 30 minutes, remove the pot from the heat. Place your fine-mesh strainer or cheesecloth over a large bowl or a heatproof measuring cup. Carefully pour the hot liquid through. Let it drain naturally—don’t press on the berries too hard, or you’ll get cloudy syrup. Let it sit and drip for about 10 minutes.
- Cool the liquid: Let the strained liquid cool completely. This is important! If you add honey to hot liquid, you’ll destroy its beneficial enzymes. I usually let it sit on the counter for about 45 minutes to an hour. Stick a thermometer in it if you’re unsure—you want it below 110°F.
- Add the honey: Once the liquid is cool, pour in the 1 cup of raw honey. Stir gently but thoroughly until the honey is completely dissolved. Taste it at this point. It should be sweet with a pleasant tartness and a warm spice finish. If it’s too tart for your liking, you can add a bit more honey.
- Bottle and store: Using your funnel, pour the finished syrup into your clean glass jar. Seal it tightly and pop it in the refrigerator. It will thicken slightly as it cools.
Pro Tip: I always label my jar with the date. This syrup keeps for about 2-3 months in the fridge, but honestly, we go through it much faster than that.
Cooking Tips & Techniques
I’ve made this homemade elderberry syrup with cinnamon and cloves more times than I can count, and I’ve definitely made my share of mistakes. Here’s what I’ve learned so you don’t have to repeat my blunders.
Don’t over-boil: I once got distracted and let my berries boil for almost an hour. The syrup turned out bitter and overly concentrated. Stick to the 30-minute simmer. Longer isn’t better here—it just breaks down the berries too much and releases unpleasant tannins.
Temperature is everything for the honey: This was my biggest failure. I was in a hurry and poured the honey into warm liquid. The result? A perfectly sweet syrup that had absolutely no immune benefits from the honey. Let it cool. Walk away. Do something else. Your future sick-day self will thank you.
Straining technique matters: If you press on the berries to get every last drop, you’ll end up with a cloudy, gritty syrup. Let gravity do the work. If you want a perfectly clear syrup, strain it twice—once through a strainer and once through a coffee filter.
Multitasking strategy: While the berries are simmering, wash and dry your jar. Get your honey measured out. Clean up the kitchen. This recipe is perfect for fitting into your evening routine because the active time is so short.
Consistency check: Your syrup should be slightly thicker than water but thinner than maple syrup. If it’s too thin, you can simmer it a bit longer next time. If it’s too thick, add a tablespoon of water when you reheat it for serving.
Variations & Adaptations
One of the best things about this recipe is how flexible it is. Here are some variations I’ve tried and loved.
- Spicy Immune Booster: Add a 2-inch piece of fresh ginger (sliced) and 1/2 teaspoon of turmeric powder to the simmering pot. It adds a warming kick and extra anti-inflammatory power. My husband loves this version when he feels a sore throat coming on.
- Citrus Twist: Add the peel of one organic orange and one lemon to the simmering pot. The citrus oils add brightness and vitamin C. Just make sure to remove the white pith—it’s bitter. This version tastes like a fancy winter tea.
- Kid-Friendly Version: Reduce the cloves to 1/2 tablespoon. Cloves can be strong for little palates. You can also add a vanilla bean (split) to the simmering liquid for a sweeter, more approachable flavor.
- Alcohol-Based Tincture Variation: If you want a shelf-stable version that doesn’t need refrigeration, you can make an elderberry tincture instead. Cover the dried berries with vodka or brandy, let it steep for 4-6 weeks, and strain. But honestly? The syrup version is easier and tastes way better.
- Low-Sugar Option: You can reduce the honey to 1/2 cup for a less sweet syrup. The flavor will be more tart and berry-forward. It’s still delicious, especially if you’re using it in tea or cocktails.
Serving & Storage Suggestions
This syrup is incredibly versatile. Here’s how I use it and how to keep it fresh.
How to Take It: For adults, I take 1 tablespoon daily during cold and flu season. If I feel something coming on, I bump it up to 1 tablespoon every 4 hours. For kids over age 1, give 1 teaspoon daily. Always check with your pediatrician first. You can take it straight off a spoon (it’s tasty!) or mix it into warm water, tea, or even sparkling water for a refreshing drink.
In Food & Drinks: Drizzle it over pancakes, yogurt, or oatmeal. Stir it into smoothies. Use it as a glaze for roasted chicken or pork—the sweet and spicy flavor is surprisingly good with savory dishes. I’ve even used it in salad dressings and cocktails.
Storage: Keep your syrup in a sealed glass jar in the refrigerator. It will last for 2-3 months. If you see any mold or fermentation (bubbles, off smell), toss it and make a fresh batch. This has never happened to me, but it’s good to know what to look for.
Freezing: You can freeze this syrup in ice cube trays. Once frozen, pop the cubes into a freezer bag. They’ll last for up to a year. Thaw a cube or two as needed—perfect for adding to tea on a cold morning.
Reheating: If your syrup crystallizes or gets too thick in the fridge, just place the jar in a bowl of warm water for a few minutes. Give it a shake, and it’s good to go. Never microwave it—that will destroy the honey’s benefits.
Nutritional Information & Benefits
This isn’t a meal replacement, but it’s packed with goodness. Here’s a rough estimate per 1-tablespoon serving.
- Calories: Approximately 45-50
- Carbohydrates: 12-13g (mostly from honey)
- Sugar: 11-12g (natural sugars from honey and berries)
- Vitamin C: Small amounts from elderberries
- Antioxidants: High (elderberries are rich in flavonoids)
Health Benefits: Elderberries are known for their immune-supporting properties. They’re packed with antioxidants that help your body fight off oxidative stress. Cinnamon is a powerful anti-inflammatory and can help regulate blood sugar. Cloves have antimicrobial properties and are great for digestive health. Raw honey is a natural cough suppressant and contains beneficial enzymes. Together, they make a powerhouse combination.
Dietary Considerations: This recipe is naturally gluten-free, dairy-free, and nut-free. It’s vegetarian and can be made vegan by substituting maple syrup for honey. Not suitable for infants under 1 year due to honey (risk of botulism). Always check with your healthcare provider before starting any new supplement, especially if you’re pregnant, nursing, or on medication.
Conclusion
Making your own homemade elderberry syrup with cinnamon and cloves is one of those small acts of care that makes you feel like you’ve got your life together. It’s simple, it’s effective, and it honestly tastes like a warm hug in a jar. I love that I know exactly what’s in it, that I can adjust the flavors to suit my family, and that it turns a pantry staple into something genuinely useful when the sniffles hit.
I hope you give this recipe a try. Don’t be afraid to tweak it to your liking—more cinnamon, less clove, a splash of orange. Make it your own. And when you do, I’d love to hear about it. Drop a comment below and tell me how your batch turned out, or share a photo of your syrup on Pinterest. Tag me so I can celebrate your kitchen victory with you. Because let’s be honest—when you make something this good from scratch, you deserve a little praise.
Stay healthy, friends. Your immune system will thank you.
Frequently Asked Questions
Can I use fresh elderberries instead of dried?
No, please don’t. Fresh elderberries contain compounds that can cause nausea and digestive upset. They must be cooked thoroughly to be safe. Dried elderberries are the standard for syrup making and are much easier to find and store.
How long does this syrup last in the fridge?
Properly stored in a sealed glass jar, your elderberry syrup will last for 2-3 months in the refrigerator. Always check for signs of mold or fermentation before using. If it smells off or looks fizzy, it’s time to make a new batch.
Can I give this syrup to my toddler?
You can give it to children over 1 year old. The standard dose is 1 teaspoon daily for prevention. For children under 1, the honey poses a risk of botulism, so this recipe is not suitable for infants. Always consult your pediatrician before giving any herbal remedy to a child.
Why did my syrup turn out cloudy?
Cloudy syrup usually means you pressed too hard on the berries while straining, or you used ground spices instead of whole ones. Next time, let the liquid drip through naturally without squeezing, and stick to whole cinnamon sticks and cloves. It’s still perfectly fine to use—just not as pretty.
Can I make this without honey?
Absolutely. If you want a vegan version or just prefer less sweetness, you can skip the honey entirely. You’ll have an unsweetened elderberry concentrate that’s more tart and potent. You can sweeten individual servings with maple syrup or stevia as needed. Just keep in mind that the honey also acts as a natural preservative, so the shelf life may be slightly shorter without it.
Pin This Recipe!
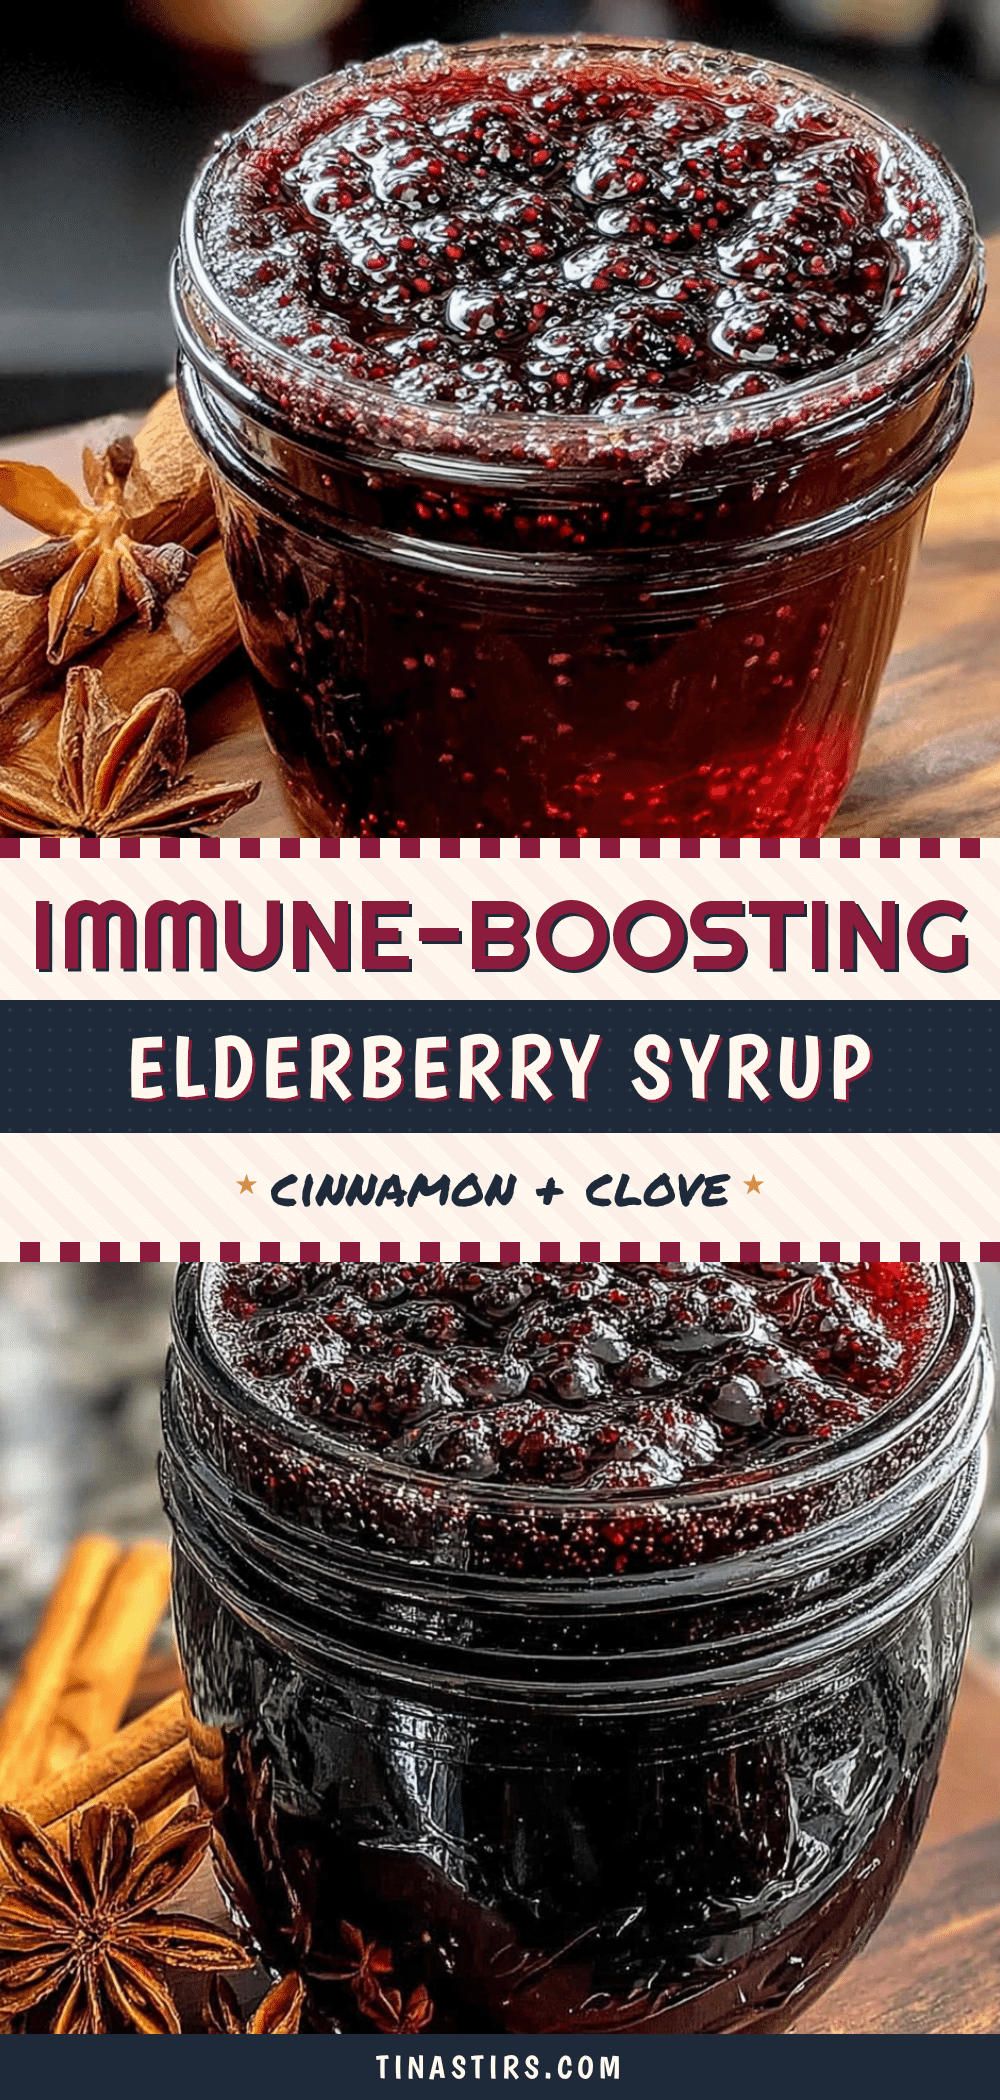
Easy Homemade Elderberry Syrup with Cinnamon & Cloves
This homemade elderberry syrup with cinnamon and cloves is a simple, immune-boosting remedy perfect for cold and flu season. Made with dried elderberries, warm spices, and raw honey, it’s delicious enough for kids to take willingly.
- Prep Time: 15 minutes
- Cook Time: 30 minutes
- Total Time: 45 minutes
- Yield: 4 servings 1x
- Category: Remedy
- Cuisine: American
Ingredients
- 1 cup dried elderberries
- 4 cups filtered water
- 2–3 whole cinnamon sticks (about 3 inches each)
- 1 tablespoon whole cloves
- 1 cup raw honey
- Optional: 2-inch piece fresh ginger, sliced
Instructions
- Combine the base ingredients: In a medium saucepan, add the dried elderberries, filtered water, cinnamon sticks, whole cloves, and optional ginger slices. Stir to combine.
- Bring to a boil, then simmer: Turn heat to high and bring to a rolling boil. Reduce heat to low and let it simmer gently for 30 minutes.
- Watch the color change: Around 15 minutes, the water will turn deep purple. Keep an eye on liquid level; add a splash more water if reducing too quickly.
- Mash the berries (optional but recommended): After 25 minutes, gently mash the berries against the side of the pot with a spoon to release more flavor.
- Strain the mixture: After 30 minutes, remove from heat. Pour through a fine-mesh strainer or cheesecloth into a large bowl or heatproof measuring cup. Let it drain naturally for about 10 minutes without pressing on the berries.
- Cool the liquid: Let the strained liquid cool completely (below 110°F), about 45 minutes to an hour.
- Add the honey: Once cool, pour in the raw honey and stir gently until completely dissolved.
- Bottle and store: Using a funnel, pour the syrup into a clean glass jar. Seal tightly and refrigerate.
Notes
Do not use fresh elderberries; they can be toxic. Always add honey after the liquid has cooled to preserve beneficial enzymes. For a vegan option, substitute maple syrup for honey. Store in the refrigerator for 2-3 months. For children over 1 year, give 1 teaspoon daily; for adults, 1 tablespoon daily. Consult a pediatrician before giving to children.
Nutrition
- Serving Size: 1 tablespoon
- Calories: 4550
- Sugar: 1112
- Carbohydrates: 1213
Keywords: elderberry syrup, homemade elderberry syrup, immune booster, cold remedy, cinnamon, cloves, natural remedy, elderberry recipe


