Love this? Save it for later!
Share the inspiration with your friends
Introduction
There used to be this quirky little ice cream shop tucked away on a sunlit corner of Main Street, the kind of place with faded pastel walls and a bell that jingled every time the door opened. They made the most unforgettable salted caramel ice cream I’ve ever tasted. When they suddenly closed one summer — no warning, no goodbye — it felt like a piece of my summer vanished along with them. Honestly, I found myself craving that creamy, sweet-salty magic on lazy afternoons, but the shop was gone, just like that.
After about five attempts — some caramel burned, some batches icy and others too sweet — I finally got it. This easy no-churn salted caramel ice cream recipe was born out of stubborn longing and a few messy kitchen disasters (there was caramel everywhere on that one Saturday, just so you know). Maybe you’ve been there — chasing a flavor memory that just won’t quit. That’s exactly why this recipe stayed with me; it’s not just ice cream, but a little scoop of my summer afternoons, captured and ready to share.
Why You’ll Love This Recipe
Let me tell you, this no-churn salted caramel ice cream recipe isn’t just any frozen treat — it’s one I trust to impress without the fuss. I’ve tested it in family gatherings, heatwave afternoons, and even during impromptu dinner parties. Everyone asks for the recipe (and yes, I share it with a grin).
- Quick & Easy: Comes together in under 20 minutes, perfect for those sudden sweet cravings or last-minute summer plans.
- Simple Ingredients: You don’t need a fancy pantry; just the basics you likely have on hand — no ice cream maker required.
- Perfect for Summer Treats: Whether it’s a backyard barbecue or a quiet evening on the porch, this ice cream fits right in.
- Crowd-Pleaser: Kids and adults alike rave about the rich caramel flavor with just the right hint of saltiness.
- Unbelievably Delicious: The creamy texture and the balance of sweet and salty make it feel like a scoop of homemade luxury.
- Unique Twist: The salted caramel is made from scratch with a simple stovetop method — no burnt sugar or bitterness — just smooth, buttery goodness.
This recipe isn’t just another frozen dessert; it holds a story and a special kind of comfort. It’s the kind that makes you pause, savor, and maybe even smile a little at your own kitchen triumphs.
What Ingredients You Will Need
This easy no-churn salted caramel ice cream recipe uses simple, wholesome ingredients to deliver bold flavor and that satisfyingly creamy texture without any complicated steps. Most are pantry staples, and you can tweak a few to suit your needs.
- Heavy whipping cream (2 cups / 480 ml) — I prefer using a brand like Organic Valley for best whipping results.
- Sweetened condensed milk (1 can, 14 oz / 396 g) — this adds sweetness and creaminess without extra sugar measuring.
- Granulated sugar (1 cup / 200 g) — for the caramel; use regular white sugar for a clean caramel flavor.
- Unsalted butter (6 tbsp / 85 g) — room temperature, adds richness and smoothness to the caramel.
- Sea salt (1 tsp) — flaky sea salt is best for that perfect salty kick.
- Vanilla extract (1 tsp) — pure vanilla brings out the depth of flavor.
If you want to make a dairy-free version, swap the heavy cream for coconut cream and use a dairy-free condensed milk alternative. For a gluten-free treat, you’re already good to go since none of the ingredients contain gluten.
Equipment Needed
For this no-churn salted caramel ice cream recipe, you won’t need any fancy gadgets, which is part of the charm.
- Mixing bowls: One large bowl for whipping cream and another for mixing caramel and condensed milk.
- Electric mixer or hand whisk: An electric mixer makes whipping cream easier and quicker, but a sturdy hand whisk works if you’re up for a bit of arm workout.
- Medium saucepan: For making the caramel — a heavy-bottomed pan helps prevent burning.
- Rubber spatula: For folding ingredients gently.
- Loaf pan or airtight container: To freeze your ice cream mixture. Aluminum pans work well, but plastic or glass containers are fine too.
- Freezer space: Make sure you have enough room for a container that’s about 8×4 inches (20×10 cm).
I’ve tried making this with silicone loaf molds before — fun and easy to unmold — but the texture stays best in a classic loaf pan. Also, keeping your mixing bowl and beaters chilled before whipping cream helps a ton, a neat trick I learned the hard way!
Preparation Method
- Make the salted caramel: In a medium heavy-bottomed saucepan, add 1 cup (200 g) granulated sugar over medium heat. Stir constantly with a heat-resistant spatula or wooden spoon. The sugar will first clump, then melt into a golden amber liquid after about 7-10 minutes. Be patient and watch carefully — caramel can burn quickly.
- Add butter: Once melted and amber, remove from heat and immediately whisk in 6 tablespoons (85 g) unsalted butter until fully melted and smooth. The mixture will bubble vigorously — that’s normal. Stir quickly to combine.
- Stir in salt and vanilla: Add 1 teaspoon flaky sea salt and 1 teaspoon pure vanilla extract. Mix well and let cool for 10-15 minutes until warm but not hot.
- Whip the cream: In a chilled large mixing bowl, whip 2 cups (480 ml) heavy whipping cream with an electric mixer on medium-high speed until stiff peaks form. This usually takes about 4-5 minutes. Be careful not to overwhip or it will become grainy and start turning into butter.
- Combine with condensed milk: Gently fold 1 can (14 oz / 396 g) sweetened condensed milk into the whipped cream using a rubber spatula. Then fold in the cooled salted caramel sauce until swirled but not completely mixed — those ribbons look beautiful and taste amazing!
- Freeze: Transfer the mixture into a loaf pan or airtight container. Cover tightly with plastic wrap or a lid and place in the freezer for at least 6 hours or overnight until firm.
- Serve: Let the ice cream sit at room temperature for 5 minutes before scooping for the perfect creamy texture.
If your caramel hardens too much before folding, gently warm it again over low heat. Also, if your whipped cream deflates a bit during folding, don’t panic — it still freezes beautifully with a luscious texture. One time, I accidentally added the vanilla extract too early, and the caramel clumped — just a heads-up to add it after the butter is fully incorporated.
Cooking Tips & Techniques
Making this easy no-churn salted caramel ice cream recipe is straightforward, but a few tips will help you get it just right.
- Caramel patience: Don’t rush caramelizing sugar. Stirring constantly and keeping an eye on color prevents burning and bitterness.
- Butter temperature: Room temperature butter blends more smoothly, avoiding lumps in your caramel sauce.
- Whipping cream: Chill your bowl and beaters for quicker, more stable peaks. Watch carefully to avoid overwhipping.
- Folding gently: Use a spatula to fold the condensed milk and caramel into whipped cream gently to keep the airy texture intact.
- Salt balance: If you prefer a stronger salty hit, sprinkle a tiny extra pinch on top before serving — just don’t overdo it!
- Freezing time: Patience pays off — the longer it sets, the creamier the texture. Overnight freezing is ideal.
Honestly, the first time I tried making salted caramel ice cream from scratch, I underestimated how fast caramel can burn. After that, I started using a heavy-bottomed pan and stirring constantly — total game changer. And trust me, folding the caramel in slowly is a step you don’t want to skip; it keeps those beautiful swirls that make this ice cream look as good as it tastes.
Variations & Adaptations
This recipe is pretty versatile, so you can tweak it to fit different tastes or dietary needs.
- Chocolate Swirl: Add melted dark chocolate drizzled in while folding the caramel for a salted caramel chocolate ripple effect.
- Nutty Crunch: Fold in chopped toasted pecans or almonds for texture and a nutty twist.
- Dairy-Free: Use coconut cream instead of heavy cream and a coconut milk-based sweetened condensed milk for a vegan-friendly version.
- Spiced Caramel: Add a pinch of cinnamon or cardamom to the caramel sauce for a warm spice note.
- Sea Salt Variation: Swap flaky sea salt with smoked salt for a subtle smoky flavor.
I once tried adding a swirl of homemade pumpkin butter in the fall, and it was surprisingly delightful — like autumn in a scoop! Also, if you want to speed things up, you can freeze the mixture in smaller containers for faster set times.
Serving & Storage Suggestions
This easy no-churn salted caramel ice cream is best served slightly softened — about 5 minutes at room temperature — so it scoops smoothly and melts in your mouth.
- Serve it on its own or topped with chopped nuts or a drizzle of extra caramel sauce.
- Pairs well with warm desserts like apple crisp, brownies, or a slice of rich chocolate cake.
- For drinks, try alongside a cup of strong coffee or a glass of dessert wine.
- Store any leftovers in an airtight container in the freezer for up to 2 weeks.
- When reheating, avoid microwaving; just let it soften at room temperature for 10-15 minutes.
The flavors actually deepen after a day or two in the freezer — something I noticed when I left a batch too long once and was pleasantly surprised at the richer caramel notes.
Nutritional Information & Benefits
While this recipe is undeniably a treat, it also has some nutrition perks thanks to its real ingredients.
- Each serving (about 1/2 cup or 120 ml) contains roughly 300-350 calories, with a good balance of fat and sugar.
- Heavy cream provides fat-soluble vitamins A and D.
- Sea salt adds trace minerals missing from regular table salt.
- Made with real butter and no artificial flavorings, it’s a cleaner indulgence than many store-bought ice creams.
- Gluten-free by nature, and easily adaptable to dairy-free.
I like to think of this ice cream as the kind of treat you savor mindfully, not something to rush through. It fits nicely into a balanced lifestyle where joy counts as much as nutrition.
Conclusion
This easy no-churn salted caramel ice cream recipe is a keeper — a simple, delicious way to bring a little luxury to your summer days without complicated steps or special equipment. You can tweak the saltiness, add mix-ins, or keep it classic and creamy.
Personally, making this recipe reminds me of those sunny afternoons chasing a flavor lost to time but found again in my own kitchen. I hope it brings you the same comfort and joy.
Give it a try, and feel free to share your own twists or experiences in the comments — I love hearing how others make this recipe their own. Here’s to sweet, salty, and easy summer treats that taste like a little piece of happiness.
FAQs
- Can I use light cream instead of heavy cream?
Light cream won’t whip up properly, so heavy whipping cream is best for the right texture. - How do I prevent the caramel from burning?
Use a heavy-bottomed pan, stir constantly, and watch the color closely — remove from heat when it’s a rich amber. - Can I make this ice cream ahead of time?
Yes, it freezes well for up to two weeks; just thaw slightly before serving. - Is this recipe suitable for vegans?
Not as is, but you can substitute coconut cream and dairy-free condensed milk to make it vegan-friendly. - Can I add mix-ins like chocolate chips or nuts?
Absolutely! Fold them in gently before freezing for added texture and flavor.
Pin This Recipe!
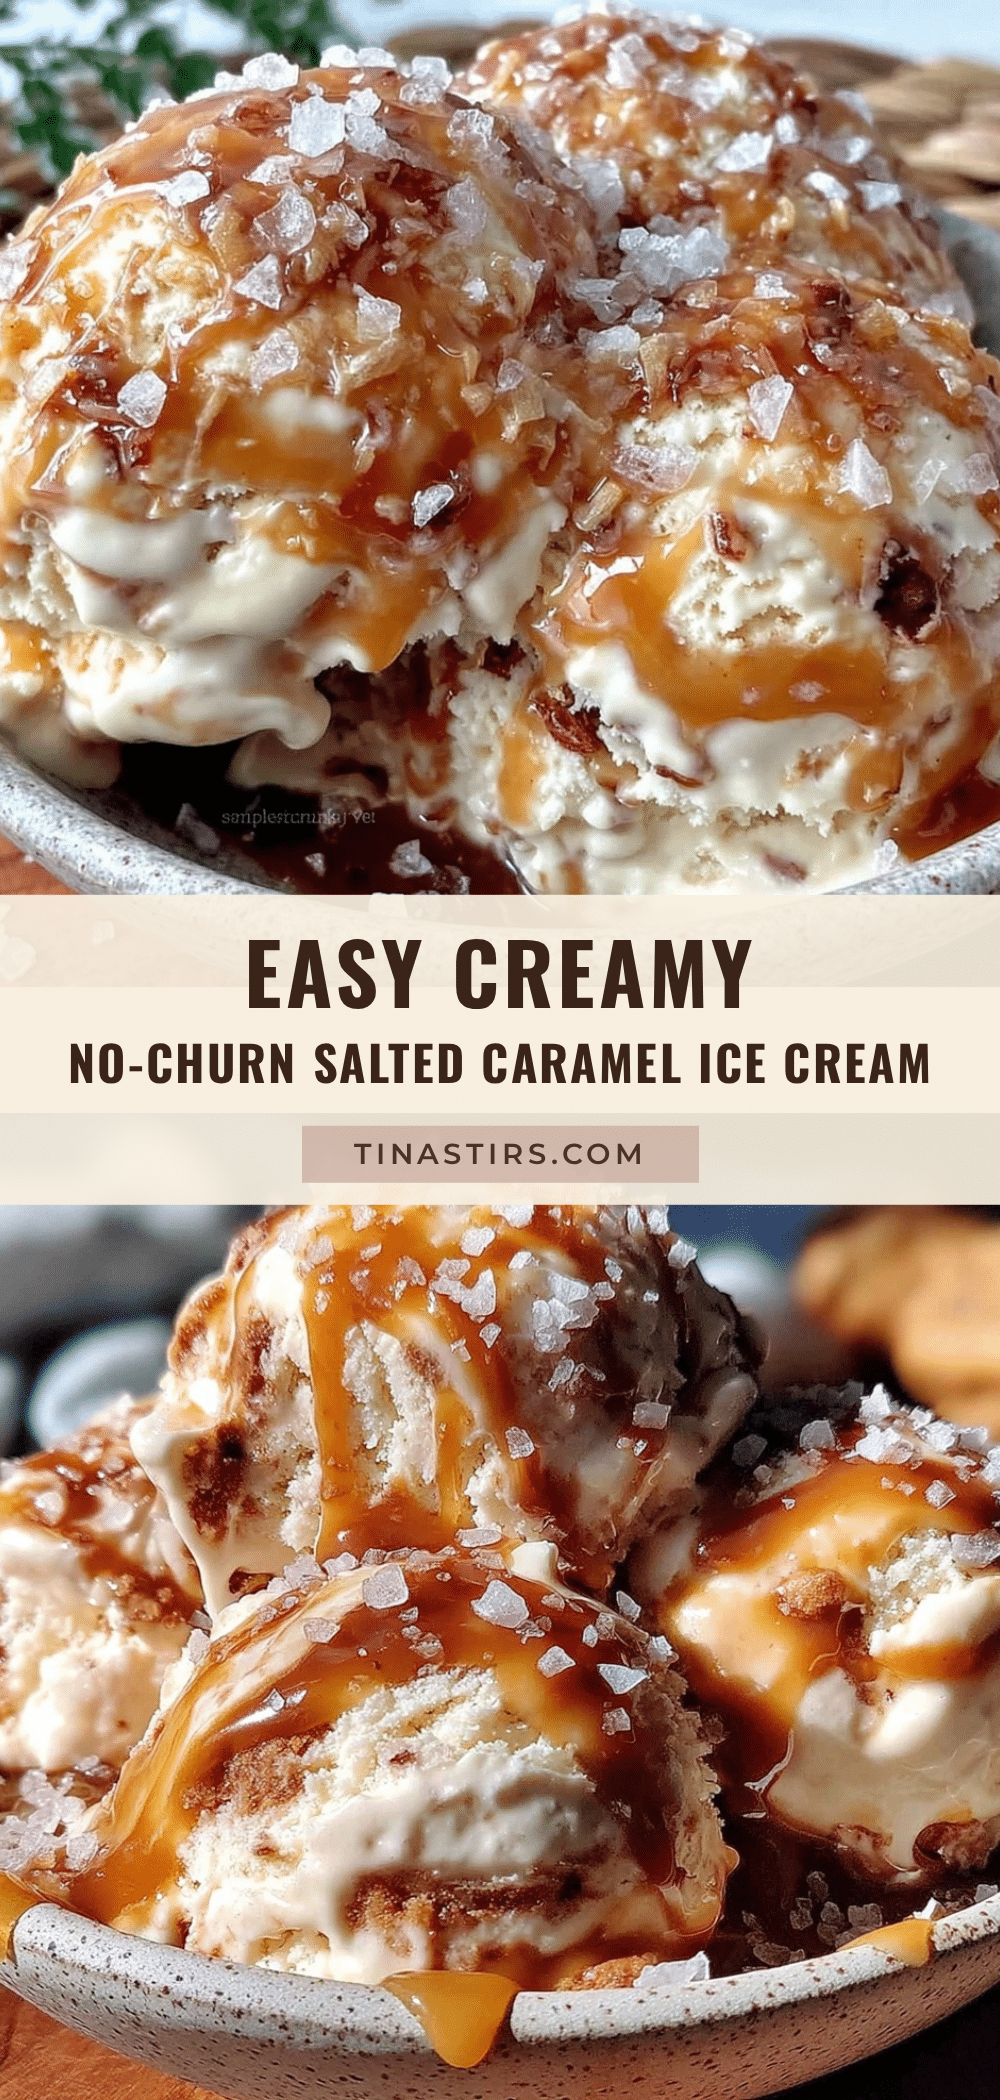
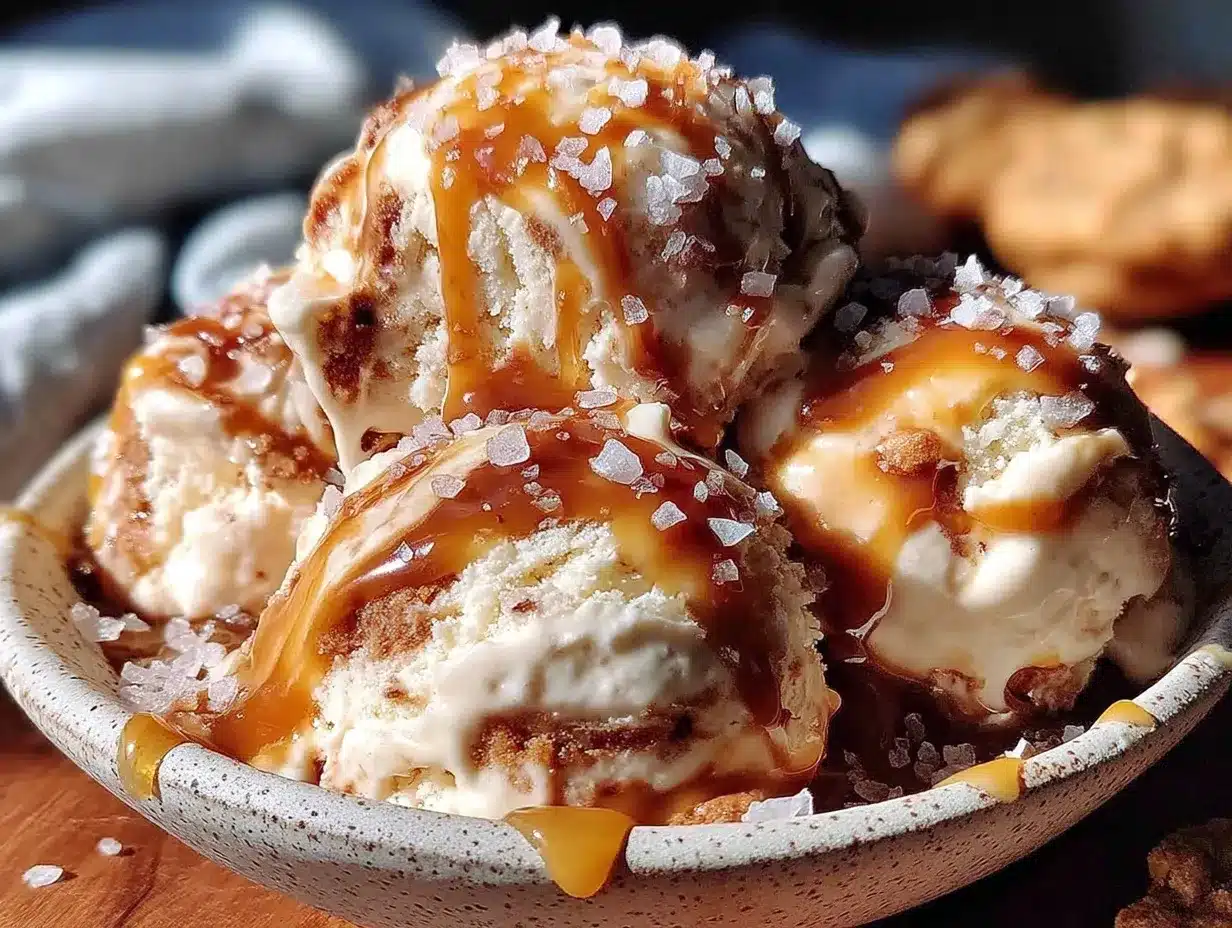
Easy No-Churn Salted Caramel Ice Cream Recipe Perfect for Summer Treats

A quick and easy no-churn salted caramel ice cream recipe that delivers creamy, sweet-salty magic without the need for an ice cream maker. Perfect for summer treats and crowd-pleasing gatherings.
- Prep Time: 15 minutes
- Cook Time: 10 minutes
- Total Time: 6 hours 25 minutes
- Yield: 8 servings 1x
- Category: Dessert
- Cuisine: American
Ingredients
- 2 cups (480 ml) heavy whipping cream
- 1 can (14 oz / 396 g) sweetened condensed milk
- 1 cup (200 g) granulated sugar
- 6 tbsp (85 g) unsalted butter, room temperature
- 1 tsp flaky sea salt
- 1 tsp pure vanilla extract
Instructions
- In a medium heavy-bottomed saucepan, add 1 cup (200 g) granulated sugar over medium heat. Stir constantly with a heat-resistant spatula or wooden spoon until sugar melts into a golden amber liquid (about 7-10 minutes).
- Remove from heat and immediately whisk in 6 tablespoons (85 g) unsalted butter until fully melted and smooth. The mixture will bubble vigorously.
- Add 1 teaspoon flaky sea salt and 1 teaspoon pure vanilla extract. Mix well and let cool for 10-15 minutes until warm but not hot.
- In a chilled large mixing bowl, whip 2 cups (480 ml) heavy whipping cream with an electric mixer on medium-high speed until stiff peaks form (about 4-5 minutes).
- Gently fold 1 can (14 oz / 396 g) sweetened condensed milk into the whipped cream using a rubber spatula. Then fold in the cooled salted caramel sauce until swirled but not completely mixed.
- Transfer the mixture into a loaf pan or airtight container. Cover tightly and freeze for at least 6 hours or overnight until firm.
- Let the ice cream sit at room temperature for 5 minutes before scooping for the perfect creamy texture.
Notes
Use a heavy-bottomed pan to prevent caramel burning. Chill bowl and beaters before whipping cream for better results. Fold ingredients gently to keep airy texture. If caramel hardens, gently warm before folding. Let ice cream soften 5 minutes before serving for best texture.
Nutrition
- Serving Size: 1/2 cup (120 ml)
- Calories: 325
- Sugar: 28
- Sodium: 150
- Fat: 22
- Saturated Fat: 14
- Carbohydrates: 30
- Protein: 3
Keywords: no-churn ice cream, salted caramel, easy ice cream recipe, summer dessert, homemade ice cream, no ice cream maker, caramel ice cream