Love this? Save it for later!
Share the inspiration with your friends
My brother claimed to hate green bean casserole for twenty-three years. Twenty-three years of Thanksgiving dinners where he’d load his plate with turkey and mashed potatoes and stuffing, carefully steering around the baking dish like it might bite him. Then last November, I made a batch “just for myself” on a random Tuesday—no holiday, no audience, no pressure—and found him standing at the kitchen counter at 10 p.m., eating it straight from the dish with a serving spoon he’d grabbed from the drying rack. “Don’t say a word,” he muttered, and I didn’t. But I smiled into my coffee the next morning.
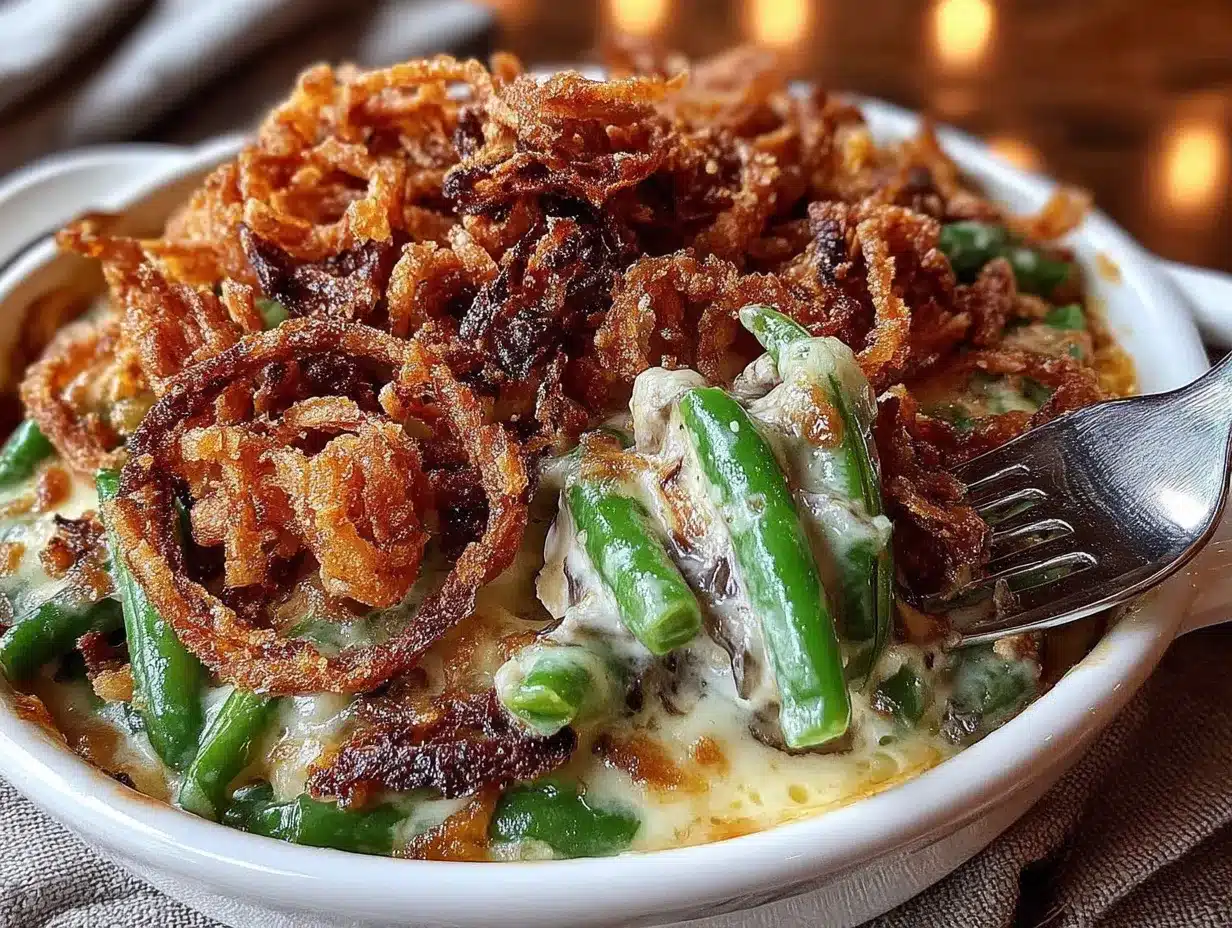
This wasn’t the canned-soup version our aunt used to make, the one that turned into a grayish sludge by the time it reached the table. This was something else entirely—fresh green beans still holding their snap, a silky homemade mushroom sauce that actually tasted like mushrooms, and those crispy fried onions scattered on top like a golden treasure map. Honestly, I’d been tinkering with this recipe for months, trying to capture that cozy, nostalgic feeling without the processed shortcuts. And somewhere between the third test batch and the fourth, it clicked.
You know that feeling when a dish just works? When every bite tastes like exactly what you wanted, even if you didn’t know you wanted it? That’s this casserole. It’s the kind of side dish that quietly steals the show—the one guests ask about later, the one your family starts requesting for random Tuesday dinners instead of just holidays. I mean, if it can convert a twenty-three-year skeptic in one cold November night, it might just win you over too.
Why You’ll Love This Recipe
Let me tell you why this homemade green bean casserole deserves a permanent spot in your recipe rotation. I’ve tested this version more times than I care to admit—my neighbors have become very familiar with the smell of sautéed mushrooms wafting through the hallway—and every single time, it delivers.
- Fresh Ingredients, Real Flavor: No canned soups or frozen vegetables here. Fresh green beans and a from-scratch mushroom sauce make all the difference. You’ll taste the difference in every single bite.
- Make-Ahead Friendly: You can assemble this casserole a day ahead and bake it when you’re ready. Perfect for busy holidays or meal prep Sundays when you want to get ahead of the week.
- Guaranteed Crowd-Pleaser: I’ve served this at Thanksgiving, Christmas, Easter, and random potlucks. It disappears every single time—even from people who “don’t like green bean casserole.”
- Cozy Comfort Food: There’s something about that creamy sauce, tender-crisp beans, and crunchy onion topping that just feels like a warm hug in a dish. It’s comfort food at its finest.
- Simple Enough for Weeknights: Despite the homemade sauce, this comes together in about 45 minutes. No complicated techniques or hard-to-find ingredients—just good cooking.
What makes this recipe different from the rest? It’s the technique. Instead of boiling the green beans until they’re sad and limp, we blanch them briefly so they keep their bright color and pleasant crunch. The mushroom sauce gets a splash of white wine for depth, and we use a combination of fresh thyme and a touch of nutmeg that nobody quite identifies but everyone loves. It’s not just another version—it’s the version I’d serve to anyone who thinks they don’t like green bean casserole. And I’ve got the proof standing in my kitchen at 10 p.m. with a serving spoon.
What Ingredients You Will Need
This recipe uses simple, wholesome ingredients to deliver bold flavor and satisfying texture without the fuss. Most of these are pantry staples or easy to find at any grocery store. Here’s what you’ll need:
For the Green Beans
- 1 ½ pounds fresh green beans, ends trimmed (look for bright, crisp beans without any brown spots)
- 1 tablespoon kosher salt (for the blanching water—don’t skip this, it seasons the beans from the inside out)
- Ice water bath (a large bowl filled with ice and cold water to stop the cooking)
For the Mushroom Sauce
- 4 tablespoons unsalted butter, divided (I prefer Kerrygold for its rich flavor, but any good butter works)
- 1 pound cremini mushrooms, sliced (baby bellas work perfectly—they have more flavor than white button mushrooms)
- 1 medium yellow onion, finely diced (about 1 cup)
- 3 cloves garlic, minced (fresh only, please—the jarred stuff won’t give you the same punch)
- ¼ cup all-purpose flour (for thickening the sauce)
- 2 cups whole milk, warmed (you can use 2% in a pinch, but whole milk makes the sauce noticeably creamier)
- 1 cup low-sodium chicken or vegetable broth (I use vegetable broth to keep it vegetarian-friendly)
- 1 teaspoon fresh thyme leaves (or ½ teaspoon dried, but fresh really shines here)
- ¼ teaspoon freshly grated nutmeg (trust me on this—it’s the secret ingredient that makes people ask what’s in it)
- 1 teaspoon kosher salt, plus more to taste
- ½ teaspoon black pepper, freshly ground
- ¼ cup dry white wine (optional but recommended—something like Sauvignon Blanc or Pinot Grigio works well)
For the Topping
- 1 ½ cups crispy fried onions (store-bought is fine—French’s is the classic, but I’ve had good luck with store brands too)
- ½ cup panko breadcrumbs (adds extra crunch that regular breadcrumbs just can’t match)
- 2 tablespoons melted butter (to toast the panko and make everything extra golden)
- ¼ cup grated Parmesan cheese (optional, but adds a lovely savory note)
Substitution notes: For a gluten-free version, use a gluten-free all-purpose flour blend in the sauce and gluten-free panko. For a dairy-free option, substitute the butter with a good vegan butter (I like Miyoko’s) and use unsweetened oat milk or cashew milk for the sauce. The Parmesan can be omitted or replaced with nutritional yeast for that cheesy flavor.
Equipment Needed
You don’t need a fancy kitchen to make this casserole shine. Here’s what you’ll need:
- Large pot (for blanching the green beans—at least 4 quarts)
- Large skillet or sauté pan (12-inch works best for browning the mushrooms without crowding them)
- 9×13-inch baking dish (or any 3-quart casserole dish)
- Colander (for draining the beans)
- Large bowl (for the ice water bath)
- Whisk (for making the sauce smooth and lump-free)
- Wooden spoon or spatula (for stirring the sauce)
- Chef’s knife and cutting board
- Measuring cups and spoons
If you don’t have a 9×13 dish, you can use a 10-inch cast iron skillet for a more rustic presentation—just make sure it’s oven-safe. I’ve also made this in individual ramekins for dinner parties, which looks gorgeous and makes serving a breeze. And if you’re wondering about the panko, I’ve used crushed potato chips in a pinch when I ran out of breadcrumbs. It was honestly fantastic, so don’t stress if you need to improvise.
Preparation Method
Let’s walk through this step by step. I’ll tell you exactly what to look for at each stage so you know you’re on the right track.
Step 1: Prepare the Green Beans
Fill your large pot with water and bring it to a rolling boil over high heat. Add 1 tablespoon of kosher salt—this seasons the beans as they cook. While you wait, fill a large bowl with ice and cold water and set it nearby. Trim the ends off your green beans and cut them into 2-inch pieces. When the water is boiling, add the beans and cook for exactly 3 minutes. They should turn bright green and still have a firm bite. Immediately drain them in a colander and plunge them into the ice water bath. This stops the cooking and locks in that gorgeous color. Let them sit for 2 minutes, then drain well and pat dry with a clean kitchen towel. Set aside.
Step 2: Brown the Mushrooms
In your large skillet, melt 2 tablespoons of butter over medium-high heat. Add the sliced mushrooms in a single layer—don’t crowd the pan, or they’ll steam instead of brown. Let them cook without stirring for 3-4 minutes until they’re golden on one side. Then stir and cook for another 3-4 minutes until they’re deeply browned and have released their liquid. This step is crucial for flavor, so be patient. The mushrooms should look caramelized and smell incredibly savory. Transfer them to a plate and set aside.
Step 3: Build the Sauce
Reduce the heat to medium and add the remaining 2 tablespoons of butter to the same skillet. Add the diced onion and cook for 4-5 minutes until softened and translucent. Add the minced garlic and cook for 30 seconds until fragrant—don’t let it burn. If you’re using the white wine, pour it in now and scrape up any browned bits from the bottom of the pan. Let it simmer for 1 minute until mostly evaporated. Sprinkle the flour over the onions and stir constantly for 1-2 minutes. This cooks out the raw flour taste. Slowly pour in the warmed milk while whisking continuously to prevent lumps. Then add the broth, whisking until smooth. Bring the sauce to a gentle simmer—it should bubble lazily, not furiously—and cook for 3-4 minutes until thickened enough to coat the back of a spoon.
Step 4: Finish the Sauce
Return the browned mushrooms to the skillet. Add the fresh thyme, nutmeg, 1 teaspoon salt, and black pepper. Stir everything together and taste. Adjust the seasoning if needed—you might want a pinch more salt or an extra grind of pepper. The sauce should be creamy, earthy, and deeply savory with a hint of sweetness from the cooked onions. Remove from heat.
Step 5: Assemble the Casserole
Preheat your oven to 375°F (190°C). Lightly grease your 9×13 baking dish with butter or cooking spray. Add the blanched green beans to the skillet with the mushroom sauce and stir until every bean is coated. Pour the mixture into the prepared baking dish and spread it into an even layer.
Step 6: Make the Topping
In a small bowl, combine the crispy fried onions, panko breadcrumbs, melted butter, and Parmesan cheese if using. Stir until everything is evenly coated with butter. Sprinkle this mixture evenly over the top of the casserole. Don’t press it down—you want it to stay light and crunchy.
Step 7: Bake and Serve
Bake for 20-25 minutes until the casserole is bubbly around the edges and the topping is golden brown and crispy. Let it rest for 5 minutes before serving—this allows the sauce to settle so it doesn’t run all over the plate. The beans should be tender but still have a slight bite, the sauce should be thick and creamy, and the topping should shatter when you break through it with your fork.
Cooking Tips & Techniques
After making this casserole more times than I can count, I’ve learned a few things the hard way. Here are my best tips:
Don’t skip the blanching step. I know it’s tempting to just toss the beans in raw and let them cook in the oven, but they’ll end up gray and mushy. Blanching gives you that perfect tender-crisp texture that makes this dish so satisfying. I once tried to save time by skipping this step for a potluck, and the beans came out sad and limp. Never again.
Brown your mushrooms properly. This is the single biggest flavor booster in the recipe. Mushrooms are mostly water, and they need high heat and space to release that moisture and develop deep, savory flavor. If you crowd the pan, they’ll steam and turn rubbery. Give them room to breathe, and don’t rush the process. The difference between pale, sad mushrooms and deeply browned ones is night and day.
Warm your milk before adding it to the sauce. Cold milk will seize up the flour mixture and give you lumpy sauce. I just microwave it for 45 seconds while the onions are cooking—easy. If you forget and add cold milk, don’t panic. Whisk vigorously and the lumps will eventually smooth out as the sauce heats up. But it’s much easier to start with warm milk.
Toast the panko for extra crunch. If you have an extra 3 minutes, toast the panko in a dry skillet over medium heat before mixing it with the butter and onions. This gives you an even crunchier topping that stays crisp longer. I discovered this trick by accident when I left my panko in the oven a little too long during a test batch, and now I do it every time.
Make it ahead if you’re short on time. You can assemble the casserole completely (minus the topping) up to 24 hours in advance. Just cover it with foil and refrigerate. When you’re ready to bake, add the topping and bake for 25-30 minutes, adding 5 extra minutes since you’re starting from cold. The flavors actually get better overnight as they meld together.
Variations & Adaptations
This recipe is wonderfully flexible. Here are some ways to make it your own:
Dietary Adaptations
Gluten-Free Version: Use a gluten-free all-purpose flour blend in the sauce—I’ve had good luck with Bob’s Red Mill 1-to-1 Baking Flour. Substitute the panko with gluten-free panko or crushed gluten-free crackers. Everything else is naturally gluten-free.
Dairy-Free Version: Swap the butter for vegan butter (Miyoko’s is my favorite) and use unsweetened oat milk or full-fat canned coconut milk for the sauce. The coconut milk adds a subtle richness that works surprisingly well with the mushrooms. Skip the Parmesan or use nutritional yeast.
Vegan Version: Follow the dairy-free instructions and use vegetable broth. The sauce will be just as creamy and satisfying. I’ve served this to vegans and omnivores alike, and nobody missed the dairy.
Flavor Twists
Add Bacon: Cook 4 slices of bacon until crispy, crumble them, and stir half into the sauce. Sprinkle the rest on top with the onions. Because everything is better with bacon, right?
Spicy Kick: Add ¼ teaspoon of red pepper flakes to the sauce along with the garlic. It adds a subtle warmth that cuts through the richness beautifully.
Herb Garden: Swap the thyme for fresh rosemary or sage. Both pair beautifully with mushrooms and add a different aromatic dimension. I love using sage in the fall for a more Thanksgiving-forward flavor.
Different Cooking Methods
Slow Cooker: Prepare the sauce and blanch the beans as directed. Combine them in the slow cooker and cook on low for 2-3 hours. Add the topping in the last 30 minutes. The texture will be softer, but it’s perfect for potlucks where you need to keep things warm.
Individual Servings: Divide the mixture among 6-8 ramekins, top with the onion mixture, and bake for 15-18 minutes. These are gorgeous for dinner parties and make everyone feel special.
Serving & Storage Suggestions
This casserole is best served hot, straight from the oven, when the topping is at its crispiest and the sauce is bubbling. Let it rest for 5 minutes before serving so the sauce thickens slightly—this keeps it from turning into soup on the plate.
What to serve with it: This is a natural partner for roasted turkey or chicken, but don’t limit yourself to holidays. It’s fantastic alongside a simple roast chicken, grilled pork chops, or even a hearty vegetarian main like stuffed acorn squash. For a complete meal, add a simple green salad with a tangy vinaigrette to cut through the richness.
Storage: Leftovers keep in an airtight container in the refrigerator for up to 4 days. The topping will lose some of its crunch, but the flavor will still be excellent. To reheat, place individual portions in a 350°F oven for 10-15 minutes, or microwave for 2-3 minutes. If you’re reheating a large portion, cover with foil and bake at 350°F for 20 minutes, then uncover for the last 5 minutes to re-crisp the topping.
Freezing: You can freeze the assembled casserole (without the topping) for up to 3 months. Thaw overnight in the refrigerator, then add the topping and bake as directed. The texture of the beans will be slightly softer after freezing, but it’s still delicious. I often make a double batch and freeze one for a busy weeknight.
Flavor development: Like many casseroles, this one actually tastes better the next day. The flavors meld together overnight, and the sauce thickens beautifully. If you can resist eating it all on day one, you’re in for a treat on day two.
Nutritional Information & Benefits
Here’s the approximate nutritional breakdown per serving (based on 8 servings):
| Nutrient | Amount per Serving |
|---|---|
| Calories | 285 |
| Total Fat | 16g |
| Saturated Fat | 9g |
| Cholesterol | 35mg |
| Sodium | 620mg |
| Total Carbohydrates | 28g |
| Dietary Fiber | 4g |
| Sugars | 10g |
| Protein | 8g |
| Vitamin C | 15% DV |
| Calcium | 12% DV |
| Iron | 10% DV |
Green beans are a fantastic source of vitamin C, vitamin K, and fiber. They’re also packed with antioxidants that support overall health. Mushrooms provide B vitamins and selenium, which supports immune function. And while this dish isn’t exactly diet food, using fresh ingredients and making the sauce from scratch means you’re avoiding the preservatives and excess sodium found in canned versions. I love knowing exactly what’s in every bite—and that I can pronounce every ingredient.
Dietary notes: This recipe is vegetarian as written. For gluten-free and dairy-free adaptations, see the variations section above. It contains dairy and gluten in its standard form.
FAQs
Can I use frozen green beans instead of fresh?
You can, but the texture won’t be quite the same. Frozen green beans have already been blanched, so they’ll be softer after baking. If you use frozen, thaw them completely and pat them dry before adding to the sauce. Skip the blanching step since they’re already cooked.
Can I make this casserole ahead of time?
Absolutely! Assemble the casserole (without the topping) up to 24 hours in advance and refrigerate. When you’re ready to bake, add the topping and bake for 25-30 minutes. You might need an extra 5 minutes since you’re starting from cold. The flavors actually improve overnight!
Why did my sauce turn out lumpy?
Lumpy sauce usually happens when the milk is too cold when added to the flour mixture. Always warm your milk before adding it. If you already have lumps, don’t worry—whisk vigorously and they should smooth out as the sauce heats up. A quick blitz with an immersion blender also works in a pinch.
How do I keep the topping crispy?
The key is not to add the topping too early. Add it right before baking, and don’t stir it into the casserole. If you’re making this ahead, store the topping separately and add it just before baking. For leftovers, reheat in the oven rather than the microwave to help re-crisp the topping.
Can I use canned cream of mushroom soup instead of making the sauce from scratch?
You can, but honestly, the homemade sauce is what makes this recipe special. The flavor is so much deeper and more complex, and it only takes about 10 minutes to make. If you’re really short on time, use one can of cream of mushroom soup mixed with ½ cup of milk and skip the flour and broth. But I promise the from-scratch version is worth the extra few minutes.
Conclusion
Look, I get it—green bean casserole has a reputation. It’s that dish from childhood Thanksgivings that nobody really loved but everyone ate because it was there. But this version? This is the one that changes minds. It’s the one that makes people lean across the table and ask, “Wait, what’s in this?” It’s the one that turns skeptics into converts, one creamy, crunchy, savory bite at a time.
I hope you’ll give this recipe a try, whether it’s for a holiday feast or just a Tuesday night when you’re craving something cozy. Feel free to customize it to your taste—add bacon, swap the herbs, make it dairy-free—and make it your own. That’s the beauty of cooking, right? Taking something good and making it yours.
If you make this cozy green bean casserole, I’d love to hear about it. Drop a comment below and tell me how it turned out, or share your own twist on the recipe. And if you convert a skeptic of your own, well, that’s just the cherry on top. Happy cooking, friends!
Pin This Recipe!
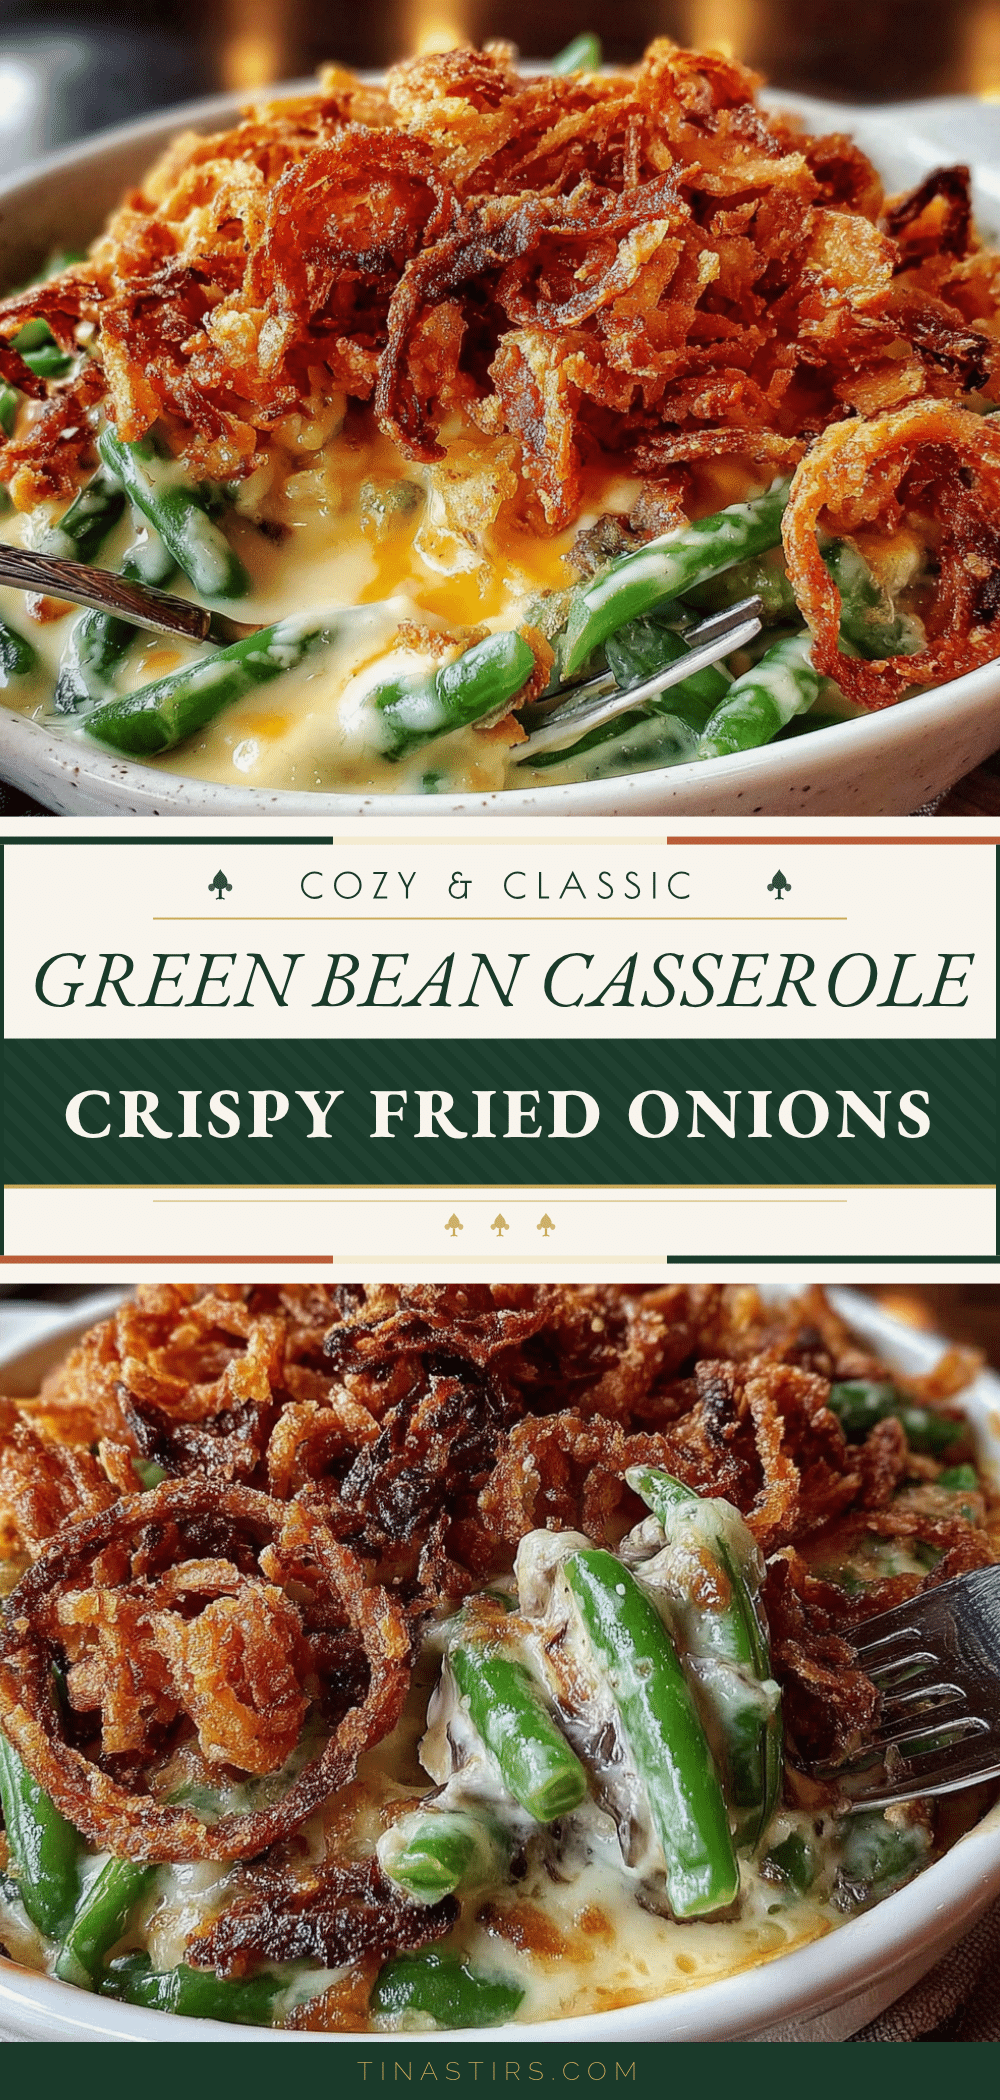
Homemade Cozy Green Bean Casserole with Crispy Onions

This homemade green bean casserole features fresh green beans, a silky from-scratch mushroom sauce, and a crispy fried onion topping. It’s the ultimate comfort food that converts even the biggest skeptics.
- Prep Time: 15 minutes
- Cook Time: 30 minutes
- Total Time: 45 minutes
- Yield: 8 servings 1x
- Category: Side Dish
- Cuisine: American
Ingredients
- 1 ½ pounds fresh green beans, ends trimmed
- 1 tablespoon kosher salt (for blanching water)
- Ice water bath
- 4 tablespoons unsalted butter, divided
- 1 pound cremini mushrooms, sliced
- 1 medium yellow onion, finely diced (about 1 cup)
- 3 cloves garlic, minced
- ¼ cup all-purpose flour
- 2 cups whole milk, warmed
- 1 cup low-sodium chicken or vegetable broth
- 1 teaspoon fresh thyme leaves (or ½ teaspoon dried)
- ¼ teaspoon freshly grated nutmeg
- 1 teaspoon kosher salt, plus more to taste
- ½ teaspoon black pepper, freshly ground
- ¼ cup dry white wine (optional but recommended)
- 1 ½ cups crispy fried onions
- ½ cup panko breadcrumbs
- 2 tablespoons melted butter
- ¼ cup grated Parmesan cheese (optional)
Instructions
- Prepare the green beans: Bring a large pot of water to a rolling boil. Add 1 tablespoon kosher salt. Fill a large bowl with ice and cold water. Trim the ends of the green beans and cut into 2-inch pieces. Boil the beans for exactly 3 minutes until bright green and still firm. Drain and plunge into the ice water bath for 2 minutes. Drain well and pat dry. Set aside.
- Brown the mushrooms: In a large skillet, melt 2 tablespoons butter over medium-high heat. Add the sliced mushrooms in a single layer. Cook without stirring for 3-4 minutes until golden on one side, then stir and cook for another 3-4 minutes until deeply browned. Transfer to a plate and set aside.
- Build the sauce: Reduce heat to medium. Add the remaining 2 tablespoons butter to the skillet. Add the diced onion and cook for 4-5 minutes until softened. Add the minced garlic and cook for 30 seconds. If using white wine, pour it in and scrape up browned bits; simmer for 1 minute. Sprinkle the flour over the onions and stir constantly for 1-2 minutes. Slowly pour in the warmed milk while whisking continuously. Add the broth and whisk until smooth. Bring to a gentle simmer and cook for 3-4 minu…
- Finish the sauce: Return the browned mushrooms to the skillet. Add fresh thyme, nutmeg, 1 teaspoon salt, and black pepper. Stir and taste; adjust seasoning if needed. Remove from heat.
- Assemble the casserole: Preheat oven to 375°F (190°C). Lightly grease a 9×13-inch baking dish. Add the blanched green beans to the skillet with the mushroom sauce and stir until coated. Pour into the prepared dish and spread evenly.
- Make the topping: In a small bowl, combine crispy fried onions, panko breadcrumbs, melted butter, and Parmesan cheese (if using). Stir until evenly coated. Sprinkle over the casserole without pressing down.
- Bake and serve: Bake for 20-25 minutes until bubbly and the topping is golden brown and crispy. Let rest for 5 minutes before serving.
Notes
For a gluten-free version, use gluten-free all-purpose flour and gluten-free panko. For dairy-free, substitute butter with vegan butter and use unsweetened oat milk or cashew milk. The casserole can be assembled (without topping) up to 24 hours ahead and refrigerated; add topping and bake for 25-30 minutes. To keep topping crispy, add it just before baking and don’t stir it in. Leftovers keep in the refrigerator for up to 4 days; reheat in the oven to re-crisp the topping.
Nutrition
- Serving Size: 1 serving (about 1 c
- Calories: 285
- Sugar: 10
- Sodium: 620
- Fat: 16
- Saturated Fat: 9
- Carbohydrates: 28
- Fiber: 4
- Protein: 8
Keywords: green bean casserole, homemade, Thanksgiving, side dish, comfort food, crispy onions, mushroom sauce


