Love this? Save it for later!
Share the inspiration with your friends
I was standing in line at the DMV—the fluorescent lights humming, the air smelling faintly of stale coffee and regret—when the woman ahead of me turned around. She was holding a plastic container with the last slice of something that looked like it had been baked with love and desperation in equal measure. “You look like you need this more than I do,” she said, handing it over. Her name was Helen, and she was a retired school librarian who had been perfecting this banana bread recipe since the Carter administration.
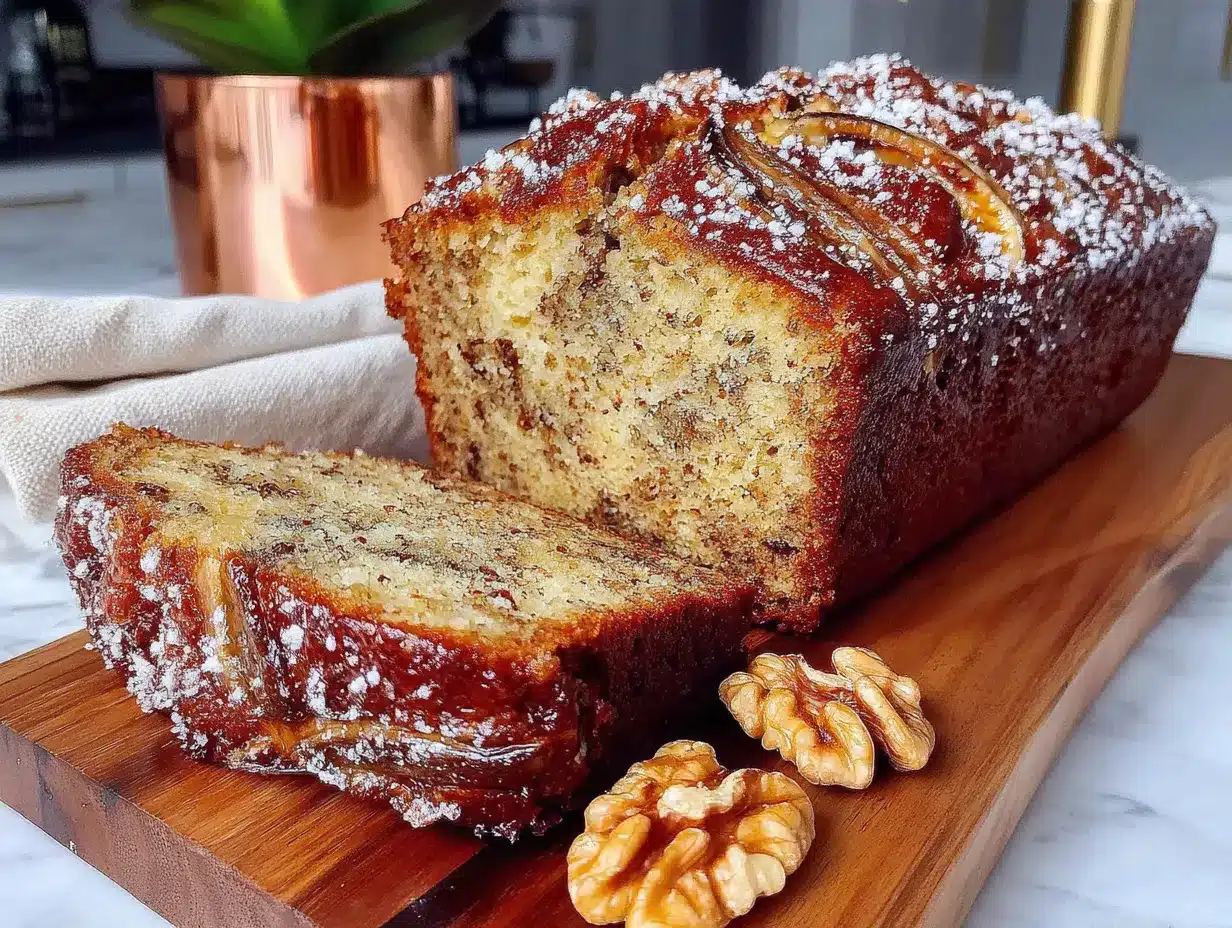
Let me tell you, I wasn’t expecting baking advice from a stranger at the DMV, but there I was, holding a slice of the most perfect banana bread I had ever tasted. The texture was impossibly tender, the edges slightly caramelized, and the walnuts—oh, the walnuts—were distributed so evenly that every single bite had that satisfying crunch. I practically begged her for the recipe, and she scribbled it on the back of a voter registration form. I mean, honestly, you can’t make this stuff up.
That was three years ago, and I’ve made this perfect one-bowl banana bread with walnuts at least forty times since. Maybe you’ve been there—you find a recipe that just works, and suddenly it becomes your signature thing. The one you bring to brunches, the one your coworkers request for bake sales, the one that makes people close their eyes and sigh. This is that recipe. And the best part? It all comes together in one bowl. No stand mixer required. No fancy techniques. Just honest, soul-warming banana bread that makes you look like you know what you’re doing.
I’ve tweaked Helen’s original just a tiny bit over the years—added a pinch more salt, swapped in Greek yogurt for some of the butter, and figured out the exact ripeness of bananas that gives you the most intense flavor. What I’m sharing with you today is the version I’ve landed on, and honestly, it’s the one I keep coming back to. It’s the banana bread I make when I want to impress without stress, and I think you’re going to love it.
Why You’ll Love This Recipe
Look, I’ve tested a lot of banana bread recipes in my time. Some were too dry, some were too dense, and some just didn’t have enough banana flavor to justify the effort. This one-bowl banana bread with walnuts is different. It’s the kind of recipe that makes you wonder why you ever bothered with complicated baking projects.
- One Bowl, No Fuss: Everything mixes in a single bowl. Less dishes means more time enjoying that warm slice with a cup of coffee.
- Perfect for Hosting: When you’re having people over, the last thing you need is a recipe that takes over your kitchen. This comes together in about 10 minutes of active prep, and then the oven does the rest. Your guests will walk in to the smell of banana bread, and you’ll look like a hero.
- Simple Ingredients: You probably have everything you need right now. Overripe bananas, flour, sugar, eggs, butter, and walnuts—that’s it. No hunting down specialty items.
- Crowd-Pleaser Guaranteed: I’ve brought this to potlucks, dinner parties, and holiday brunches. It disappears every single time. Kids love it, adults love it, and people who claim they don’t like banana bread suddenly become converts.
- The Texture is Everything: This recipe nails that perfect balance—moist but not gummy, tender but sturdy enough to hold those gorgeous walnut pieces. The edges get slightly crispy while the center stays soft and almost pudding-like.
What makes this different from other banana bread recipes? It’s the ratio of wet to dry ingredients, and the little trick of browning the butter. Trust me on this—browning the butter adds a nutty, caramelized depth that takes this bread from good to unforgettable. It’s the kind of detail that makes people ask, “What did you put in this?”
This isn’t just another banana bread recipe. It’s the one you’ll text your friends about. The one you’ll make on a Sunday afternoon just because. The one that makes your kitchen smell like comfort and warmth.
What Ingredients You Will Need
This recipe uses simple, honest ingredients that work together to create something truly special. Most of these are pantry staples, and the ones that aren’t are worth keeping on hand once you taste the result.
- Overripe Bananas (3 medium, about 1 1/2 cups mashed): The darker the better. I’m talking spotty, almost-black skins. That’s where the sweetness and intense banana flavor live. If your bananas aren’t ripe enough, you can roast them in a 300°F oven for 15 minutes to speed things along.
- Unsalted Butter (1/2 cup, 1 stick): We’re browning this, so use unsalted to control the salt level. I prefer Kerrygold for its rich flavor, but any good-quality butter works.
- Granulated Sugar (3/4 cup): Just regular white sugar. It gives the bread structure and sweetness without overpowering the banana flavor.
- Light Brown Sugar (1/4 cup, packed): This adds moisture and a subtle molasses note that pairs beautifully with the walnuts. If you’re out, you can use all granulated sugar, but the texture won’t be quite as tender.
- Large Eggs (2, room temperature): Room temperature eggs incorporate more easily into the batter and create a better emulsion. If you forgot to take them out of the fridge, place them in a bowl of warm water for 5 minutes.
- Plain Greek Yogurt (1/4 cup): This is my secret ingredient. It adds moisture and a slight tang that balances the sweetness. You can use sour cream instead, or even full-fat coconut yogurt for a dairy-free option.
- Vanilla Extract (1 teaspoon): Pure vanilla, not imitation. It makes a difference.
- All-Purpose Flour (1 1/2 cups): Spoon and level your flour—don’t scoop directly from the bag, or you’ll end up with dry bread. For a gluten-free version, use a good 1:1 baking flour blend.
- Baking Soda (1 teaspoon): This is our leavening agent. Make sure it’s fresh—test it by dropping a pinch into vinegar; if it fizzes, you’re good.
- Salt (1/2 teaspoon): Don’t skip this. Salt enhances all the other flavors and keeps the bread from tasting flat.
- Ground Cinnamon (1 teaspoon): Optional, but I never skip it. Cinnamon and banana are a match made in heaven.
- Chopped Walnuts (1 cup, toasted if you have time): I prefer walnut pieces over halves—they distribute better through the batter. Toasting them for 5 minutes in a dry pan brings out their oils and makes them extra crunchy.
Ingredient Selection Tips: For the best texture, use bananas that are soft enough to mash with a fork but not fermented. If your bananas are too ripe, they can make the bread taste boozy. Also, I recommend buying walnuts from the bulk section—they’re usually fresher than pre-packaged ones, and you can buy exactly what you need.
Equipment Needed
Here’s the beauty of this recipe—you don’t need much. Just a few basic tools that you probably already have in your kitchen.
- Large Mixing Bowl: Any big bowl works. I use a ceramic one because it doesn’t slide around on the counter.
- Wooden Spoon or Rubber Spatula: You’re mixing by hand, so pick something comfortable to hold. I prefer a spatula because it gets the sides of the bowl clean.
- 9×5-Inch Loaf Pan: This is the standard size for banana bread. If you use an 8×4 pan, you’ll need to bake it a bit longer. Glass or metal both work, but metal gives you better browning.
- Parchment Paper: Lining your pan makes removal a breeze. Leave an overhang on two sides for easy lifting.
- Small Skillet (for browning butter): A light-colored pan helps you see when the butter turns golden. Dark pans make it harder to judge the color.
- Cooling Rack: Essential for even cooling and preventing a soggy bottom.
- Fork or Potato Masher: For mashing those bananas. A fork works fine, but a masher is faster.
Budget-Friendly Options: If you don’t have a loaf pan, you can bake this in an 8×8 square pan—just reduce the baking time by about 10 minutes. No cooling rack? Use the rack from your oven (just make sure it’s cool) or even a clean dish towel laid flat.
Preparation Method
- Preheat and Prep: Set your oven to 350°F (175°C). Line your 9×5 loaf pan with parchment paper, leaving an overhang on the long sides. This makes lifting the bread out so much easier. Lightly grease the parchment with butter or non-stick spray.
- Brown the Butter: In a small skillet over medium heat, melt the butter. Swirl the pan occasionally as it melts. You’ll hear it crackle and pop—that’s the water evaporating. After about 4-5 minutes, the butter will turn a golden amber color and smell nutty and amazing. Watch it carefully—it can go from browned to burnt in seconds. Once it’s golden, pour it into your large mixing bowl to cool slightly.
- Mash the Bananas: In a separate small bowl (or right in the mixing bowl after the butter cools), mash your bananas with a fork until mostly smooth. A few small lumps are fine—they add texture. You should have about 1 1/2 cups.
- Combine Wet Ingredients: To the bowl with the browned butter, add both sugars and whisk until combined. The mixture will look a bit grainy—that’s normal. Add the eggs, Greek yogurt, and vanilla extract. Whisk until smooth and glossy. The batter should be pale and slightly thick.
- Add the Bananas: Fold in the mashed bananas gently. Don’t overmix—you want to keep some banana texture. The batter will look a little curdled at this point, but don’t worry. That’s just the bananas doing their thing.
- Mix Dry Ingredients: In a separate small bowl, whisk together the flour, baking soda, salt, and cinnamon. This ensures the baking soda is evenly distributed so your bread rises evenly.
- Combine Wet and Dry: Add the dry ingredients to the wet ingredients in two additions, folding gently with a spatula after each. Stop as soon as you no longer see streaks of flour. Overmixing develops gluten and makes the bread tough—we want tender, not tough.
- Fold in Walnuts: Reserve about 2 tablespoons of walnuts for the top. Gently fold the remaining walnuts into the batter. Fold just until they’re evenly distributed—about 5 strokes.
- Fill the Pan: Pour the batter into your prepared loaf pan. Spread it evenly with your spatula. Sprinkle the reserved walnuts on top, pressing them gently into the batter so they stick.
- Bake: Place the pan on the middle rack of your oven. Bake for 55-65 minutes, or until a toothpick inserted into the center comes out clean or with just a few moist crumbs. If the top is browning too quickly (after about 40 minutes), tent loosely with foil.
- Cool: Let the bread cool in the pan for 15 minutes. Then lift it out using the parchment overhang and transfer to a cooling rack. Let it cool completely before slicing—I know it’s hard to wait, but the texture sets as it cools.
Sensory Cues: Your kitchen should smell like toasted nuts and caramelized bananas. The bread will pull away from the sides of the pan when it’s done. The top should be a deep golden brown, and when you tap it gently, it should feel firm and spring back slightly.
Cooking Tips & Techniques
Let me save you from the mistakes I’ve made. Here’s what I’ve learned the hard way.
The Banana Ripeness Trick: I used to think any brown banana would do, but there’s a sweet spot. You want bananas that are heavily spotted but not completely black. If they’re too ripe, the bread can collapse in the middle. Too green, and you won’t get that intense banana flavor. My trick? I buy extra bananas specifically for baking, let them sit on the counter for a week, and freeze them when they’re perfect. Frozen bananas actually work great—just thaw them and drain off the excess liquid before mashing.
Don’t Overmix: This is the number one mistake I see people make. Once you add the flour, you want to mix just until everything comes together. Overmixing develops gluten, and gluten makes banana bread tough and rubbery. You want it tender and almost cake-like. Fold gently, like you’re handling something precious.
The Toothpick Test: Here’s a tip most recipes don’t tell you—test in three places. The center is the last to cook, but sometimes a pocket of banana can make the toothpick look wet when the bread is actually done. Test the center and about an inch from each side. If all three come out clean, you’re golden.
Browning Butter Without Burning It: I’ve burned more butter than I care to admit. The trick is to use a light-colored pan so you can see the color change. Once the butter stops sizzling and starts to foam, watch it like a hawk. When the foam subsides and you see golden brown specks at the bottom, it’s done. Immediately pour it into your mixing bowl to stop the cooking process.
Multitasking Strategy: While the butter is browning, mash your bananas. While the butter cools, measure your dry ingredients. This recipe is efficient—you can have the batter ready in the time it takes to preheat the oven.
Variations & Adaptations
One of the things I love about this one-bowl banana bread with walnuts is how adaptable it is. Here are some variations I’ve tried and loved.
- Chocolate Chip Banana Bread: Swap the walnuts for 1 cup of semi-sweet chocolate chips. The combination of banana and chocolate is classic for a reason. I’ve also done half walnuts, half chocolate chips when I can’t decide.
- Vegan Version: Replace the butter with coconut oil (still brown it for flavor), use flax eggs (1 tablespoon ground flaxseed + 3 tablespoons water per egg), and substitute the Greek yogurt with unsweetened applesauce. The texture is slightly denser but still delicious.
- Gluten-Free Option: Use a high-quality 1:1 gluten-free flour blend. I’ve tested this with Bob’s Red Mill and King Arthur Measure for Measure, and both work beautifully. Add an extra tablespoon of yogurt to help with moisture.
- Spiced Variation: Add 1/2 teaspoon each of ground nutmeg and ground ginger along with the cinnamon. This gives the bread a warm, almost chai-like flavor that’s perfect for fall.
- Nut-Free Alternative: If you’re serving guests with nut allergies, replace the walnuts with toasted pumpkin seeds or sunflower seeds. You can also use dried cranberries or cherries for a fruity twist.
My personal favorite variation? I made a batch with bourbon-soaked raisins and a brown butter glaze for a holiday brunch, and it was gone in twenty minutes. Sometimes the best recipes come from happy accidents.
Serving & Storage Suggestions
This banana bread is wonderful at room temperature, but let me tell you—it’s next-level when served warm. Pop a slice in the microwave for 15 seconds, or toast it lightly in a skillet with a pat of butter. The edges get slightly crispy, the walnuts warm up and release their oils, and the center becomes almost custard-like.
What to Serve Alongside: A steaming cup of coffee or chai tea is the obvious choice, but don’t sleep on a cold glass of milk. For a dessert option, serve slices with a dollop of whipped cream and a drizzle of caramel sauce. If you’re hosting a brunch, this pairs beautifully with fresh fruit salad and scrambled eggs.
Storage: Wrap the cooled bread tightly in plastic wrap or aluminum foil. It will keep at room temperature for up to 4 days. I actually think it gets better on day two—the flavors meld together and the texture becomes even more moist.
Freezer Instructions: This bread freezes beautifully. Wrap the whole loaf or individual slices in plastic wrap, then in foil, and place in a freezer bag. It keeps for up to 3 months. To thaw, leave it at room temperature for a few hours, or pop a frozen slice in the toaster for a quick treat.
Reheating: For the best texture, reheat slices in a 300°F oven for about 5 minutes, or in a toaster oven. The microwave works in a pinch, but it can make the bread a bit rubbery.
Nutritional Information & Benefits
Here’s a rough estimate per slice (based on 10 slices):
- Calories: Approximately 320
- Fat: 18g (mostly from walnuts and butter)
- Carbohydrates: 38g
- Fiber: 2g
- Sugar: 22g
- Protein: 6g
Health Benefits: Bananas are packed with potassium, which supports heart health and muscle function. Walnuts are rich in omega-3 fatty acids, which are great for brain health. The Greek yogurt adds protein and probiotics. Is this a health food? No. But it’s a treat that offers some nutritional value along with the comfort.
Dietary Considerations: This recipe contains gluten, dairy, eggs, and tree nuts. For allergen-friendly versions, see the variations section above. It’s also relatively low in added sugar compared to many baked goods, thanks to the natural sweetness of the bananas.
Conclusion
This one-bowl banana bread with walnuts has become my go-to for a reason. It’s the recipe I turn to when I need something reliable, something comforting, something that makes people smile. Whether you’re hosting a dinner party, bringing a treat to a potluck, or just want your kitchen to smell amazing on a Sunday afternoon, this bread delivers.
I love that it comes together in one bowl—no stand mixer, no complicated steps, no stress. I love that it’s forgiving enough for beginners but impressive enough for experienced bakers. And I really love that it makes my house smell like the best kind of comfort.
Now it’s your turn. Try this recipe and make it your own—add different nuts, change up the spices, or leave it exactly as written. I’d love to hear how it turns out. Drop a comment below and let me know if you tried any variations, or share a photo of your loaf. Happy baking, friends!
Frequently Asked Questions
Can I use frozen bananas for this recipe?
Absolutely! Frozen bananas work great. Just thaw them completely, drain off any excess liquid (too much liquid can make the bread dense), and mash them as usual. The freezing process actually breaks down the banana fibers, making them even easier to mash.
Why did my banana bread sink in the middle?
This usually happens for one of three reasons: the batter was overmixed (which develops too much gluten), the bananas were too ripe (which adds too much moisture), or the bread was underbaked. Make sure your toothpick test comes out clean, and try not to open the oven door during the first 40 minutes of baking.
Can I make this recipe without nuts?
Yes, and it will still be delicious. Simply omit the walnuts, or replace them with an equal amount of chocolate chips, dried fruit, or seeds like pumpkin or sunflower seeds. The bread will be slightly less crunchy but just as flavorful.
How do I know when the butter is properly browned?
Look for three signs: the butter will turn a golden amber color, it will smell nutty and rich, and you’ll see small brown specks settling at the bottom of the pan. The whole process takes about 4-5 minutes over medium heat. Pour it into your mixing bowl immediately to stop it from burning.
Can I double this recipe?
Yes, but I recommend making two separate batches rather than doubling in one bowl. Doubling can lead to uneven mixing and affect how the bread rises. If you do double, use a very large bowl and mix gently. You can also bake the batter in two loaf pans, or one 9×13 pan (bake for about 40-45 minutes).
Pin This Recipe!
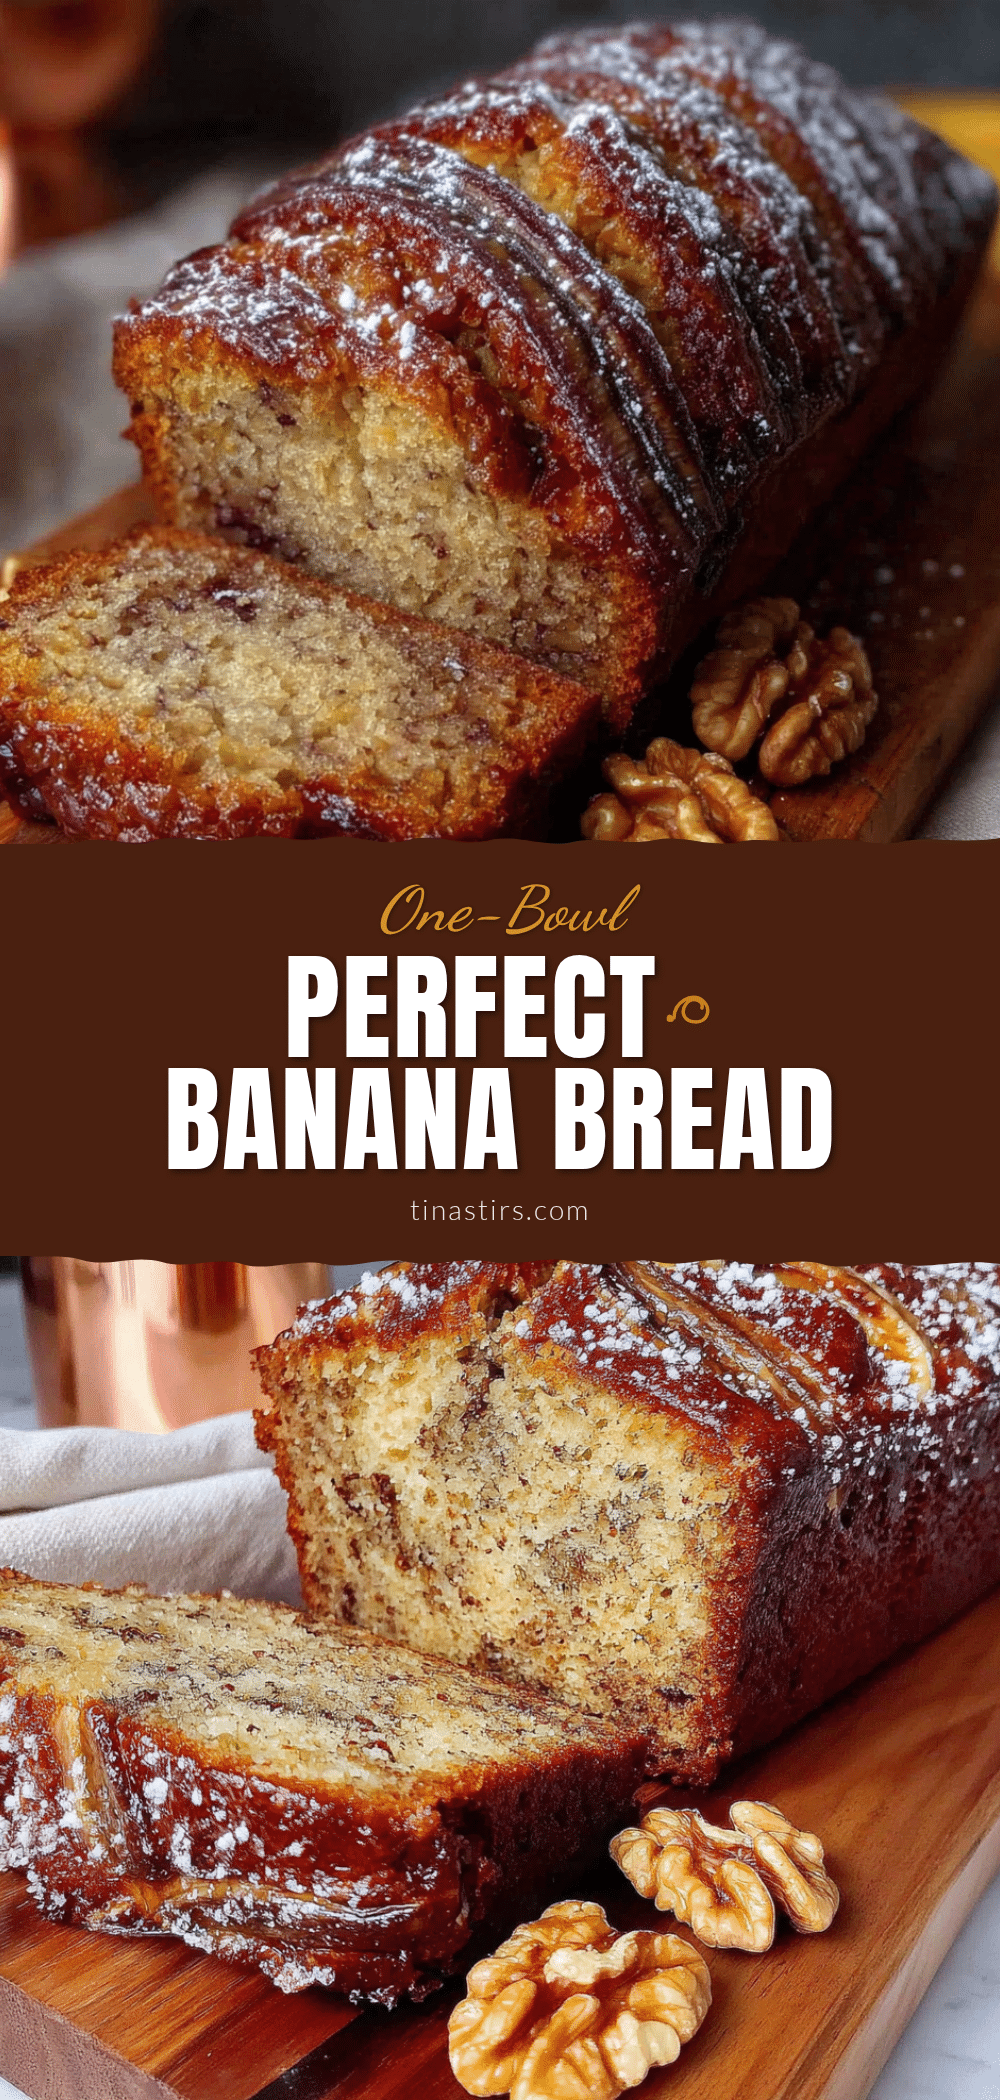
Perfect One-Bowl Banana Bread: Easy Walnut Recipe
This one-bowl banana bread with walnuts is moist, tender, and packed with banana flavor. It comes together in about 10 minutes of active prep and uses simple ingredients for a crowd-pleasing treat.
- Prep Time: 10 minutes
- Cook Time: 55-65 minutes
- Total Time: 1 hour 15 minutes
- Yield: 10 servings 1x
- Category: Dessert
- Cuisine: American
Ingredients
- 3 medium overripe bananas (about 1 1/2 cups mashed)
- 1/2 cup (1 stick) unsalted butter
- 3/4 cup granulated sugar
- 1/4 cup packed light brown sugar
- 2 large eggs, room temperature
- 1/4 cup plain Greek yogurt
- 1 teaspoon vanilla extract
- 1 1/2 cups all-purpose flour
- 1 teaspoon baking soda
- 1/2 teaspoon salt
- 1 teaspoon ground cinnamon (optional)
- 1 cup chopped walnuts, toasted if desired
Instructions
- Preheat oven to 350°F (175°C). Line a 9×5-inch loaf pan with parchment paper, leaving overhang on long sides. Lightly grease parchment.
- In a small skillet over medium heat, melt butter. Swirl occasionally until it turns golden amber and smells nutty, about 4-5 minutes. Immediately pour into a large mixing bowl to cool slightly.
- Mash bananas with a fork until mostly smooth (a few lumps are fine). Set aside.
- To the bowl with browned butter, add granulated sugar and brown sugar. Whisk until combined. Add eggs, Greek yogurt, and vanilla extract. Whisk until smooth and glossy.
- Fold in mashed bananas gently. Batter may look slightly curdled.
- In a separate small bowl, whisk together flour, baking soda, salt, and cinnamon (if using).
- Add dry ingredients to wet ingredients in two additions, folding gently with a spatula after each. Mix just until no streaks of flour remain.
- Reserve 2 tablespoons of walnuts for topping. Gently fold remaining walnuts into batter.
- Pour batter into prepared loaf pan. Spread evenly. Sprinkle reserved walnuts on top, pressing gently into batter.
- Bake on middle rack for 55-65 minutes, until a toothpick inserted in center comes out clean or with a few moist crumbs. If top browns too quickly, tent with foil after 40 minutes.
- Cool in pan for 15 minutes. Lift out using parchment overhang and transfer to a cooling rack. Cool completely before slicing.
Notes
For best flavor, use heavily spotted bananas. Brown the butter for a nutty depth. Do not overmix once flour is added. Test doneness in three places. Bread keeps at room temperature for up to 4 days or freezes for up to 3 months.
Nutrition
- Serving Size: 1 slice
- Calories: 320
- Sugar: 22
- Sodium: 220
- Fat: 18
- Saturated Fat: 8
- Carbohydrates: 38
- Fiber: 2
- Protein: 6
Keywords: banana bread, one-bowl banana bread, walnut banana bread, easy banana bread, moist banana bread