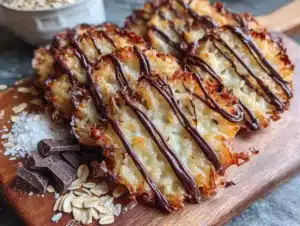
Love this? Save it for later!
Share the inspiration with your friends
My husband claimed to hate gingerbread cookies for a solid decade. Ten years. He’d make a face at the mention of them, something between a grimace and a shudder, as if I’d suggested we eat tree bark for dessert. Then, last December, I caught him standing over the cooling rack in the dark kitchen at 11pm, eating one of these gluten-free soft gingerbread cookies. Not just one, actually. He was on his third. The molasses icing was smeared on his upper lip and he had this look of pure, caught-in-the-act guilt. “These are different,” he mumbled, crumbs falling from his chin. “These are actually good.” And honestly, that moment was more satisfying than any recipe win I’ve ever had. You know that feeling when you prove someone wrong without saying a single word? That was it. These cookies did the talking for me.
The thing is, I’d been on a mission for years. I wanted a gluten-free gingerbread cookie that wasn’t a dry, crumbly disappointment. Something with that perfect soft, almost cake-like center, the kind that bends slightly before it breaks. A cookie that could hold up to a thick drizzle of molasses icing without turning into a sugary mess. I tried probably six different flour blends, messed up the butter temperature more times than I can count, and once forgot the molasses entirely (don’t ask—it was a Tuesday). But this version? This is the one. It’s the recipe I now bring to every holiday party, the one my gluten-loving friends request by name, and the one that finally made my husband a gingerbread convert.
Let me tell you, there’s something deeply satisfying about watching a room full of people eat a gluten-free cookie without even realizing it’s gluten-free. It’s like a little secret you get to keep. Maybe you’ve been there, showing up to a gathering with a special diet and watching people politely decline your offering. That stops here. These cookies are the kind that make people hover around the dessert table. They’re soft, they’re spiced perfectly, and that molasses icing adds just the right amount of sweetness. Honestly, I’m not sure who was more converted that night in the kitchen—my husband or my own confidence in gluten-free baking.
Why You’ll Love This Recipe
I’ve tested this recipe more times than I care to admit, and I can tell you with complete confidence—it works. Every single time. These are the cookies I bring to holiday cookie swaps, and they’re always the first to disappear. Here is why this recipe stands out from every other gingerbread cookie you’ve tried:
- Perfectly Soft & Chewy: No dry, crumbly gingerbread here. These cookies stay soft for days, thanks to the perfect balance of butter, molasses, and the right gluten-free flour blend. They have that slight bend before they break, exactly like a good bakery cookie.
- Simple Gluten-Free Ingredients: You don’t need a pantry full of weird flours. Just one all-purpose gluten-free flour blend, a few basic spices, and molasses. That’s it. Nothing you can’t find at a regular grocery store.
- Crowd-Pleaser for Gatherings: These are the cookies you bring to a holiday party when you want to impress everyone, including the gluten-eaters. I’ve served these at three different dinner parties this season, and each time, someone asked for the recipe before they even finished their first cookie.
- No Chill Time Required: This is a game-changer. You can make the dough and bake it immediately. No waiting, no chilling, no planning ahead. Perfect for those last-minute cravings or when you realize you forgot to bring dessert to a potluck.
- That Molasses Icing: The icing isn’t just for looks. It adds a deep, rich molasses flavor that complements the spices in the cookie. It’s not overly sweet—it’s just right. The kind of icing you want to lick off the spoon.
This recipe is the result of countless trials, a few failures, and one very honest husband. It’s the gluten-free gingerbread cookie I’ve been chasing for years, and now I get to share it with you. Whether you’re hosting a holiday gathering, need a dessert for a dinner party, or just want a soft, spiced cookie with your afternoon coffee, this is the one.
What Ingredients You Will Need
This recipe uses simple, everyday ingredients to create something truly special. The magic happens when the molasses meets the warm spices, and the gluten-free flour blend holds everything together in that perfectly soft, tender crumb. Here’s what you’ll need:
For the Cookies
- 2 ¼ cups (280g) all-purpose gluten-free flour blend — I recommend King Arthur Flour Measure for Measure or Bob’s Red Mill 1-to-1. These blends already contain xanthan gum, which is essential for structure. If your blend doesn’t include it, add 1 teaspoon of xanthan gum.
- 1 ½ teaspoons ground ginger — Freshly ground ginger has the best flavor, but store-bought works perfectly. This is the star spice, so don’t skimp.
- 1 ½ teaspoons ground cinnamon — Adds warmth and depth. I use Vietnamese cinnamon for a stronger flavor.
- ½ teaspoon ground cloves — Just a touch. It can overpower easily, so measure carefully.
- ½ teaspoon ground nutmeg — Freshly grated is amazing, but pre-ground works fine.
- 1 teaspoon baking soda — Helps the cookies spread slightly and stay soft.
- ½ teaspoon salt — Balances the sweetness and enhances the spices.
- ½ cup (113g) unsalted butter, softened — Make sure it’s truly softened, not melted. Leave it out for about an hour before baking. I prefer unsalted so I can control the salt level.
- ½ cup (100g) packed light brown sugar — The molasses in brown sugar complements the liquid molasses. Dark brown sugar works too, but it will make the cookies slightly darker and more molasses-forward.
- 1 large egg, room temperature — A cold egg can seize the butter, so let it sit out for 20 minutes.
- ½ cup (170g) unsulphured molasses — Do not use blackstrap molasses. It’s too bitter. I use Grandma’s Molasses or Brer Rabbit. This is the heart of the cookie.
- 1 teaspoon vanilla extract — Pure vanilla, not imitation. It rounds out the spices beautifully.
For the Molasses Icing
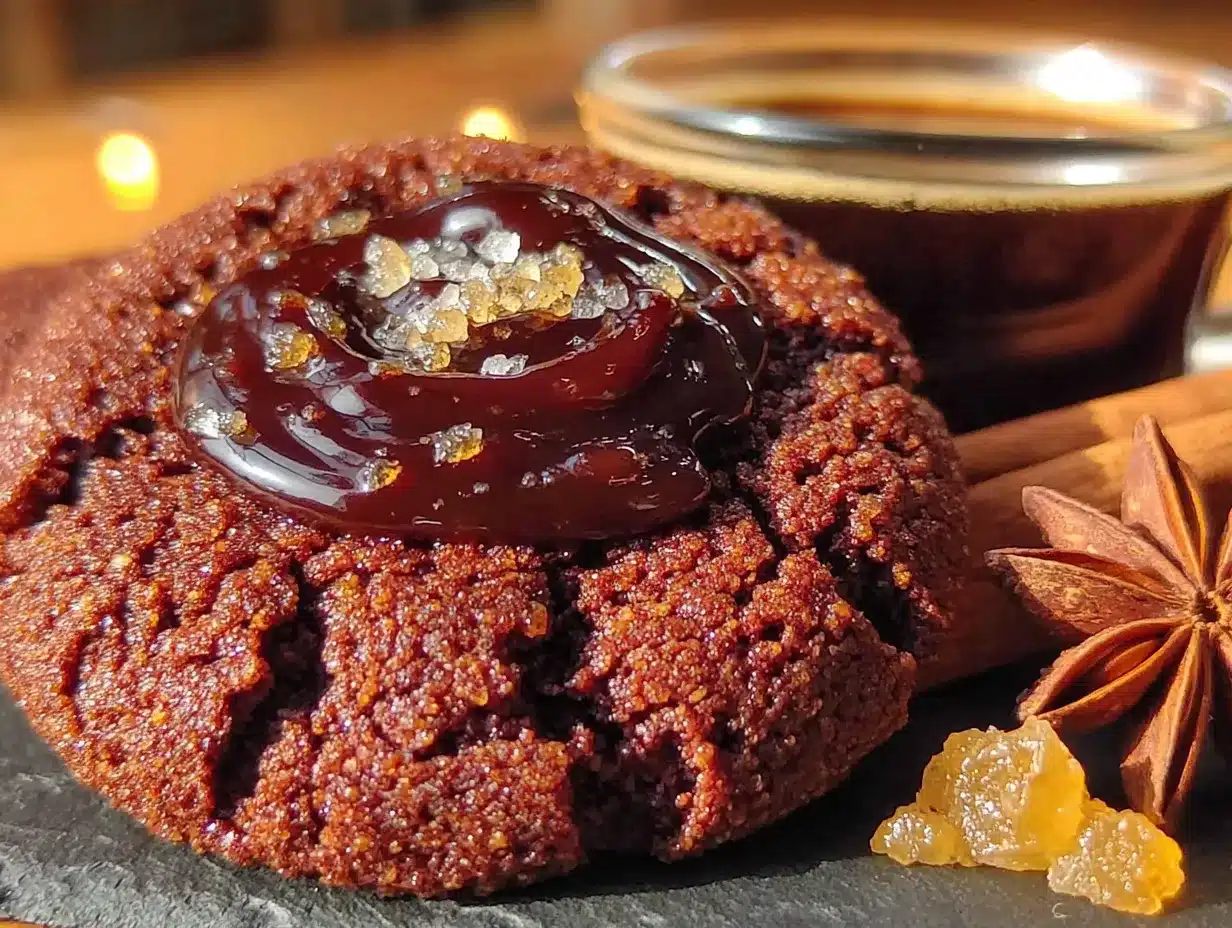
- 1 ½ cups (180g) powdered sugar — Sift it if it’s lumpy. Nobody wants lumpy icing.
- 3 tablespoons unsulphured molasses — Same brand as the cookies for consistency.
- 2 tablespoons milk (any kind) — Whole milk gives the creamiest texture, but almond or oat milk work fine.
- ½ teaspoon vanilla extract — Adds a little warmth to the icing.
- Pinch of salt — Just a tiny pinch. It makes a difference.
A quick note on molasses: unsulphured is the way to go. Sulphured molasses has a chemical aftertaste that can ruin the cookies. I learned that the hard way one year. Also, if your gluten-free flour blend contains brown rice flour, that’s totally fine—it actually adds a nice texture to these cookies. Just make sure it’s a blend designed for baking, not just a single flour like almond or coconut.
Equipment Needed
You don’t need a fancy kitchen to make these cookies, but a few key tools will make your life easier:
- Large mixing bowl — I use a glass bowl, but anything works. Just make sure it’s big enough to mix everything without flour flying everywhere.
- Electric hand mixer or stand mixer — A hand mixer is perfectly fine. I actually prefer it for this recipe because it’s easier to scrape the sides. If you’re using a stand mixer, use the paddle attachment.
- Whisk — For combining the dry ingredients. A fork works in a pinch, but a whisk is better.
- Rubber spatula — For scraping down the bowl and folding in the flour. I have a red one that’s seen better days, but it still does the job.
- Baking sheets — Two standard-sized baking sheets. I recommend light-colored aluminum for even baking. Dark pans can make the bottoms too brown.
- Parchment paper or silicone baking mats — Parchment is easier for cleanup. Silicone mats work great too, but they can make cookies spread slightly more.
- Cookie scoop (about 1.5 tablespoons) — This ensures evenly sized cookies. I use a medium scoop, and it’s perfect. No scoop? Just use a spoon and try to make them roughly the same size.
- Cooling rack — Essential for the icing to set properly. If you don’t have one, you can use the baking sheet, but the cookies might get a little soggy on the bottom.
- Small piping bag or zip-top bag — For drizzling the icing. A zip-top bag with a tiny corner snipped off works perfectly. I’ve used this method for years.
Budget-friendly tip: If you don’t have a cookie scoop, use two spoons—one to scoop and one to push the dough off. It’s not as pretty, but it works. Also, skip the fancy piping tips. Just snip a tiny corner off a zip-top bag and you’re good to go.
Preparation Method
These cookies come together quickly, and the best part is there’s no chilling time. You can have warm, soft gingerbread cookies in under 30 minutes. Here’s how:
- Preheat your oven to 350°F (175°C). Line two baking sheets with parchment paper or silicone mats. This ensures the cookies don’t stick and makes cleanup a breeze.
- Whisk the dry ingredients together. In a medium bowl, combine 2 ¼ cups (280g) gluten-free flour blend, 1 ½ teaspoons ground ginger, 1 ½ teaspoons cinnamon, ½ teaspoon cloves, ½ teaspoon nutmeg, 1 teaspoon baking soda, and ½ teaspoon salt. Whisk until everything is evenly distributed. This step is important—you want the spices to be spread throughout, not clumped in one cookie.
- Cream the butter and sugar. In a large bowl, beat ½ cup (113g) softened unsalted butter and ½ cup (100g) packed light brown sugar together until light and fluffy, about 2-3 minutes. It should look pale and airy. Don’t rush this step—proper creaming gives the cookies their soft texture.
- Add the wet ingredients. Beat in 1 large egg (room temperature), ½ cup (170g) unsulphured molasses, and 1 teaspoon vanilla extract. Mix until combined. The mixture might look a little separated at this point, but that’s normal. Don’t panic.
- Gradually add the dry ingredients. With the mixer on low speed, add the flour mixture in two additions. Mix until just combined. You don’t want to overmix, or the cookies will be tough. Scrape down the sides of the bowl with a rubber spatula to make sure everything is incorporated.
- Scoop the dough. Use a cookie scoop (about 1.5 tablespoons) to portion the dough. Drop the scoops onto the prepared baking sheets, spacing them about 2 inches apart. These cookies spread slightly, so give them room. If you don’t have a scoop, just use a spoon and try to make them roughly the same size.
- Bake for 9-11 minutes. The cookies should look puffed and set around the edges, but still soft in the center. They will continue to set as they cool. For softer cookies, bake for 9 minutes. For slightly firmer cookies, go for 11 minutes. I usually bake mine for 10 minutes—it’s the sweet spot.
- Cool on the baking sheet for 5 minutes. This is important. The cookies are fragile when they first come out of the oven. Let them rest on the baking sheet for 5 minutes before transferring them to a cooling rack. If you try to move them too soon, they’ll fall apart.
- Transfer to a cooling rack. Use a thin spatula to gently move the cookies to a wire rack. Let them cool completely before icing. This takes about 20-30 minutes. I know it’s tempting, but warm cookies will make the icing run right off.
- Make the molasses icing. While the cookies cool, whisk together 1 ½ cups (180g) powdered sugar, 3 tablespoons unsulphured molasses, 2 tablespoons milk, ½ teaspoon vanilla extract, and a pinch of salt. Whisk until smooth. The consistency should be thick but pourable—like honey. If it’s too thick, add another teaspoon of milk. If it’s too thin, add a little more powdered sugar.
- Ice the cookies. Transfer the icing to a small piping bag or a zip-top bag with a tiny corner snipped off. Drizzle the icing over the cooled cookies in a zigzag pattern. Don’t worry about making it perfect—the rustic look is part of the charm. Let the icing set for about 15-20 minutes before serving.
A quick note: If your dough feels too sticky to scoop, it might be because your gluten-free flour blend is different from mine. Just add a tablespoon more flour at a time until it’s manageable. If it’s too dry, add a teaspoon of milk. Gluten-free doughs can be finicky, so trust your instincts.
Cooking Tips & Techniques
I’ve made this recipe enough times to know exactly what can go wrong and how to fix it. Here are my best tips for perfect soft gingerbread cookies every time:
Don’t overbake them. This is the number one mistake people make with gluten-free cookies. They look underdone when they come out of the oven, but they continue to set as they cool. If you wait until they look fully baked, they’ll be dry and hard. Trust the 9-11 minute window and take them out when the edges are set but the centers still look soft.
Use room temperature ingredients. I cannot stress this enough. Cold butter won’t cream properly, and a cold egg can cause the butter to seize. Take everything out of the fridge about 30 minutes before you start baking. If you forget, you can microwave the butter for about 10 seconds, but be careful not to melt it. For the egg, place it in a bowl of warm water for 5 minutes.
Measure your flour correctly. The scoop-and-level method is your friend. Spoon the flour into your measuring cup and level it off with a knife. Don’t scoop directly from the bag—that packs the flour and gives you too much. Too much flour leads to dry, crumbly cookies. I learned this the hard way when I made a batch that was so dry, it basically turned into gingerbread sand.
Let the icing set completely. I know it’s hard to wait, but if you stack the cookies before the icing is fully set, you’ll end up with a sticky mess. Give them at least 20 minutes on the cooling rack. If you’re in a hurry, you can pop them in the fridge for 10 minutes to speed things up.
Double the recipe for a crowd. These cookies freeze beautifully, so I always make a double batch during the holidays. The dough can be frozen for up to 3 months—just scoop it into balls, freeze them on a baking sheet, then transfer to a zip-top bag. Bake from frozen, adding 1-2 minutes to the baking time.
Variations & Adaptations
This recipe is incredibly versatile. Here are some ways to make it your own:
Dairy-Free Version: Swap the butter for a high-quality vegan butter stick (I like Miyoko’s or Country Crock Plant Butter). Use oat milk or almond milk in the icing. The cookies will be slightly less rich, but still delicious. I’ve made this version for a friend with a dairy allergy, and she couldn’t tell the difference.
Spice it Up: Add ¼ teaspoon of black pepper or a pinch of cayenne pepper to the dough for a subtle heat. It sounds weird, but it actually enhances the ginger flavor. I tried this on a whim one night, and now it’s my secret ingredient for holiday parties.
Citrus Twist: Add 1 teaspoon of orange zest to the dough and swap the vanilla in the icing for orange extract. The orange and ginger combination is absolutely heavenly. I serve these alongside a cup of Earl Grey tea, and it’s a match made in heaven.
Sandwich Cookies: Make the cookies slightly smaller (use a 1-tablespoon scoop) and sandwich two together with a layer of cream cheese frosting or vanilla buttercream. These are a hit at potlucks. Just be prepared to share the recipe.
Gluten-Free + Vegan: Use a flax egg (1 tablespoon ground flaxseed mixed with 3 tablespoons water, let sit for 5 minutes) instead of the regular egg. I’ve tested this, and the cookies are slightly less tender but still very good. The vegan butter swap also applies here.
Serving & Storage Suggestions
These cookies are best served at room temperature, with the icing fully set. They’re perfect on a holiday cookie platter, alongside a cup of hot cocoa, or as a sweet ending to a dinner party. I like to arrange them on a wooden board with some fresh cranberries and rosemary sprigs for a festive look.
Storage: Store the cookies in an airtight container at room temperature for up to 5 days. Place a piece of bread in the container to keep them soft—the cookies will absorb the moisture from the bread. Replace the bread every other day. This trick has saved many batches of cookies from drying out.
Freezing: You can freeze the baked, un-iced cookies for up to 3 months. Just wrap them tightly in plastic wrap and place them in a freezer-safe bag. When you’re ready to serve, thaw them at room temperature, then make the icing fresh. The icing doesn’t freeze well, so always make it fresh.
Reheating: Pop a cookie in the microwave for about 10 seconds for that just-baked warmth. It’s incredible how much this brings back the soft texture. I do this all the time when I’m craving a warm cookie with my afternoon coffee.
Flavor Development: These cookies actually taste better the next day. The spices meld together and the molasses flavor deepens. So don’t be afraid to make them a day ahead. In fact, I recommend it.
Nutritional Information & Benefits
One cookie (with icing) contains approximately:
- Calories: 180
- Fat: 6g
- Carbohydrates: 30g
- Fiber: 2g
- Sugar: 18g
- Protein: 2g
These numbers are estimates and will vary based on your specific ingredients and portion sizes.
Health Highlights: Molasses is a good source of iron, calcium, and magnesium. It’s also a natural sweetener with a lower glycemic index than refined sugar. The ginger in these cookies is known for its anti-inflammatory properties and can help with digestion. So while these are definitely a treat, they’re not completely void of nutritional value. I like to think of them as a slightly more virtuous indulgence.
Dietary Considerations: This recipe is naturally gluten-free (when using a certified gluten-free flour blend). It can be made dairy-free and vegan with the substitutions mentioned above. It contains eggs and dairy in the original version, so keep that in mind for allergen concerns.
Conclusion
These gluten-free soft gingerbread cookies with molasses icing are everything I ever wanted in a holiday cookie. They’re soft, they’re spiced perfectly, and that molasses icing is just the right amount of sweet. They’ve converted my gingerbread-hating husband, impressed my gluten-eating friends, and become a staple at every gathering I attend. Honestly, I don’t think I’ll ever make another gingerbread recipe again.
I hope you give these a try, whether you’re gluten-free or not. They’re the kind of cookies that make people close their eyes after the first bite, the kind that disappear from the dessert table before dinner is even served. And if you make them for a dinner party or holiday gathering, I promise you’ll leave with an empty plate and a lot of recipe requests.
I’d love to hear how they turn out for you! Leave a comment below and let me know if you tried any variations, or tag me in your photos on social media. Happy baking, friend—you’ve got this.
Frequently Asked Questions
Can I use blackstrap molasses instead of unsulphured?
I wouldn’t recommend it. Blackstrap molasses is much stronger and more bitter than unsulphured molasses. It will overpower the spices and make the cookies taste almost burnt. Stick with unsulphured for the best flavor.
Why are my cookies spreading too much?
This usually happens if the butter is too soft or melted, or if your gluten-free flour blend doesn’t have enough starch. Try chilling the dough for 15 minutes before baking, and make sure your butter is just softened, not melted. Also, check that your baking soda is fresh—old baking soda can cause spreading.
Can I make these cookies ahead of time for a party?
Absolutely! In fact, I recommend it. You can bake the cookies up to 3 days in advance and store them in an airtight container. Make the icing fresh on the day you’re serving them. The cookies actually taste better after a day or two because the spices have time to meld.
Can I freeze the dough?
Yes! Scoop the dough into balls, place them on a baking sheet, and freeze until solid. Transfer the frozen dough balls to a zip-top bag and store for up to 3 months. When you’re ready to bake, place them on a baking sheet and add 1-2 minutes to the baking time. No need to thaw.
How do I know when the cookies are done baking?
Look for set edges and a puffed center. The cookies should look slightly underdone in the middle—they’ll continue to set as they cool. If you’re unsure, err on the side of underbaking. Overbaked gluten-free cookies become dry and crumbly very quickly.
Pin This Recipe!
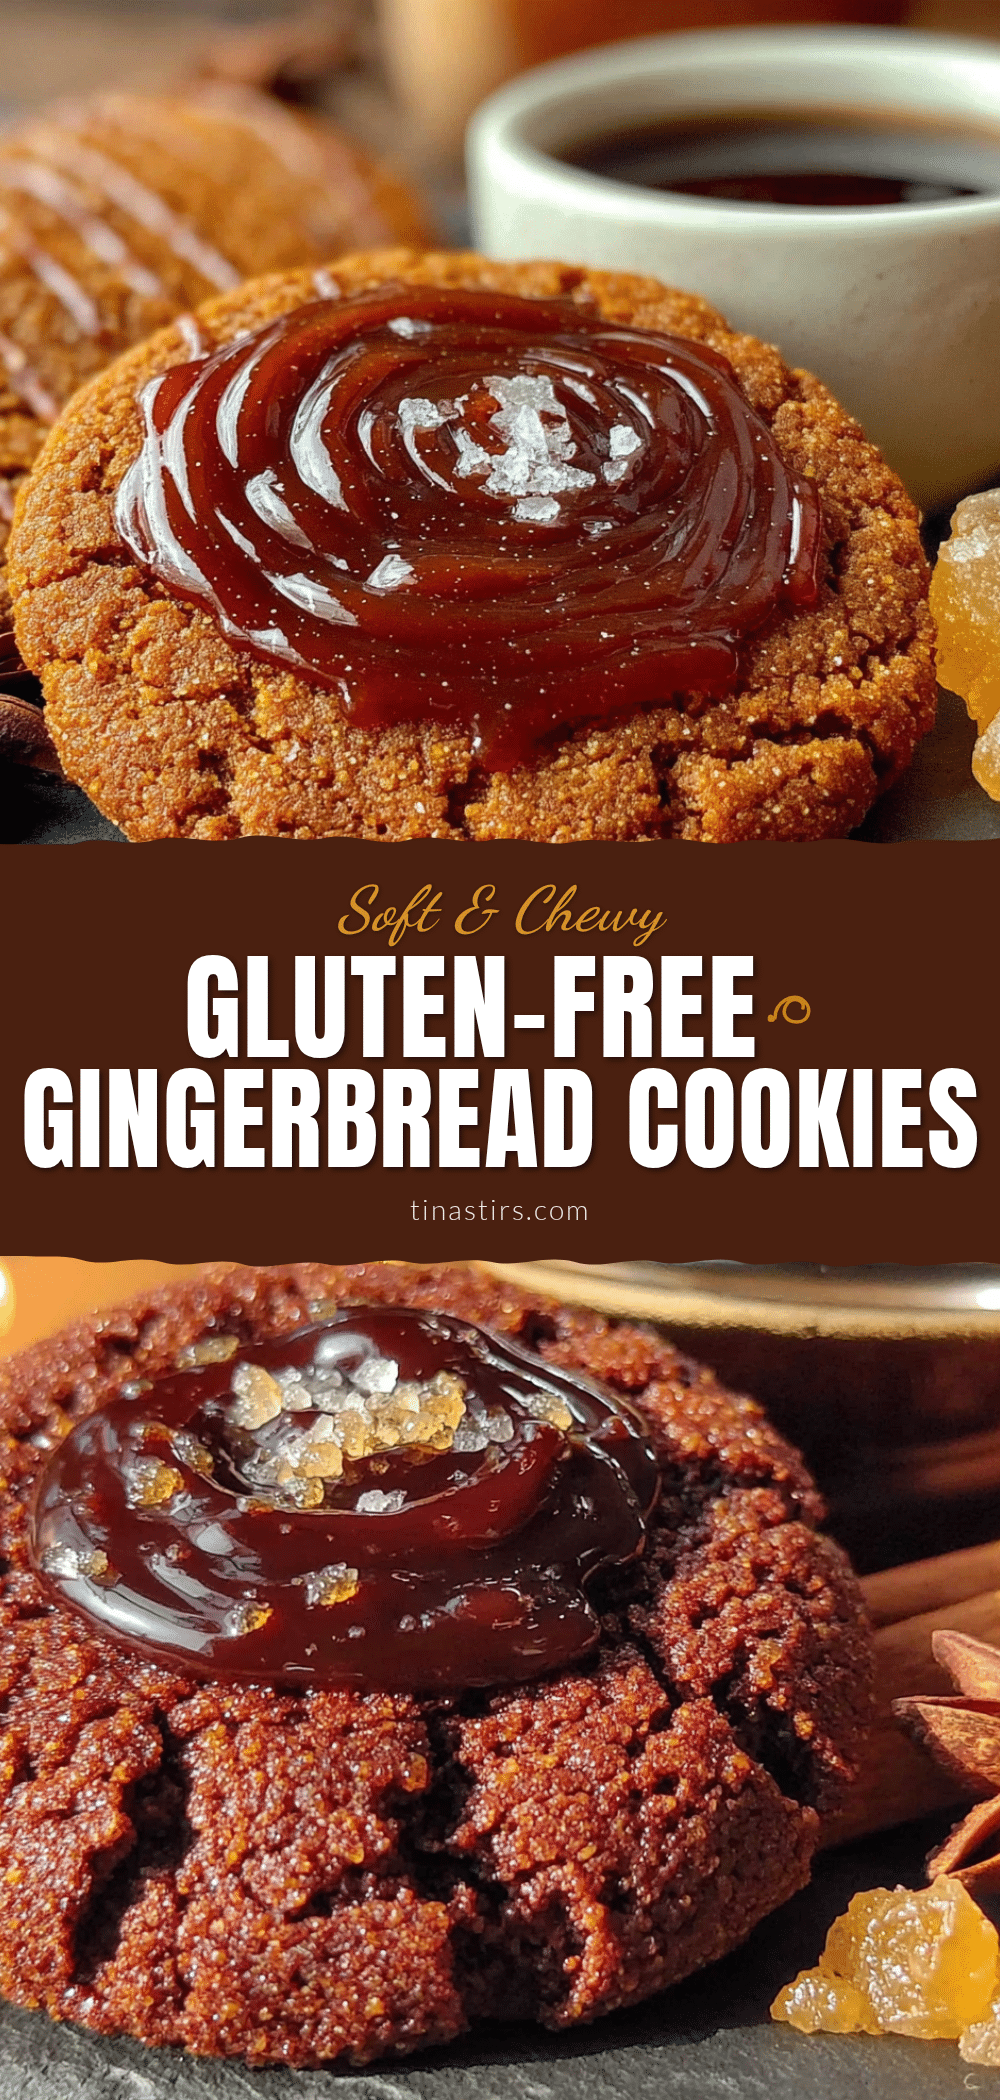
The Best Gluten-Free Soft Gingerbread Cookies with Icing

These gluten-free soft gingerbread cookies with molasses icing are perfectly spiced, soft, and chewy. They’re a crowd-pleaser that even gingerbread skeptics will love, and they come together in under 30 minutes with no chill time required.
- Prep Time: 15 minutes
- Cook Time: 10 minutes
- Total Time: 25 minutes
- Yield: 24 servings 1x
- Category: Dessert
- Cuisine: American
Ingredients
- 2 ¼ cups (280g) all-purpose gluten-free flour blend (e.g., King Arthur Flour Measure for Measure or Bob’s Red Mill 1-to-1)
- 1 ½ teaspoons ground ginger
- 1 ½ teaspoons ground cinnamon
- ½ teaspoon ground cloves
- ½ teaspoon ground nutmeg
- 1 teaspoon baking soda
- ½ teaspoon salt
- ½ cup (113g) unsalted butter, softened
- ½ cup (100g) packed light brown sugar
- 1 large egg, room temperature
- ½ cup (170g) unsulphured molasses
- 1 teaspoon vanilla extract
- 1 ½ cups (180g) powdered sugar
- 3 tablespoons unsulphured molasses
- 2 tablespoons milk (any kind)
- ½ teaspoon vanilla extract
- Pinch of salt
Instructions
- Preheat your oven to 350°F (175°C). Line two baking sheets with parchment paper or silicone mats.
- In a medium bowl, whisk together 2 ¼ cups (280g) gluten-free flour blend, 1 ½ teaspoons ground ginger, 1 ½ teaspoons cinnamon, ½ teaspoon cloves, ½ teaspoon nutmeg, 1 teaspoon baking soda, and ½ teaspoon salt.
- In a large bowl, beat ½ cup (113g) softened unsalted butter and ½ cup (100g) packed light brown sugar together until light and fluffy, about 2-3 minutes.
- Beat in 1 large egg (room temperature), ½ cup (170g) unsulphured molasses, and 1 teaspoon vanilla extract until combined.
- With the mixer on low speed, gradually add the flour mixture in two additions, mixing until just combined. Scrape down the sides of the bowl as needed.
- Use a cookie scoop (about 1.5 tablespoons) to portion the dough. Drop the scoops onto the prepared baking sheets, spacing them about 2 inches apart.
- Bake for 9-11 minutes, until the cookies look puffed and set around the edges but still soft in the center.
- Cool on the baking sheet for 5 minutes, then transfer to a cooling rack to cool completely.
- While the cookies cool, make the icing: whisk together 1 ½ cups (180g) powdered sugar, 3 tablespoons unsulphured molasses, 2 tablespoons milk, ½ teaspoon vanilla extract, and a pinch of salt until smooth.
- Transfer the icing to a small piping bag or zip-top bag with a tiny corner snipped off. Drizzle the icing over the cooled cookies in a zigzag pattern. Let the icing set for about 15-20 minutes before serving.
Notes
Don’t overbake the cookies; they continue to set as they cool. Use room temperature ingredients for best results. Measure flour using the scoop-and-level method. Let the icing set completely before stacking cookies. The dough can be frozen for up to 3 months.
Nutrition
- Serving Size: 1 cookie with icing
- Calories: 180
- Sugar: 18
- Sodium: 150
- Fat: 6
- Saturated Fat: 3.5
- Carbohydrates: 30
- Fiber: 2
- Protein: 2
Keywords: gluten-free gingerbread cookies, soft gingerbread cookies, molasses icing, holiday cookies, gluten-free baking