Love this? Save it for later!
Share the inspiration with your friends
This was supposed to be a simple batch of classic cutout sugar cookies. You know the kind—the ones that hold their shape perfectly, the ones you spend hours decorating with royal icing for the holidays. I had the butter softening on the counter, the flour measured, and my brand-new set of cookie cutters ready to go. But then I got distracted. My neighbor called asking if I could watch her dog for the afternoon, and in my rush to get everything done before she showed up, I grabbed the wrong butter. Instead of the softened sticks I had planned, I grabbed the block I had just browned for a totally different recipe. It was already liquid, it was already nutty and fragrant, and it was definitely not what you want for a standard sugar cookie dough.
I stood there for a solid minute, staring at the bowl of liquid brown butter, honestly ready to just dump it and start over. But I hate wasting food, and that brown butter smelled incredible. So I went with it. I figured I’d just chill the dough longer, maybe add a bit more flour, and hope for the best. What came out of the oven was nothing like the plan—and better. No spreading. Perfectly sharp edges. A deep, almost caramel-like flavor that made the usual vanilla version taste boring. I mean, I was genuinely shocked. I kept picking one up, turning it over, and muttering “how did this even work?”
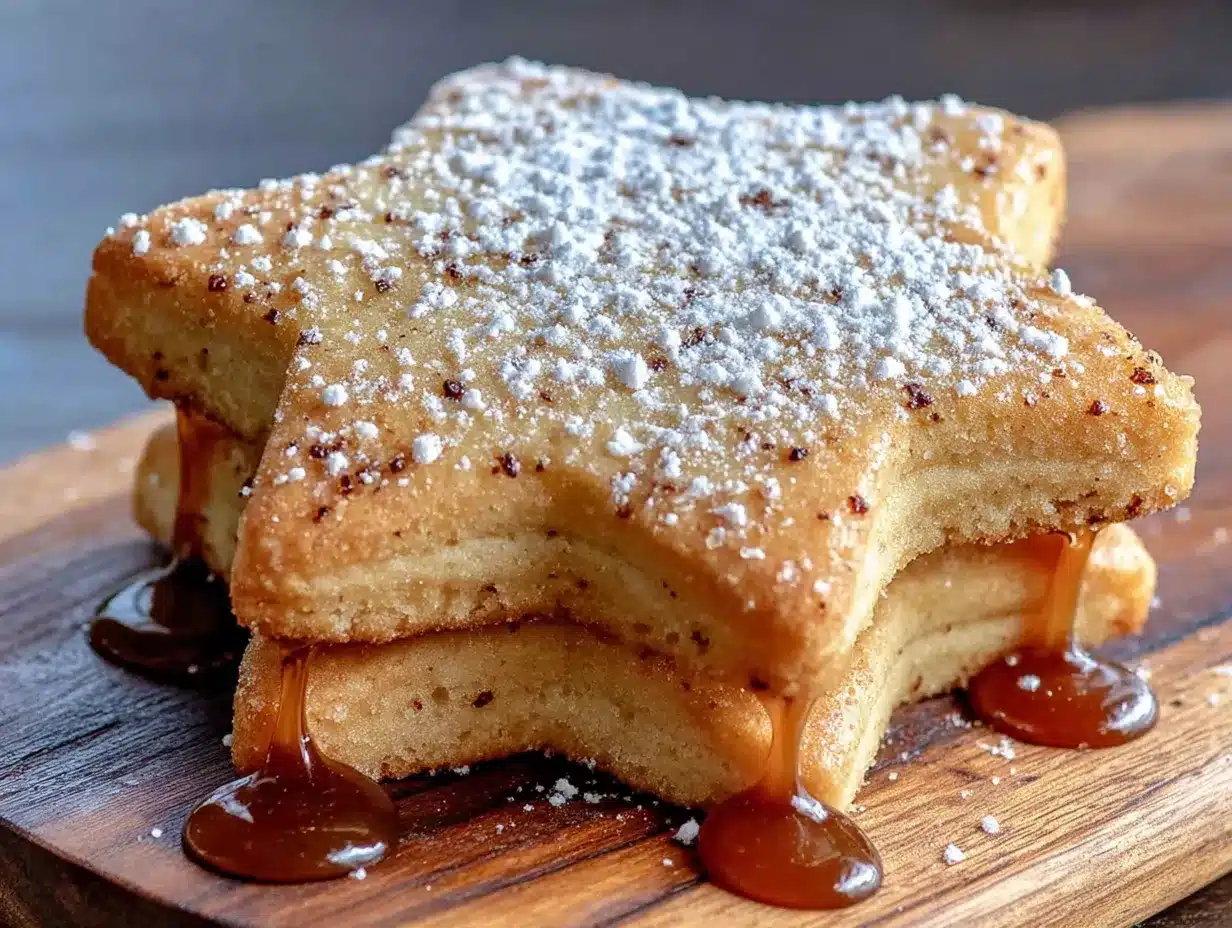
That afternoon, I learned something I’ve never forgotten: sometimes the biggest kitchen mistakes lead to the best recipes. These no-spread brown butter cutout sugar cookies have become my go-to for every holiday, birthday, and random Tuesday that calls for a little sweetness. They’re lighter than traditional cutouts, thanks to a few smart swaps, but they don’t taste like it. The edges stay crisp, the centers are tender, and that brown butter flavor? Let me tell you—it’s a game-changer. If you’ve ever struggled with sugar cookies that puff up or lose their shape in the oven, this is the recipe that will fix it. Trust me, I figured it out by accident.
Why You’ll Love This Recipe
I’ve tested this recipe more times than I care to admit. I’ve made it with all-purpose flour, with whole wheat pastry flour, with a blend of both. I’ve chilled the dough for thirty minutes and for overnight. I’ve used expensive European butter and the store-brand sticks. Every single time, these cookies come out perfect. That’s not me bragging—that’s just what happens when you accidentally stumble onto a formula that works.
- No Spreading, Ever : The dough holds its shape so well that you can cut out the most intricate designs and they’ll look exactly the same after baking. No more snowmen that turn into blobs.
- Lighter But Still Indulgent : I swapped some of the butter for Greek yogurt, which cuts the calories and adds a bit of protein without changing the texture. You honestly can’t tell the difference.
- Simple Ingredients : You probably have everything in your pantry right now. No weird stabilizers or specialty flours needed.
- Perfect for Any Occasion : Christmas trees, Halloween ghosts, Easter bunnies, or just simple circles—these cookies work for every holiday and every season.
- Crowd-Pleaser : I’ve brought these to cookie swaps, potlucks, and family gatherings. They disappear faster than anything else on the table.
- That Brown Butter Flavor : The nutty, toasty notes from the browned butter take these cookies to another level. It’s the kind of flavor that makes people close their eyes after the first bite.
This isn’t just another sugar cookie recipe. It’s the one that solves the biggest problem with cutout cookies—spreading—while making them taste better and feel a little less heavy. You get the satisfaction of perfectly shaped cookies with a depth of flavor that plain butter just can’t deliver.
What Ingredients You Will Need
This recipe uses simple, wholesome ingredients to deliver bold flavor and satisfying texture without the fuss. Most of these are pantry staples, which makes these cookies perfect for spontaneous baking sessions.
For the Brown Butter
- Unsalted butter, ½ cup (1 stick or 113 grams) — I prefer using a good quality butter like Kerrygold for browning because it has a lower water content and browns more evenly. The milk solids caramelize beautifully.
- Note on browning : Don’t walk away from the pan. Brown butter goes from perfect to burnt in about 30 seconds.
For the Cookie Dough
- All-purpose flour, 2 ¼ cups (270 grams) — Spoon and level your flour. Scooping directly from the bag can pack in too much and make the dough dry.
- Baking powder, ½ teaspoon — This gives the cookies just a tiny bit of lift without making them puff up. Too much baking powder will cause spreading.
- Salt, ¼ teaspoon — A fine sea salt works best. It balances the sweetness and enhances the brown butter flavor.
- Brown butter, from above — Make sure it’s cooled to room temperature but still liquid. If it solidifies, gently warm it back up.
- Granulated sugar, ¾ cup (150 grams) — Regular white sugar gives these cookies their crisp edges. I’ve tried coconut sugar and it works, but the texture is slightly softer.
- Plain Greek yogurt, ¼ cup (60 grams) — This is the lighter swap that keeps the cookies tender. Use full-fat or 2% for best results. Non-fat works too, but the cookies will be slightly less rich.
- Large egg, 1 — Room temperature is important here. Cold egg will seize the brown butter and make the dough hard to mix.
- Vanilla extract, 1 teaspoon — Pure vanilla extract makes a difference. Imitation vanilla works in a pinch, but the flavor won’t be as warm and complex.
- Almond extract, ¼ teaspoon (optional) — This is my secret ingredient. It adds a subtle nuttiness that pairs beautifully with the brown butter. Leave it out if you prefer a pure vanilla flavor.
Ingredient Selection Tips : For the best texture, use a thick, creamy Greek yogurt—not a thin, runny one. I recommend Fage or Chobani. If you only have regular yogurt, strain it through a cheesecloth for an hour to thicken it up. And please, please use unsalted butter. Salted butter can make the cookies taste overly salty, especially since we’re browning it and concentrating the flavor.
Equipment Needed
You don’t need a lot of fancy tools for this recipe, but a few things will make your life easier.
- Light-colored saucepan — A heavy-bottomed saucepan with a light interior is best for browning butter. Dark pans make it hard to see the milk solids turning golden.
- Stand mixer or hand mixer — You can mix this dough by hand, but a mixer makes it much easier, especially when incorporating the brown butter.
- Rubber spatula — For scraping every last bit of brown butter out of the pan. Don’t waste a drop.
- Rolling pin — I use a simple wooden rolling pin. If you have adjustable rings, they’re great for getting even thickness.
- Cookie cutters — Any shape works. Metal cutters with sharp edges give cleaner cuts than plastic ones.
- Parchment paper — Essential for no-stick baking and easy cleanup. Silpat mats work too, but I find parchment gives slightly crisper bottoms.
- Baking sheets — Rimmed baking sheets are best. Avoid dark non-stick sheets, which can cause the bottoms to brown too quickly.
- Cooling rack — Wire racks let air circulate so the cookies cool evenly and stay crisp.
Budget-Friendly Tip : If you don’t have a stand mixer, a large bowl and a sturdy whisk will do the job. Just be prepared to use some elbow grease. And if you don’t have cookie cutters, you can use the rim of a glass to cut circles. They won’t be fancy, but they’ll taste just as good.
Preparation Method
Let me walk you through this step by step. I’ve made this dough so many times that I could do it in my sleep, but I’ll share all the little tricks I’ve learned along the way.
- Brown the butter : Cut the butter into small, even pieces and place them in a light-colored saucepan over medium heat. Stir constantly with a rubber spatula or wooden spoon. The butter will melt, then foam, then start to crackle and pop. Keep stirring. After about 5-7 minutes, the milk solids at the bottom will turn a golden amber color and the butter will smell nutty and fragrant. The moment you see that color and smell that smell, remove the pan from the heat immediately. Pour the brown butter into a heatproof bowl, including all the little brown bits at the bottom—that’s where the flavor lives. Let it cool to room temperature, about 15 minutes.
- Whisk dry ingredients : In a medium bowl, whisk together the all-purpose flour, baking powder, and salt. Set aside. Make sure there are no lumps in the baking powder—I’ve had batches where a clump of baking powder caused a weird bitter spot in one cookie.
- Mix wet ingredients : In the bowl of a stand mixer fitted with the paddle attachment (or a large bowl with a hand mixer), combine the cooled brown butter and granulated sugar. Beat on medium speed for 2-3 minutes until the mixture looks smooth and slightly lighter in color. It won’t get fluffy like creamed butter, but it should be well combined. Add the Greek yogurt, egg, vanilla extract, and almond extract (if using). Beat on medium speed until fully incorporated, about 1 minute. Scrape down the sides and bottom of the bowl with a spatula. The mixture might look a little curdled—don’t panic, that’s normal with brown butter.
- Combine wet and dry : With the mixer on low speed, gradually add the flour mixture. Mix until just combined—stop as soon as you don’t see any more streaks of flour. Overmixing will develop gluten and make the cookies tough. The dough will be soft and slightly sticky, but it should hold together when pressed.
- Chill the dough : Divide the dough in half and flatten each half into a disk about 1 inch thick. Wrap each disk tightly in plastic wrap. Refrigerate for at least 2 hours, or up to 3 days. This is non-negotiable. The dough needs to firm up so it doesn’t spread, and the chilling time also allows the flavors to meld. I’ve baked cookies after just 30 minutes of chilling and they spread more than the ones that chilled for 2 hours. Patience pays off here.
- Preheat and prepare : When you’re ready to bake, preheat your oven to 350°F (175°C). Line two baking sheets with parchment paper. Remove one disk of dough from the fridge and let it sit at room temperature for 5 minutes—just enough to make it rollable without cracking.
- Roll and cut : On a lightly floured surface, roll the dough to about ¼-inch thickness. I like to flip the dough over a few times while rolling and add a tiny bit of flour to the surface as needed to prevent sticking. Use your cookie cutters to cut out shapes. Re-roll the scraps once—after that, the dough gets tough from too much flour. I usually bake the second-round scraps as simple shapes or just snack on them raw (don’t judge me).
- Bake : Place the cut-out cookies about 1 inch apart on the prepared baking sheets. Bake for 8-10 minutes, rotating the pans halfway through. The cookies are done when the edges are just barely golden brown. The centers will look slightly pale and puffy—that’s perfect. They’ll continue to set as they cool. Overbaking will make them dry and crunchy.
- Cool completely : Let the cookies cool on the baking sheet for 5 minutes, then transfer them to a wire rack to cool completely. Don’t skip this step—moving them too early can cause them to break.
Cooking Tips & Techniques
I’ve made every mistake in the book with sugar cookies, so let me save you the trouble.
Don’t over-brown the butter. The first time I made these, I let the butter go a little too long because I was texting while stirring. It went from amber to almost black in seconds. The cookies tasted bitter and burnt. Watch it like a hawk. The moment you see golden specks and smell that nutty aroma, pull it off the heat.
Chill, chill, chill. I cannot stress this enough. Warm dough spreads. Cold dough holds its shape. If at any point during rolling or cutting the dough feels soft or sticky, pop it back in the fridge for 15 minutes. I’ve had to do this on hot summer days when my kitchen was like a sauna.
Use a light hand with flour. When rolling out the dough, use just enough flour to prevent sticking. Too much flour will make the cookies dry and crumbly. I keep a small bowl of flour next to my rolling surface and dust sparingly.
Rotate your pans. Ovens have hot spots. I learned this the hard way when the cookies on the back of the top rack came out dark while the front ones were pale. Rotating the pans halfway through baking ensures even browning.
Let them cool completely before decorating. I know it’s tempting to start icing while they’re still warm, but trust me—the icing will melt and slide right off. I’ve ruined many a cookie this way. Patience, my friend.
Variations & Adaptations
One of the best things about this recipe is how versatile it is. Here are some of my favorite ways to change it up.
Gluten-Free Version : Substitute the all-purpose flour with a 1:1 gluten-free baking flour blend that contains xanthan gum. I’ve used Bob’s Red Mill 1:1 Baking Flour with great results. The texture is slightly more tender, but they still hold their shape beautifully. Add an extra tablespoon of flour if the dough feels too sticky.
Vegan Adaptation : Replace the butter with a high-quality vegan butter stick (not spreadable tub butter) and brown it the same way. Use a flax egg (1 tablespoon ground flaxseed mixed with 3 tablespoons water, let sit for 5 minutes) instead of the egg, and use a dairy-free yogurt like coconut or soy-based. The cookies will be a bit more fragile, so handle them gently.
Citrus Sugar Cookies : Add the zest of one lemon or orange to the sugar before mixing. Rub the zest into the sugar with your fingers until it’s fragrant—this releases the oils and gives you a bright, sunny flavor that pairs wonderfully with the brown butter.
Spiced Holiday Version : Add 1 teaspoon of cinnamon, ½ teaspoon of ginger, and ¼ teaspoon of nutmeg to the dry ingredients. These spices make the cookies taste like Christmas morning. I make a batch of these every December and they’re always the first to go.
Chocolate Dipped : Once the cookies are completely cool, dip half of each cookie into melted dark chocolate and let them set on parchment paper. The combination of brown butter cookie and dark chocolate is absolutely divine. I did this on a whim one afternoon and now I can’t stop.
Serving & Storage Suggestions
These cookies are delicious on their own, but they really shine with a little extra love.
Serving Temperature : Room temperature is best. The texture is perfect—crisp on the edges, tender in the middle. If you’ve stored them in the fridge, let them sit out for 10-15 minutes before serving.
Presentation Ideas : Stack them on a pretty cake stand, arrange them in a tin lined with parchment paper for gift-giving, or serve them alongside a warm mug of spiced tea or coffee. For a dessert board, pair them with fresh berries, a dollop of whipped cream, and a drizzle of honey.
Storage : Store undecorated cookies in an airtight container at room temperature for up to 1 week. If you’ve decorated them with royal icing, let the icing dry completely (usually overnight) before stacking them between layers of parchment paper. I’ve kept these cookies for two weeks and they still tasted fresh—though they rarely last that long in my house.
Freezer Instructions : You can freeze the baked cookies (undecorated) for up to 3 months. Place them in a single layer in a freezer-safe container with parchment paper between layers. Thaw at room temperature for about 30 minutes before decorating or serving. You can also freeze the raw dough disks for up to 3 months. Thaw in the fridge overnight before rolling and cutting.
Reheating : These cookies don’t really need reheating, but if you want that just-baked warmth, pop them in a 300°F (150°C) oven for 3-4 minutes. Let them cool slightly before eating.
Nutritional Information & Benefits
Let’s be real—these are still cookies, not health food. But compared to traditional cutout sugar cookies, this version is a bit lighter without sacrificing flavor.
| Nutritional Value | Per Cookie (based on 24 cookies) |
|---|---|
| Calories | ~110 |
| Total Fat | 5g |
| Saturated Fat | 3g |
| Carbohydrates | 15g |
| Sugar | 7g |
| Protein | 2g |
Health Highlights : The Greek yogurt adds a small amount of protein and calcium while reducing the overall fat content. Brown butter, despite being butter, has a more intense flavor, which means you can use less of it and still get that rich, buttery taste. If you’re watching your sugar intake, you can reduce the sugar to ½ cup—the cookies will be less sweet but still delicious.
Dietary Considerations : This recipe is vegetarian. For gluten-free or vegan options, check the variations section above. These cookies contain dairy, eggs, and gluten (unless modified).
My Wellness Perspective : I believe in enjoying treats in moderation. These cookies are made with real ingredients, no artificial flavors or preservatives, and they bring genuine joy. That counts for something. One or two of these with a cup of tea is a lovely, balanced way to satisfy a sweet craving.
Conclusion
These no-spread brown butter cutout sugar cookies are proof that the best recipes often come from happy accidents. That day I grabbed the wrong butter changed the way I think about baking. Instead of stressing over perfection, I learned to trust the process—and sometimes, the mistake. These cookies have become a staple in my kitchen, and I hope they become one in yours too.
I’d love to hear how they turn out for you. Did you try a fun variation? Did your kids help with the cookie cutters? Did you discover your own happy accident along the way? Drop a comment below and let me know. And if you share a photo on Pinterest or Instagram, tag me—I absolutely love seeing your creations. Happy baking, friend. You’ve got this.
Frequently Asked Questions
Can I use salted butter instead of unsalted?
You can, but I recommend reducing the added salt in the recipe to just a pinch. Salted butter has varying amounts of salt depending on the brand, so it’s harder to control the final flavor. I’ve tested it with salted butter and the cookies came out a bit salty—still good, but not ideal.
Why did my cookies spread even after chilling?
This usually happens for one of three reasons: the dough wasn’t chilled long enough (minimum 2 hours is crucial), the baking sheets were too warm when you placed the cookies on them, or the oven wasn’t hot enough. Always use cool baking sheets and make sure your oven is fully preheated to 350°F (175°C).
Can I make this dough ahead of time?
Absolutely! The dough can be refrigerated for up to 3 days or frozen for up to 3 months. Just wrap it tightly in plastic wrap and then in foil. When you’re ready to bake, let it thaw in the fridge overnight if frozen, then proceed with rolling and cutting.
How do I get perfectly even cookies?
Use a rolling pin with adjustable thickness rings set to ¼ inch. This guarantees uniform thickness, which means even baking. If you don’t have those, use two thin wooden spoons or chopsticks placed on either side of the dough as guides for your rolling pin.
Can I skip the almond extract?
Yes, absolutely. The almond extract is completely optional. If you’re not a fan of almond flavor, just leave it out and increase the vanilla extract to 1 ½ teaspoons. The cookies will still taste amazing—just more purely vanilla.
Pin This Recipe!
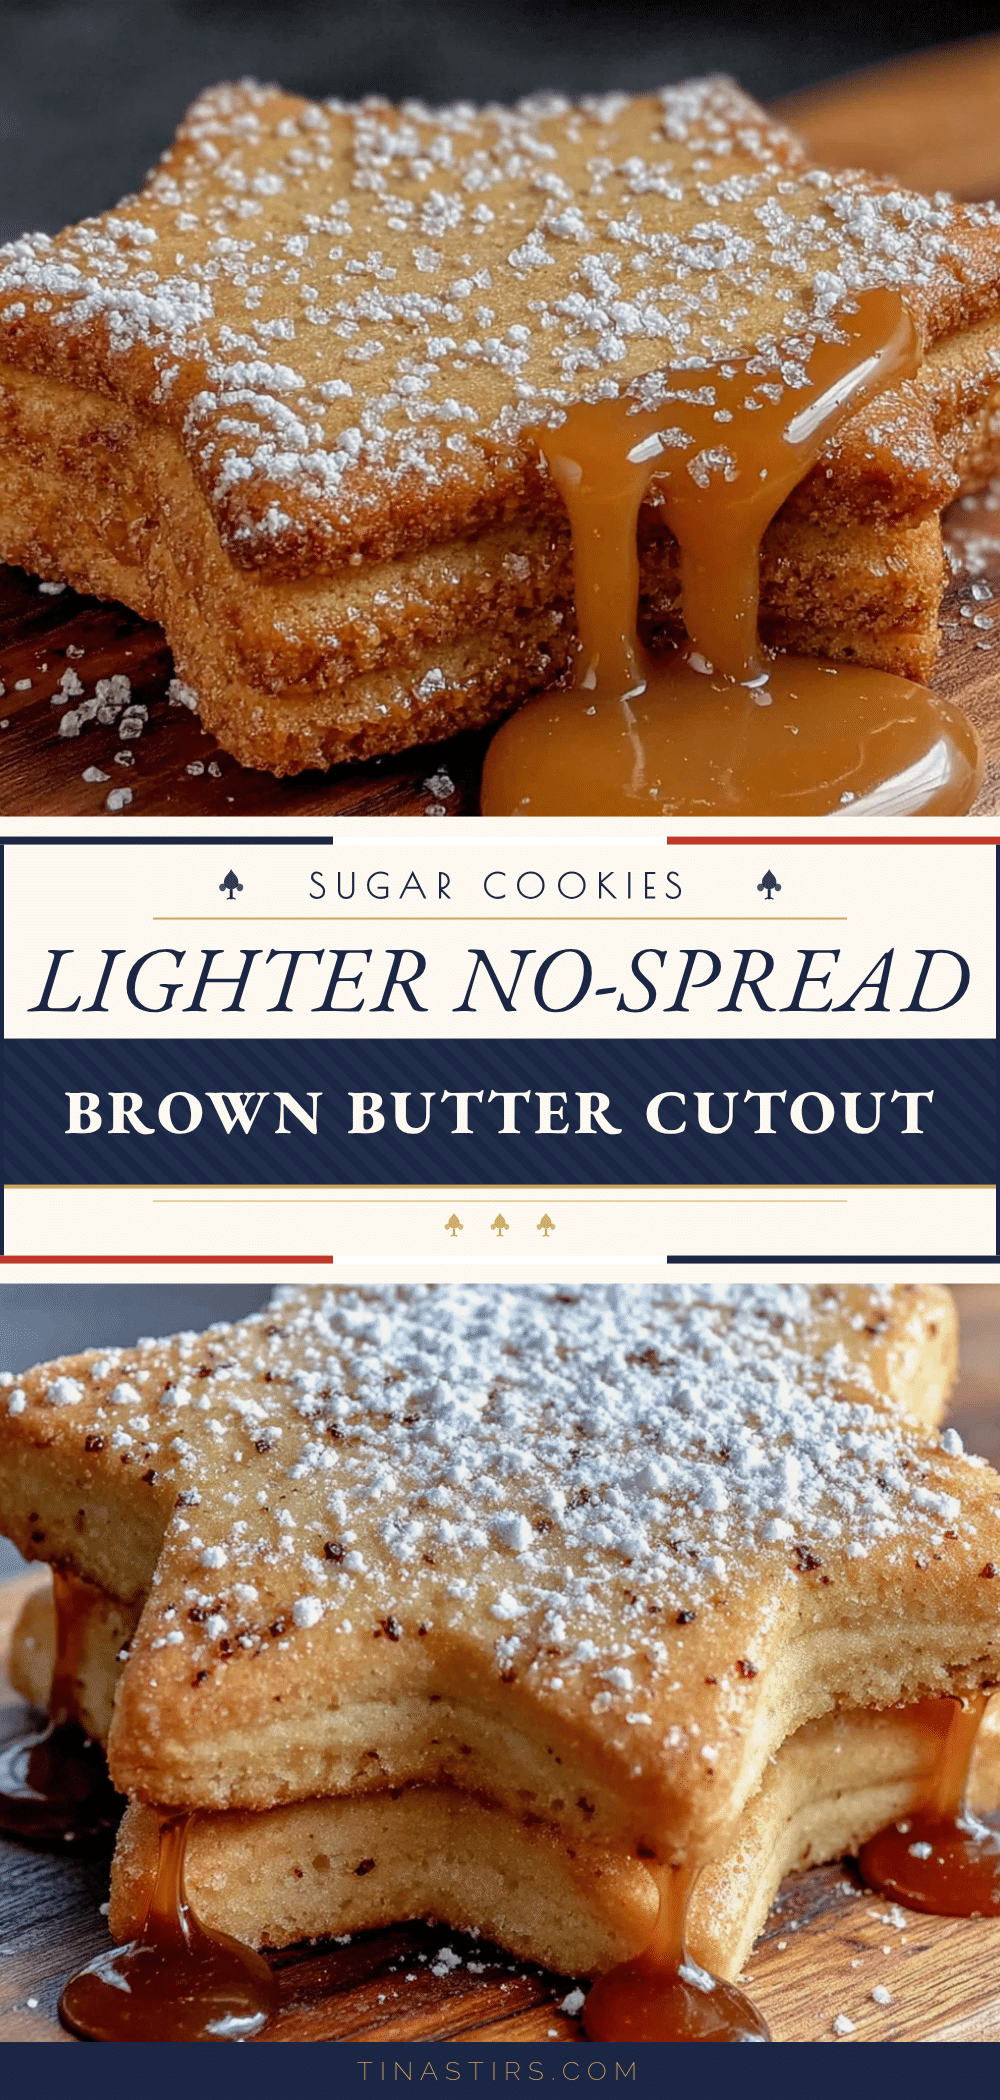
The Best No-Spread Brown Butter Cutout Sugar Cookies
These no-spread brown butter cutout sugar cookies hold their shape perfectly with sharp edges and a deep, caramel-like flavor. Made with a lighter swap of Greek yogurt, they’re tender, crisp, and absolutely irresistible for any occasion.
- Prep Time: 20 minutes
- Cook Time: 10 minutes
- Total Time: 2 hours 30 minutes (includes chilling)
- Yield: 24 cookies 1x
- Category: Dessert
- Cuisine: American
Ingredients
- ½ cup (1 stick or 113 grams) unsalted butter
- 2 ¼ cups (270 grams) all-purpose flour
- ½ teaspoon baking powder
- ¼ teaspoon fine sea salt
- ¾ cup (150 grams) granulated sugar
- ¼ cup (60 grams) plain Greek yogurt (full-fat or 2%)
- 1 large egg, room temperature
- 1 teaspoon pure vanilla extract
- ¼ teaspoon almond extract (optional)
Instructions
- Brown the butter: Cut the butter into small, even pieces and place them in a light-colored saucepan over medium heat. Stir constantly with a rubber spatula or wooden spoon. The butter will melt, then foam, then start to crackle and pop. Keep stirring. After about 5-7 minutes, the milk solids at the bottom will turn a golden amber color and the butter will smell nutty and fragrant. Remove from heat immediately and pour into a heatproof bowl, including all the brown bits. Let cool to room temperat…
- Whisk dry ingredients: In a medium bowl, whisk together the all-purpose flour, baking powder, and salt. Set aside.
- Mix wet ingredients: In the bowl of a stand mixer fitted with the paddle attachment (or a large bowl with a hand mixer), combine the cooled brown butter and granulated sugar. Beat on medium speed for 2-3 minutes until smooth and slightly lighter in color. Add the Greek yogurt, egg, vanilla extract, and almond extract (if using). Beat on medium speed until fully incorporated, about 1 minute. Scrape down the sides and bottom of the bowl.
- Combine wet and dry: With the mixer on low speed, gradually add the flour mixture. Mix until just combined—stop as soon as no streaks of flour remain. The dough will be soft and slightly sticky.
- Chill the dough: Divide the dough in half and flatten each half into a disk about 1 inch thick. Wrap each disk tightly in plastic wrap. Refrigerate for at least 2 hours, or up to 3 days.
- Preheat and prepare: When ready to bake, preheat oven to 350°F (175°C). Line two baking sheets with parchment paper. Remove one disk of dough from the fridge and let sit at room temperature for 5 minutes.
- Roll and cut: On a lightly floured surface, roll the dough to about ¼-inch thickness. Use cookie cutters to cut out shapes. Re-roll scraps once.
- Bake: Place cut-out cookies about 1 inch apart on prepared baking sheets. Bake for 8-10 minutes, rotating pans halfway through. Cookies are done when edges are just barely golden brown. Centers will look slightly pale and puffy.
- Cool completely: Let cookies cool on baking sheet for 5 minutes, then transfer to a wire rack to cool completely.
Notes
Don’t over-brown the butter—watch it closely. Chill the dough for at least 2 hours; this is non-negotiable for no-spread results. Use a light hand with flour when rolling. Rotate pans halfway through baking for even browning. Let cookies cool completely before decorating.
Nutrition
- Serving Size: 1 cookie
- Calories: 110
- Sugar: 7
- Sodium: 60
- Fat: 5
- Saturated Fat: 3
- Carbohydrates: 15
- Protein: 2
Keywords: brown butter sugar cookies, no-spread cutout cookies, cutout sugar cookies, brown butter cookies, holiday cookies, easy sugar cookies