Love this? Save it for later!
Share the inspiration with your friends
The school Halloween party was in twelve hours and I’d completely forgotten. My son had reminded me exactly three times that week, and each time I’d nodded along while mentally planning dinner. Now it was 10 PM, the store was closed, and I was staring into a pantry that contained butter, sugar, flour, and a bag of almonds left over from Christmas baking. Everyone else would be bringing those elaborate store-bought cupcakes with the perfect fondant ghosts or those cute little mummy hot dogs wrapped in crescent rolls. I had butter that needed softening and absolutely zero time.
I grabbed the butter and set it on the counter, maybe a little too aggressively. My husband poked his head in and asked if I needed help. “I need a time machine,” I muttered, but then I spotted the almonds again and something clicked. Witch fingers. They’re creepy, they’re classic, and honestly, they look harder to make than they actually are. I’d seen them floating around Pinterest for years but never tried them. Desperate times, right?
By 11:30, I had a baking sheet full of pale, knobby fingers with almond nails staring up at me. They looked genuinely unsettling — which was exactly the point. I slid them into the oven, prayed they’d hold their shape, and cleaned up the flour explosion that had somehow reached the ceiling. When they came out golden and slightly cracked at the knuckles, I actually laughed. They looked like real witch hands. My son came downstairs for water, saw them cooling on the rack, and whispered, “Whoa.” That was the moment I knew we were okay.
The next morning, he carried that platter into school like it held actual treasure. When I picked him up, he told me three kids asked for the recipe, and one teacher said they were the best thing at the party. I mean, I’m not going to pretend I planned that outcome — I was just trying to avoid being that parent. But honestly, that’s how some of the best recipes happen, isn’t it? You’re backed into a corner, you use what you have, and somehow it works out better than if you’d stressed over it for days. Maybe you’ve been there too, staring at your pantry at the last minute, feeling the panic rise. Let me tell you — these cookies might just save you.
Why You’ll Love This Recipe
These Wholesome Witch Finger Cookies with Almond Nails aren’t just another Halloween treat. They’re the kind of recipe that makes you look like you planned ahead when you absolutely did not. I’ve tested this version more times than I care to admit — tweaking the butter ratio, adjusting the chill time, figuring out exactly how to shape the knuckles so they don’t puff into oblivion. Let me tell you what makes these worth your time.
- Quick & Easy : From start to finish, these come together in about 45 minutes (plus chilling time). The active work is maybe 20 minutes. Perfect for last-minute Halloween panic.
- Simple Ingredients : You probably have everything already. Butter, sugar, flour, egg, vanilla, almonds. That’s it. No specialty stores, no weird extracts.
- Perfect for Halloween Parties : These are the star of any spread. Kids love the creepy factor, adults appreciate the nostalgia, and everyone fights over the almond nails.
- Crowd-Pleaser : They’re not too sweet, which is rare for Halloween cookies. The almond adds a nice savory balance. I’ve watched people eat four or five without realizing it.
- Unbelievably Delicious : The texture is this perfect middle ground — crisp on the outside, tender on the inside, with that subtle almond flavor that lingers. Honestly, I make these year-round now, not just for Halloween.
What makes this version different from the others out there? It’s the ratio. Most witch finger recipes are either too dry (they crack and fall apart) or too soft (the fingers lose their shape and look like weird lumps). I spent three batches getting it right. The secret is using room temperature butter and an extra egg yolk for richness without spreading. Plus, I use whole almonds with the skin on for the nails — it gives them that authentic, slightly dirty look that makes people do a double-take.
This recipe isn’t just good — it’s the kind that makes you close your eyes after the first bite. It’s comfort food with a spooky twist, made from ingredients you actually feel good about. No artificial colors, no preservatives, just butter and sugar and a little bit of Halloween magic.
What Ingredients You Will Need
This recipe uses simple, wholesome ingredients to deliver that perfect shortbread texture with a creepy Halloween twist. Most of these are pantry staples, which is exactly what you want when you’re scrambling the night before a party.
For the Cookie Dough
- 1 cup unsalted butter, softened to room temperature (I use Kerrygold for the richness, but any good butter works)
- 1 cup powdered sugar (confectioners’ sugar gives a finer texture than granulated)
- 1 large egg, room temperature (cold egg will seize the butter)
- 1 large egg yolk, room temperature (this extra yolk is the secret to tender cookies)
- 1 teaspoon vanilla extract (use pure, not imitation, if you have it)
- 1/2 teaspoon almond extract (this is key for the witchy flavor — don’t skip it)
- 2 1/2 cups all-purpose flour (spoon and level it — packed flour makes dry cookies)
- 1/2 teaspoon salt (fine sea salt works best)
For the Almond Nails & Decoration
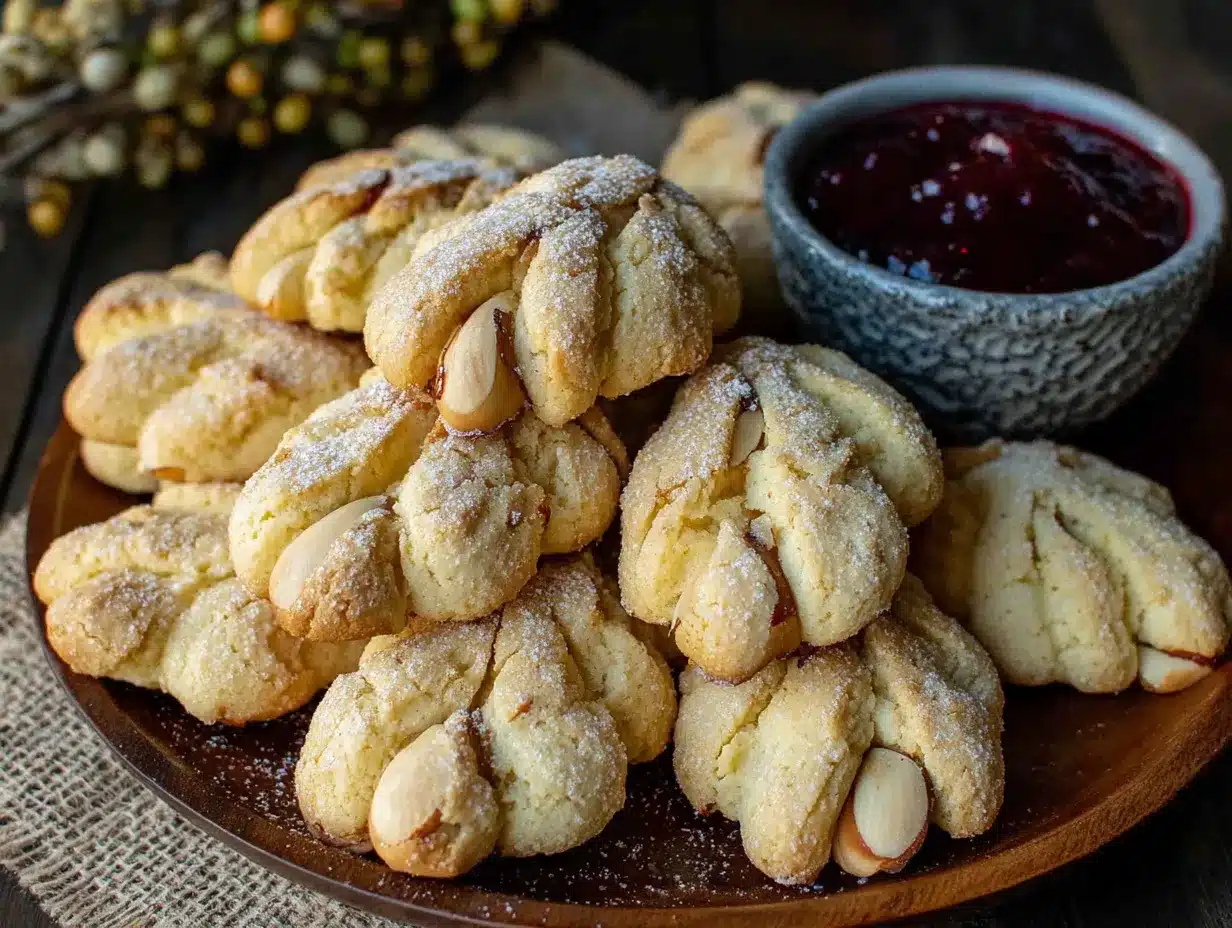
- 1/2 cup whole almonds, with skin on (the brown skin looks more realistic for witch nails)
- 1 tablespoon milk (for brushing — helps the almonds stick)
- Red food coloring (gel or liquid, for the “blood” effect at the nail base)
- Optional: 2 tablespoons raspberry jam (for a more natural “blood” look — I prefer this actually)
Ingredient Notes & Substitutions
Butter : I really do recommend unsalted so you control the salt level. If you only have salted, reduce the added salt to 1/4 teaspoon. Flour : All-purpose is best here. Whole wheat will make them too dense and they won’t hold the finger shape as well. Almonds : You can use blanched almonds if that’s all you have, but the skin-on ones look way more realistic. They have that slightly dirty, earthy tone that matches witch fingers perfectly. Vanilla vs Almond Extract : Use both. The combination gives that warm, spooky bakery smell. If you only have one, use the almond extract — it’s more distinctive.
For a gluten-free version, I’ve had good results with a 1:1 gluten-free baking flour blend (I like Bob’s Red Mill). The texture is slightly more crumbly, so handle them gently. For a dairy-free option, use vegan butter sticks — not the spreadable kind in a tub. The spreadable stuff has too much water and your fingers will flatten into pancakes.
One thing I learned the hard way: don’t use slivered almonds for the nails. They’re too thin and they break off during baking. Whole almonds, cut in half crosswise, give you that perfect nail shape with the rounded tip. I cut mine while watching TV the night before — it’s mindless work and saves time later.
Equipment Needed
You don’t need anything fancy for these cookies, which is part of why I love them. Here’s what you’ll want:
- Electric mixer (stand or hand-held — either works, but hand-held is actually easier for scraping down the bowl)
- Large mixing bowl
- Baking sheets (two if you have them, so you can chill one batch while the other bakes)
- Parchment paper or silicone baking mats (parchment is fine, silicone mats help prevent spreading)
- Sharp knife or bench scraper (for shaping the finger details)
- Small pastry brush (for the milk wash — a clean paintbrush works too, I won’t tell)
- Wire cooling rack
- Plastic wrap (for chilling the dough)
Budget-friendly tip : If you don’t have a pastry brush, use your finger to dab the milk onto the almond base. It’s less precise but it works. I did this for years before I bought an actual brush. Also, if you don’t have a mixer, you can cream the butter and sugar by hand with a wooden spoon — it just takes a little more elbow grease and the butter needs to be really soft.
Preparation Method
Let me walk you through this step by step. I’ve included all the little details I wish someone had told me the first time I made these.
- Cream the butter and sugar. In your mixing bowl, beat the softened butter and powdered sugar together on medium speed until light and fluffy — about 3-4 minutes. Scrape down the sides halfway through. You want it pale and airy. If it looks greasy or separated, your butter was too soft. Pop it in the fridge for 5 minutes and try again.
- Add the wet ingredients. Beat in the whole egg, then the egg yolk. Add the vanilla and almond extracts. Mix until just combined — don’t overbeat here or the cookies will be tough. The mixture might look slightly curdled at this point, especially if your eggs were cold. That’s okay. It’ll come together when you add the flour.
- Add the dry ingredients. In a separate bowl, whisk together the flour and salt. Gradually add this to the wet mixture, mixing on low speed. Stop as soon as the flour disappears. The dough should be soft but not sticky. If it sticks to your fingers, add another tablespoon of flour. If it’s crumbly, add a teaspoon of milk.
- Chill the dough. Wrap the dough in plastic wrap and flatten it into a disk. Refrigerate for at least 30 minutes — 45 is better. This step is non-negotiable. Warm dough spreads and your fingers will look like thumbs. I learned this the hard way when my first batch came out looking like mutant baby hands.
- Prepare the almonds. While the dough chills, cut your whole almonds in half crosswise. You want each half to look like a fingernail — rounded on one end, flat on the other. Set them aside. This takes about 10 minutes and is oddly satisfying.
- Shape the fingers. Preheat your oven to 325°F (160°C). Line your baking sheets with parchment. Take the chilled dough and scoop out tablespoon-sized portions. Roll each one into a log about 3 inches long. Gently taper one end to look like the tip of a finger. Place on the baking sheet. Using the back of a knife, press 2-3 lines into each finger to create knuckle creases. Don’t cut too deep — just enough to leave an indent.
- Attach the nails. Brush a tiny bit of milk onto the flat end of an almond half. Press it gently onto the tapered tip of the finger. The milk acts as glue. If the almond doesn’t stick, you used too little milk — dab a bit more. Make sure the rounded end of the almond points outward like a real nail.
- Add the “blood” detail. For the red at the nail base, you have two options. Option one: dip a toothpick in red food coloring and paint a thin line where the almond meets the dough. Option two: warm a tablespoon of raspberry jam and dab it at the base with your finger. I prefer the jam — it looks more realistic and adds a tiny bit of fruity sweetness. Plus, no artificial dyes.
- Bake. Bake for 12-15 minutes, rotating the pan halfway through. The cookies should be set and just barely golden on the bottom. The tops will still look pale — that’s correct. Overbaking makes them dry and the almonds can burn. They firm up as they cool, so don’t wait for them to look “done” in the oven.
- Cool completely. Let the cookies rest on the baking sheet for 5 minutes, then transfer to a wire rack. They’re fragile when warm — the almond nails especially can fall off if you handle them too soon. Let them cool completely before moving them to a platter. The nails will set firmly as they cool.
Sensory cues to watch for : The dough should feel smooth and pliable, like play-dough that’s been warmed in your hands. When you press the knuckle lines, you should see a clear indent that doesn’t spring back. The cookies are done when the bottoms are light golden and the edges look set — the tops should still be pale. The kitchen will smell like butter and almonds, which is honestly one of my favorite smells in the world.
Cooking Tips & Techniques
I’ve made these cookies probably twenty times now, and I’ve messed up in pretty much every way possible. Here’s what I’ve learned so you don’t have to repeat my mistakes.
Don’t skip the chill time. I know, I know — you’re in a rush. But the first time I made these, I was so pressed for time that I only chilled the dough for 10 minutes. The fingers spread into these flat, wide shapes that looked more like zombie toes than witch fingers. The knuckle lines disappeared completely. It was a disaster. The dough needs that 30 minutes minimum for the butter to firm up and the gluten to relax.
Use a light hand with the flour. When you’re shaping the fingers, dust your hands very lightly with flour if the dough is sticky. But don’t go overboard — too much flour makes dry, crumbly cookies that crack at the knuckles before they even hit the oven. I keep a small bowl of flour nearby and just dip my fingertips in as needed.
Make the knuckle lines deep enough. I was too gentle my first few times, afraid I’d cut through the cookies. The result? Barely visible lines that looked like wrinkles, not knuckles. Press firmly with the back of a knife — you want a distinct groove. The cookies will puff slightly during baking, so the lines need to be deeper than you think.
Watch the almond placement. If you press the almond too far down onto the dough, it sinks in and looks like a weird bump instead of a nail. You want it sitting on top, with just the milk-glued base touching the dough. Also, angle the almond slightly upward — like a real fingernail that’s grown out a bit. It makes them look creepier.
Batch baking strategy. If you’re making a double batch (which you should, because these disappear fast), keep the extra dough in the fridge while you shape and bake the first batch. Warm dough is harder to work with and spreads more. I shape one tray, pop it in the oven, then pull the next portion of dough from the fridge.
My biggest failure : I once tried to use almond extract in the dough and vanilla extract only in the nails, thinking it would create a flavor contrast. It didn’t work — the cookies just tasted confusing. Stick with both extracts in the dough and let the almonds speak for themselves on top.
Variations & Adaptations
One of the best things about this recipe is how easy it is to tweak. Here are some variations I’ve tried and loved.
Chocolate Witch Fingers : Replace 1/4 cup of the flour with unsweetened cocoa powder. The chocolate version looks even more realistic — like dirt-stained witch fingers. I made these for a friend’s Halloween party and they were gone in 20 minutes. The chocolate also helps hide any imperfections in your shaping.
Vegan Version : Use vegan butter sticks (I like Miyoko’s or Earth Balance) and replace the eggs with 2 tablespoons of aquafaba (the liquid from a can of chickpeas) plus 1 tablespoon of cornstarch. The texture is slightly more delicate, so be extra gentle when shaping. Chill the dough for a full hour before baking.
Gluten-Free Adaptation : As I mentioned earlier, a 1:1 gluten-free flour blend works well. I’ve also tried using almond flour for half the flour, which gives them a nuttier flavor that pairs beautifully with the almond nails. Just know that almond flour makes the dough more fragile — you’ll need to chill it longer and handle it gently.
Spiced Version : Add 1 teaspoon of cinnamon and 1/2 teaspoon of nutmeg to the flour. These taste like autumn in cookie form. I made a batch for a Halloween bonfire and they were a hit with the adults who wanted something less sugary.
Different Nail Options : If you don’t have almonds, try using pumpkin seeds (pepitas) for a greenish nail effect, or pecans for a darker, more gnarled look. I tried cashews once — they were too soft and broke during baking. Stick with nuts that have some structural integrity.
My personal favorite variation : I add a pinch of cayenne pepper to the dough. It’s subtle — you don’t taste the heat, but it adds this warm, lingering sensation that makes people go “what IS that?” It pairs perfectly with the almond extract and gives the cookies a little edge. I call them “spicy witch fingers” and my kids think I’m hilarious.
Serving & Storage Suggestions
These cookies are best at room temperature, but how you serve them makes all the difference in the presentation.
Serving temperature : Let them come fully to room temperature — about 20 minutes out of the fridge if you’ve stored them. Cold cookies lose some of their texture and the almond nails can feel hard. At room temperature, the shortbread is tender and the almonds have a pleasant crunch.
Presentation ideas : Arrange them on a black or dark purple platter to make the pale cookies pop. I like to scatter a few loose almonds around like “fallen nails” for extra creepiness. If you’re serving them at a party, stick them upright in a bowl of chocolate pudding or crushed Oreo “dirt” — they look like hands reaching up from the grave. My kids lose their minds over this presentation.
Complementary dishes : These pair beautifully with a warm mug of apple cider or a glass of cold milk. For an adult gathering, try them with a dark stout beer or a bourbon-spiked hot chocolate. The almond flavor in the cookies plays nicely with the roasted notes in both drinks.
Storage instructions : Store in an airtight container at room temperature for up to 5 days. Layer them between sheets of parchment paper — the almond nails can scratch the cookies below if they’re stacked directly. Do NOT store them in the fridge — the humidity makes the shortbread soft and the almonds lose their crunch.
Freezer instructions : These freeze beautifully. Place the baked, cooled cookies in a single layer on a baking sheet and freeze for 1 hour. Transfer to a freezer-safe container or bag, layered with parchment. They’ll keep for up to 3 months. Thaw at room temperature for 30 minutes before serving. You can also freeze the unbaked shaped cookies — just freeze them on the tray, then transfer to a bag. Bake from frozen, adding 2-3 minutes to the baking time.
How flavors develop : Honestly, these cookies are actually better on day two. The almond flavor mellows and blends with the butter, and the texture evens out. If you can resist eating them all on day one, you’ll be rewarded. I usually make them a day ahead for parties on purpose.
Nutritional Information & Benefits
I’m not going to pretend these are health food — they’re cookies, after all. But compared to most Halloween treats loaded with artificial colors and preservatives, these are pretty wholesome.
Estimated per cookie (makes about 24) :
– Calories: 145
– Fat: 9g
– Carbohydrates: 15g
– Sugar: 6g
– Protein: 2g
– Fiber: 1g
Health benefits of key ingredients : The almonds provide vitamin E, magnesium, and healthy monounsaturated fats. Butter contains vitamin A and butyrate, which supports gut health. Compared to store-bought Halloween cookies that are packed with high-fructose corn syrup and hydrogenated oils, these are a much cleaner option.
Dietary considerations : This recipe contains dairy, eggs, gluten, and tree nuts (almonds). For a dairy-free version, use vegan butter as noted above. For nut-free, substitute the almonds with sunflower seeds or simply omit the nails and press a raisin into the tip instead (it looks surprisingly like a wart — even creepier).
My wellness perspective : Look, Halloween is one night a year. I’m not about to stress over sugar content when my kids are running around in costumes and eating candy. But I do feel better serving these because I know exactly what’s in them. No weird chemicals, no artificial colors (unless you use the food coloring, but that’s optional). They’re made from real food ingredients, and that counts for something.
Conclusion
These Wholesome Witch Finger Cookies with Almond Nails are proof that you don’t need to stress over Halloween treats. They come together with basic ingredients, they look genuinely creepy, and they taste amazing — which is more than I can say for most holiday-themed baked goods. Whether you’re scrambling the night before a party like I was, or you’re the type of person who plans weeks ahead (I admire you, by the way), these cookies deliver.
I love this recipe because it’s forgiving. Mess up the shape? Call it a zombie finger. Almond nail falls off? Press it back on and call it a battle wound. There’s no wrong way to make these, and that’s the beauty of them. They’re supposed to look imperfect. They’re supposed to be a little weird. That’s the whole point of Halloween.
So go ahead — grab that butter, dig out the almonds from the back of your pantry, and make some magic. And when you do, I’d love to hear about it. Leave a comment below with your favorite variation, or tag me in your photos if you share them online. Did your kids love them? Did you add cayenne like I do? Did you figure out a genius presentation trick I haven’t thought of? Let me know — I’m always looking for new ideas.
Happy Halloween, and happy baking. You’ve got this.
Frequently Asked Questions
Can I make the dough ahead of time?
Absolutely. You can make the dough up to 3 days in advance and keep it wrapped in the fridge. Let it sit at room temperature for about 10 minutes before shaping — it’ll be easier to work with. You can also freeze the dough for up to 3 months.
Why did my cookies spread and lose their shape?
This usually happens for one of two reasons: the dough wasn’t chilled long enough, or the butter was too soft when you creamed it. Make sure your butter is softened but still cool to the touch — not greasy or melty. And don’t skip that 30-minute chill time. If your kitchen is warm, chill for a full hour.
Can I use almond flour instead of all-purpose?
You can substitute up to half the all-purpose flour with almond flour for a nuttier flavor. But using 100% almond flour won’t work — the cookies will spread too much and won’t hold their shape. Stick with the partial substitution or use a gluten-free flour blend designed for baking.
How do I keep the almond nails from falling off?
The milk wash is your best friend. Brush a small amount of milk onto the flat end of the almond before pressing it onto the dough. Don’t use water — it doesn’t create enough adhesion. Also, let the cookies cool completely on the baking sheet before moving them. The nails set as the cookies cool.
Can I make these without almond extract?
You can, but they won’t have that distinctive witchy flavor. The almond extract is what gives these cookies their character. If you don’t have it or don’t like it, try using 1 teaspoon of vanilla extract instead and increase the vanilla to 2 teaspoons total. The cookies will still taste good, just different.
Pin This Recipe!
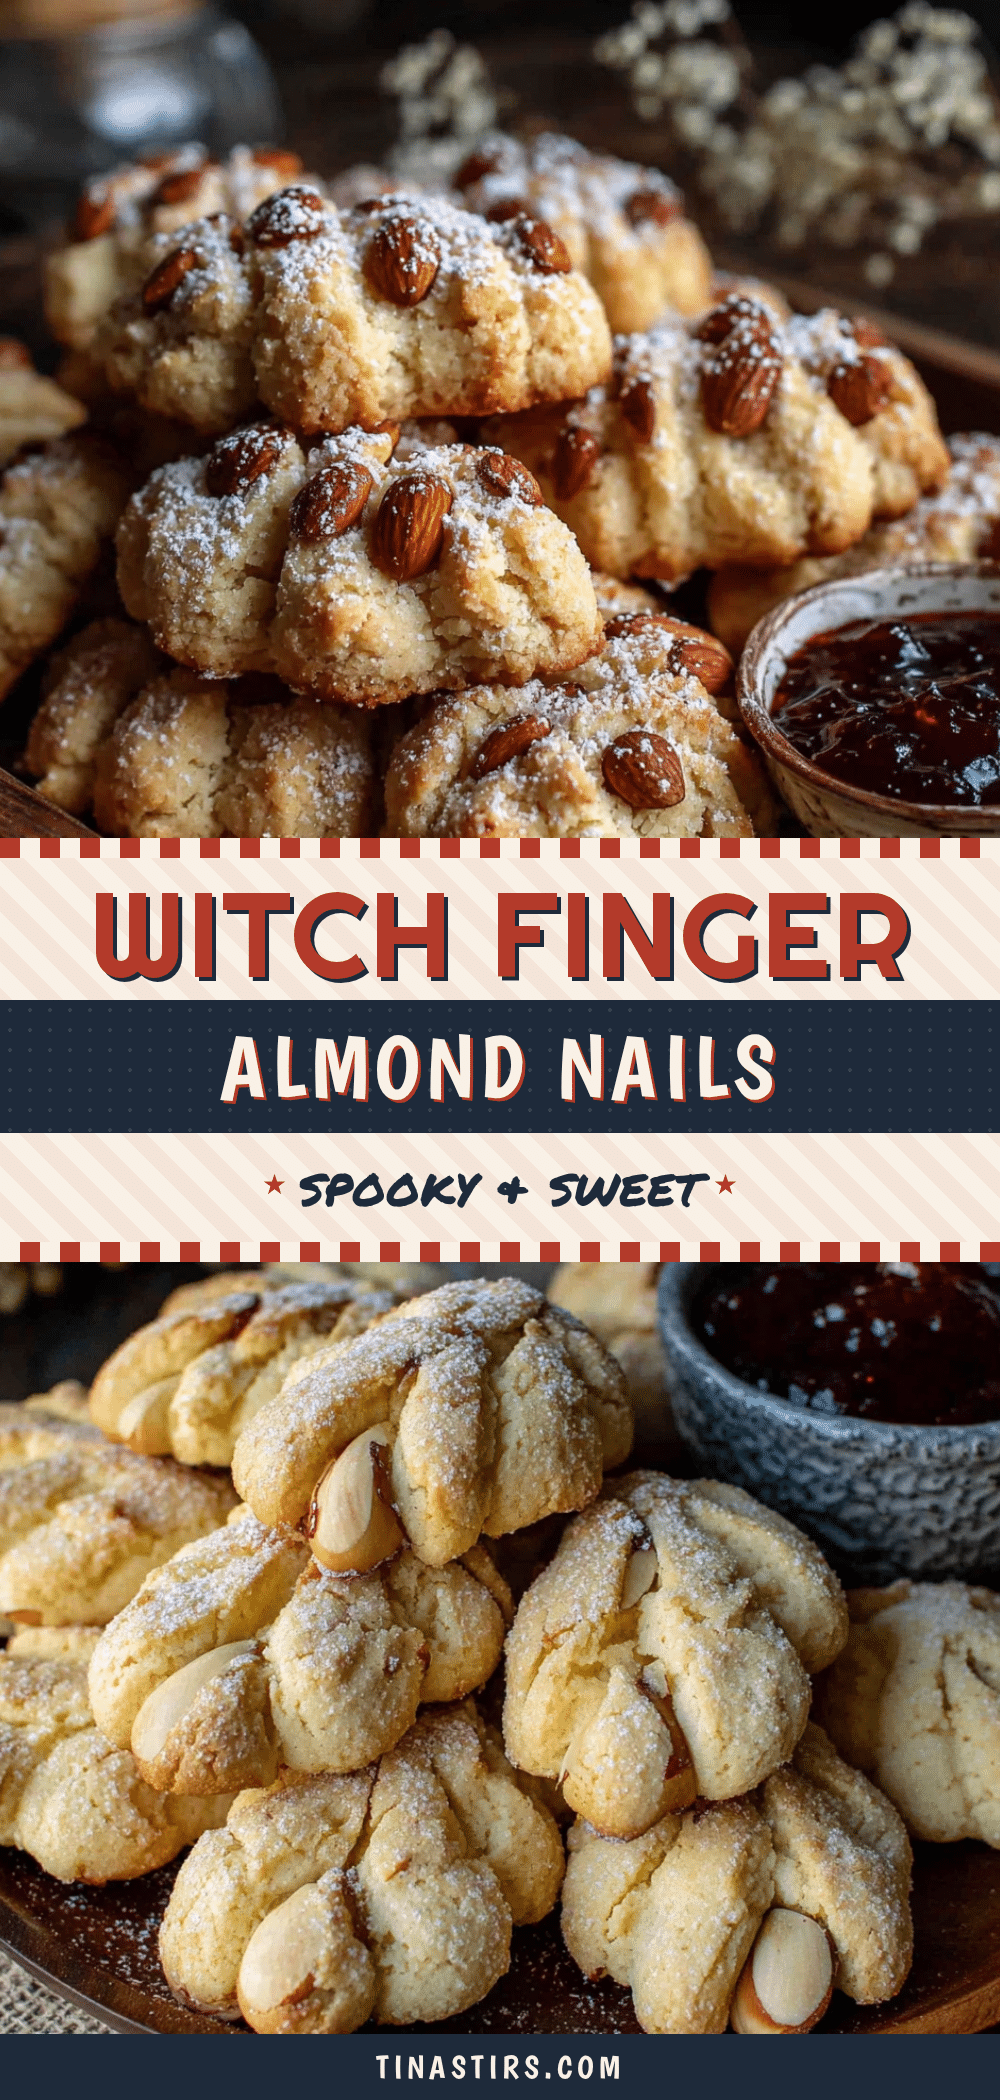
Wholesome Witch Finger Cookies with Almond Nails

These creepy yet delicious witch finger cookies are perfect for Halloween parties. Made with simple pantry ingredients, they look genuinely unsettling but taste amazing — a last-minute lifesaver that will make you look like you planned ahead.
- Prep Time: 20 minutes
- Cook Time: 15 minutes
- Total Time: 45 minutes (plus 30-45 minutes chilling time)
- Yield: 24 servings 1x
- Category: Dessert
- Cuisine: American
Ingredients
- 1 cup unsalted butter, softened to room temperature
- 1 cup powdered sugar
- 1 large egg, room temperature
- 1 large egg yolk, room temperature
- 1 teaspoon vanilla extract
- 1/2 teaspoon almond extract
- 2 1/2 cups all-purpose flour
- 1/2 teaspoon fine sea salt
- 1/2 cup whole almonds, with skin on
- 1 tablespoon milk
- Red food coloring (gel or liquid)
- Optional: 2 tablespoons raspberry jam
Instructions
- Cream the butter and sugar: In your mixing bowl, beat the softened butter and powdered sugar together on medium speed until light and fluffy — about 3-4 minutes. Scrape down the sides halfway through.
- Add the wet ingredients: Beat in the whole egg, then the egg yolk. Add the vanilla and almond extracts. Mix until just combined.
- Add the dry ingredients: In a separate bowl, whisk together the flour and salt. Gradually add this to the wet mixture, mixing on low speed. Stop as soon as the flour disappears.
- Chill the dough: Wrap the dough in plastic wrap and flatten it into a disk. Refrigerate for at least 30 minutes — 45 is better.
- Prepare the almonds: While the dough chills, cut your whole almonds in half crosswise. You want each half to look like a fingernail — rounded on one end, flat on the other.
- Shape the fingers: Preheat your oven to 325°F (160°C). Line your baking sheets with parchment. Take the chilled dough and scoop out tablespoon-sized portions. Roll each one into a log about 3 inches long. Gently taper one end to look like the tip of a finger. Place on the baking sheet. Using the back of a knife, press 2-3 lines into each finger to create knuckle creases.
- Attach the nails: Brush a tiny bit of milk onto the flat end of an almond half. Press it gently onto the tapered tip of the finger.
- Add the ‘blood’ detail: For the red at the nail base, dip a toothpick in red food coloring and paint a thin line where the almond meets the dough, or warm a tablespoon of raspberry jam and dab it at the base with your finger.
- Bake: Bake for 12-15 minutes, rotating the pan halfway through. The cookies should be set and just barely golden on the bottom.
- Cool completely: Let the cookies rest on the baking sheet for 5 minutes, then transfer to a wire rack. Let them cool completely before moving them to a platter.
Notes
Don’t skip the chill time — it’s essential for the cookies to hold their shape. Use room temperature butter and an extra egg yolk for richness without spreading. Whole almonds with skin on give the most realistic nail appearance. The cookies are actually better on day two as the almond flavor mellows and blends with the butter.
Nutrition
- Serving Size: 1 cookie
- Calories: 145
- Sugar: 6
- Sodium: 75
- Fat: 9
- Saturated Fat: 5
- Carbohydrates: 15
- Fiber: 1
- Protein: 2
Keywords: Halloween cookies, witch finger cookies, almond cookies, shortbread cookies, spooky treats, easy Halloween recipe, last-minute Halloween


